Sunday, 12 February 2023

Replacing the bootloader and installing Klipper firmware on a Cocoon Create 3D Printer V1

This process outlines the steps to replace the bootloader and firmware on an ALDI Cocoon Create 3D Printer V1. It also applies to the Wanhao Duplicator i3 V2, which the ALDI printer is based on:

Both ship with Repetier 0.91 firmware and use the Melzi controller board.

The Melzi utilises an 8-bit AVR MCU with 128K of flash (ATmega1284P).

Dumping standard firmware

Before overwriting the bootloader or flash, I wanted to dump the existing flash so I could back out of changes if I wanted to go back to the original firmware.

I first tried using avrdude 6.3 on OctoPi via standard USB interface:

$ avrdude -p m1284p -c arduino -P /dev/serial/by-id/usb-FTDI_FT232R_USB_UART_AI03KF0Y-if00-port0 -v

avrdude: stk500_getsync() attempt 1 of 10: not in sync: resp=0xac

The printer likely has a bootloader that doesn't support updates via USB.

I then moved to using a Bus Pirate v3.6 running community firmware connected to the ISP pins on the Melzi board, and used avrdude 6.4 on macOS 12.1:

% avrdude -p m1284p -c buspirate -P /dev/tty.usbserial-AJ02XIK6 -v

avrdude: Device signature = 0x1e9705 (probably m1284p)

avrdude: safemode: lfuse reads as D6

avrdude: safemode: hfuse reads as DC

avrdude: safemode: efuse reads as FD

I had no problem dumping EEPROM:

% avrdude -p m1284p -c buspirate -P /dev/tty.usbserial-AJ02XIK6 -U eeprom:r:eeprom.bin:r

Dumping flash read would fail at 99%:

BusPirate: Paged Read command returned zero.

After some reading of the datasheet, lock bits probably set to prevent reading bootloader, read the lock bits, the value was 0xCF.

I was able to dump flash (minus bootloader area) without errors with paged read mode disabled, although it was much slower:

% avrdude -p m1284p -c buspirate -P /dev/tty.usbserial-AJ02XIK6 -U flash:r:flash.bin:r -x nopagedread

Flashing Optiboot bootloader

You could leave the original bootloader in place but it would mean you would need to do all firmware updates via the ISP.

Downloaded the suggested Optiboot bootloader mentioned in the Klipper documentation.

Optiboot much smaller than original bootloader, so had to adjust high byte fuse (hfuse) to suit:

% avrdude -p m1284p -c buspirate -P /dev/tty.usbserial-AJ02XIK6 -U hfuse:w:0xDE:m

See table 25-4 on page 293 of the datasheet for more details on the high byte fuse.

This shouldn't affect going back to the standard firmware as the bootloader code is at the end of the flash, so it just starts at a higher memory address than usual:

% avrdude -p m1284p -c buspirate -P /dev/tty.usbserial-AJ02XIK6 -U flash:w:optiboot_atmega1284p.hex:i

Set lock bits back to original value to stop bootloader from accidental damage:

% avrdude -p m1284p -c buspirate -P /dev/tty.usbserial-AJ02XIK6 -U lock:w:0xCF:m

Flashing can now be done via standard USB interface on printer.

Testing new bootloader with standard firmware

Make sure you use -D flag when programming application area via the ISP or you will need to reflash the bootloader again with the steps above

% avrdude -p m1284p -c buspirate -D -P /dev/tty.usbserial-AJ02XIK6 -U flash:w:flash.bin:r

Booted successfully and although I did not try a test print I was able to control steppers.

Flashing Klipper

Used standard USB interface on printer connected to OctoPi and followed the installation instructions.

Monday, 7 October 2019

Enabling AirPrint to legacy HP LaserJet printers using Debian 10

This guide will hopefully help you get AirPrint working on older HP LaserJet devices that do not natively support it.

On your Debian 10 server, install avahi-daemon (Bonjour) and CUPS (print queue) servers:

$ sudo apt install avahi-daemon cups

Add printer queue, replacing your.printer.hostname with host or IP of your printer, and set the description (-D) to whatever you want:

$ sudo lpadmin -p hp -D "HP LaserJet M1522nf MFP" -E -m drv:///sample.drv/laserjet.ppd -v socket://your.printer.hostname

Check if the sharing capability is enabled within CUPS and if not, enable it:

$ sudo cupsctl | grep share
_share_printers=0
$ sudo cupsctl --share-printers

Also enable sharing for the queue itself:

$ sudo lpadmin -p hp -o printer-is-shared=true

You can check the default settings for the printer using lpoptions. The defaults are displayed with an asterisk next to them:
$ lpoptions -d hp -l
PageSize/Media Size: *Letter Legal Executive Tabloid A3 A4 A5 B5 EnvISOB5 Env10 EnvC5 EnvDL EnvMonarch
Resolution/Resolution: 150dpi *300dpi 600dpi
InputSlot/Media Source: *Default Tray1 Tray2 Tray3 Tray4 Manual Envelope
Duplex/2-Sided Printing: *None DuplexNoTumble DuplexTumble
Option1/Duplexer: *False True

Here I have changed the paper size and default resolution systemwide:

$ sudo lpadmin -p hp -o PageSize=A4
$ sudo lpadmin -p hp -o Resolution=600dpi

You should now be able to see the mDNS entries using avahi-browse (in the avahi-utils package):

$ avahi-browse -at | grep -i hp
+   eth0 IPv6 HP LaserJet M1522nf MFP @ server              UNIX Printer         local
+   eth0 IPv4 HP LaserJet M1522nf MFP @ server              UNIX Printer         local
+   eth0 IPv6 HP LaserJet M1522nf MFP @ server              Secure Internet Printer local
+   eth0 IPv4 HP LaserJet M1522nf MFP @ server              Secure Internet Printer local
+   eth0 IPv6 HP LaserJet M1522nf MFP @ server              Internet Printer     local
+   eth0 IPv4 HP LaserJet M1522nf MFP @ server              Internet Printer     local

For fairly minimal effort, this setup seems to work quite well. Although printing is done via AppSocket/JetDirect, CUPS is smart enough to talk to the printer via SNMP to find out the printer status such as low toner or any errors. If it isn't already obvious, the Debian server will need to be on for the AirPrint function to work!
Wednesday, 28 November 2018

Hardening Samba

This post details how you can set up your Samba server to be a bit more resilient than the defaults.

The Samba server security page gives information on using the hosts allow/deny directives, interface binding configuration, and keeping up-to-date, so I'm not going to mention those things here.

I am however going to jump into a few other directives.

First of all, there's no good reason to give out the server's version, so my server replies with "Samba".

I mandate SMB2 as the minimum required protocol, and enforce signing. I really recommend you do this and so does Microsoft. Without mandating signing you are leaving yourself open to man-in-the-middle attacks. These settings will work with clients on Windows 7 and newer, and any non-ancient Linux/macOS.

I'm using the "standalone server" server role, so I can disable NetBIOS completely, and without NetBIOS and SMB1 there's no need to listen on anything other than TCP/445.

Here are smb.conf server directives to get you started with those changes:

[global]
        server string = Samba
        disable netbios = Yes
        server min protocol = SMB2
        smb ports = 445
        server signing = required

In addition to the above, you should consider disabling anonymous authentication.

With anonymous authentication enabled (the default), anyone can specify a blank user and password to view shares and other information, and talk to IPC$:

user@client:~$ smbclient -m SMB2 -L server -U ''
Enter 's password:

        Sharename       Type      Comment
        ---------       ----      -------
        share           Disk
        IPC$            IPC       IPC Service (Samba)
Connection to server failed (Error NT_STATUS_CONNECTION_REFUSED)
NetBIOS over TCP disabled -- no workgroup available

To disable this, you can set restrict anonymous in smb.conf:

[global]
        restrict anonymous = 2

Restart Samba:

admin@server:~$ sudo systemctl restart smbd

You'll now be denied if you use blank credentials:

user@client:~$ smbclient -m SMB2 -L server -U ''
Enter 's password:
tree connect failed: NT_STATUS_ACCESS_DENIED

One other thing I'll mention is my tendency to add a "valid users" line to each share, and whitelist just the users/groups requiring permission.

Thanks for reading!

Sunday, 25 November 2018

Electric bike build part 6

Continued from Electric bike build part 5.

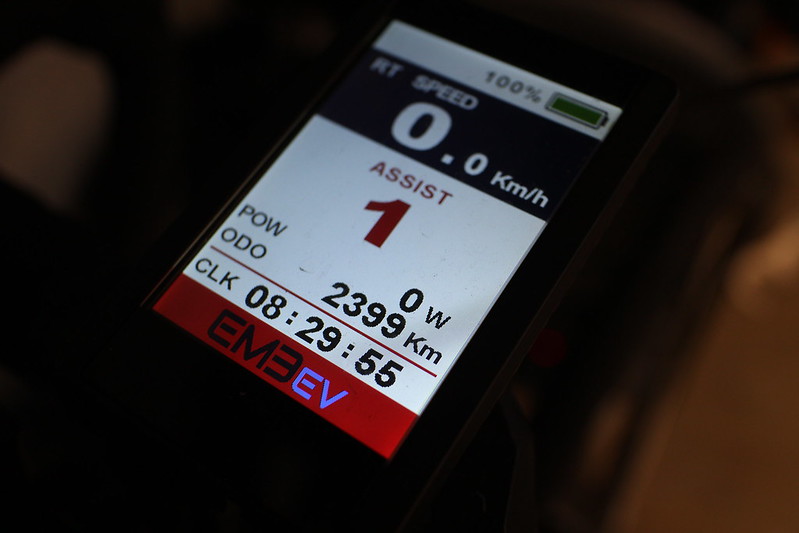
My electric bike has almost hit 2,400km and only just now has required another re-torque of the motor. I haven't had any other issues other than a bit of rubbing from the 28mm tyres - it's really touch and go with this frame and I've been told the GP4000 tyres are fatter than advertised.


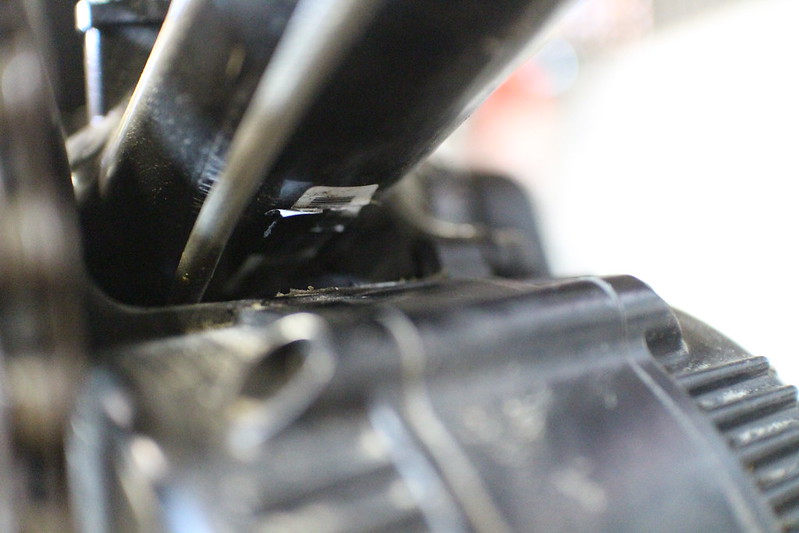
It looks like the rubber has been completely wiped out by motor movement:


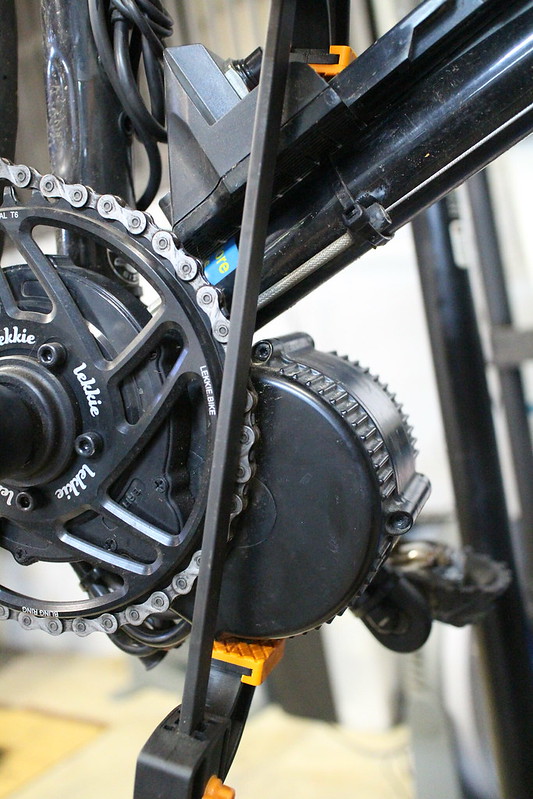
A clamp came in handy to hold the motor in place while doing the re-torque:


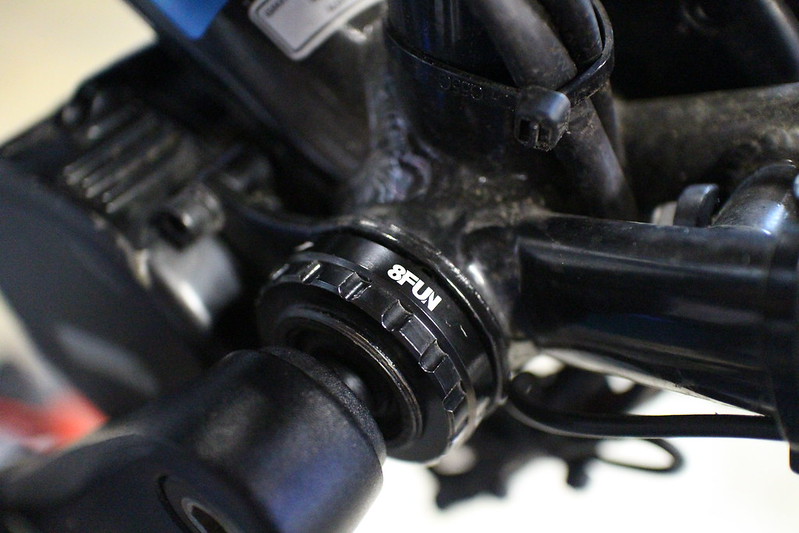
Thread locker applied again to both rings:


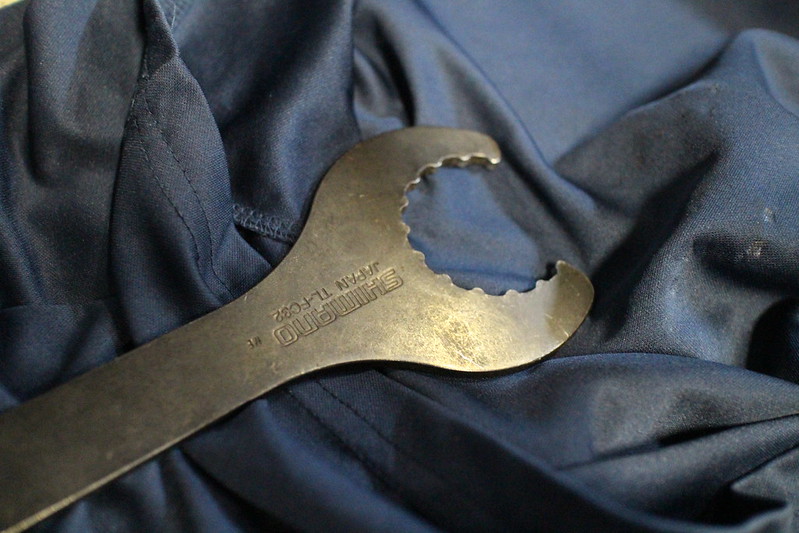
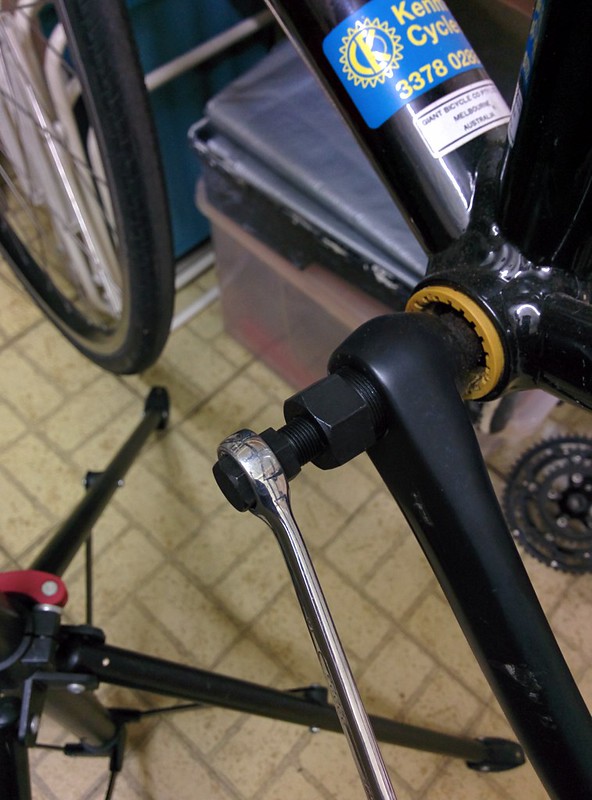
I used the spanner through an old shirt to keep the alloy lock ring looking pretty:


I still think it's an awesome machine and a great way to commute! No regrets!

All I can think of is if I had to do it all over again I'd look at a bike with disc brakes and a bit more clearance for wider tyres so I can run lower pressures, but I'm in no rush to make the change.

Wednesday, 12 September 2018

Plex hardware accelerated transcoding within LXC

I run Plex Media Server within an LXC container on my NAS. The NAS itself is a QNAP TS-251+ but it is running Debian 9. I have all the functions I use separated into individual LXC containers.

Plex runs quite well considering the low powered Celeron J1900 processor, but it does tend to struggle with HD transcoding. I managed to get GPU assisted transcoding working this evening which appears to help considerably!

Here are the requirements:
https://support.plex.tv/articles/115002178853-using-hardware-accelerated-streaming/

Fortunately the Celeron J1900 supports Intel Quick Sync Video.

First of all I checked the host could see the DRI stuff:

tim@host:~$ journalctl
Jul 16 21:29:30 jupiter kernel: [drm] Initialized i915 1.6.0 20160919 for 0000:00:02.0 on minor 0

tim@host:~$ ls -l /dev/dri
total 0
crw-rw---- 1 root video 226,   0 Jul 16 21:29 card0
crw-rw---- 1 root video 226,  64 Jul 16 21:29 controlD64
crw-rw---- 1 root video 226, 128 Jul 16 21:29 renderD128

I then tried mapping the devices through to the container:

tim@host:~$ sudo vi /var/lib/lxc/plex/config
...
lxc.mount.entry = /dev/dri dev/dri none bind,create=dir 0 0

I restarted the container then installed the relevant driver and the vainfo program within it:

tim@plex:~$ sudo apt-get install i965-va-driver vainfo

Both the Plex user and my user were in the video group yet vainfo was just saying 'Abort' instead of giving any useful info. I did some further digging:

tim@plex:~$ strace vainfo
...
open("/dev/dri/renderD128", O_RDWR)     = -1 EPERM (Operation not permitted)
open("/dev/dri/card0", O_RDWR)          = -1 EPERM (Operation not permitted)
...

The container did not have permissions to talk to those devices.

I did a bit of reading on control groups and device numbers and came up with the following rule to allow the container to use any character device with a major number of 226 (Direct Rendering Infrastructure):

tim@host:~$ sudo vi /var/lib/lxc/plex/config
...
lxc.cgroup.devices.allow = c 226:* rw
lxc.mount.entry = /dev/dri dev/dri none bind,create=dir 0 0

After stopping and starting the container, I could now run vainfo successfully:

tim@plex:~$ vainfo
error: XDG_RUNTIME_DIR not set in the environment.
error: can't connect to X server!
libva info: VA-API version 0.39.4
libva info: va_getDriverName() returns 0
libva info: Trying to open /usr/lib/x86_64-linux-gnu/dri/i965_drv_video.so
libva info: Found init function __vaDriverInit_0_39
libva info: va_openDriver() returns 0
vainfo: VA-API version: 0.39 (libva 1.7.3)
vainfo: Driver version: Intel i965 driver for Intel(R) Bay Trail - 1.7.3
vainfo: Supported profile and entrypoints
      VAProfileMPEG2Simple            : VAEntrypointVLD
      VAProfileMPEG2Simple            : VAEntrypointEncSlice
      VAProfileMPEG2Main              : VAEntrypointVLD
      VAProfileMPEG2Main              : VAEntrypointEncSlice
      VAProfileH264ConstrainedBaseline: VAEntrypointVLD
      VAProfileH264ConstrainedBaseline: VAEntrypointEncSlice
      VAProfileH264Main               : VAEntrypointVLD
      VAProfileH264Main               : VAEntrypointEncSlice
      VAProfileH264High               : VAEntrypointVLD
      VAProfileH264High               : VAEntrypointEncSlice
      VAProfileH264StereoHigh         : VAEntrypointVLD
      VAProfileVC1Simple              : VAEntrypointVLD
      VAProfileVC1Main                : VAEntrypointVLD
      VAProfileVC1Advanced            : VAEntrypointVLD
      VAProfileNone                   : VAEntrypointVideoProc
      VAProfileJPEGBaseline           : VAEntrypointVLD

Monday, 7 May 2018

Jenkins on Kali 2017.1

Here's a quick run through of getting the Jenkins Pipeline demos working on Kali 2017.1 for testing purposes.

Install Docker

Add the Docker package certificate:
tim@kali:~$ curl -fsSL https://download.docker.com/linux/debian/gpg | sudo apt-key add -

If we try to use add-apt-respository we will get an error as Kali is not supported:
tim@kali:~$ sudo add-apt-repository "deb [arch=amd64] https://download.docker.com/linux/debian stretch stable"
aptsources.distro.NoDistroTemplateException: Error: could not find a distribution template for Kali/kali-rolling

We can instead manually add to /etc/apt/sources.list:
tim@kali:~$ sudo vi /etc/apt/sources.list
deb [arch=amd64] https://download.docker.com/linux/debian stretch stable
tim@kali:~$ sudo apt-get update
tim@kali:~$ sudo apt-get install docker-ce

Create users for services

We will be using key authentication or sudo so no need for passwords on the service accounts:
tim@kali:~$ sudo adduser --disabled-password git
tim@kali:~$ sudo adduser --disabled-password jenkins

We want Jenkins to be able to utilise Docker without having to be root:
tim@kali:~$ sudo adduser jenkins docker

Download and run Jenkins

When testing I prefer this method over the Debian package as it is all self-contained:
tim@kali:~$ sudo -u jenkins -i
jenkins@kali:~$ mkdir ~/jenkins && cd ~/jenkins
jenkins@kali:~/jenkins$ wget "http://mirrors.jenkins.io/war-stable/latest/jenkins.war"
jenkins@kali:~/jenkins$ java -jar jenkins.war --httpPort=8080

Set up Git remote

This will set up a repo you can access over SSH:
tim@kali:~$ sudo apt-get install git-core
tim@kali:~$ sudo systemctl start ssh
tim@kali:~$ sudo -u git -i
git@kali:~$ mkdir ~/.ssh ~/repo
git@kali:~$ chmod 0700 ~/.ssh
git@kali:~$ cd ~/repo
git@kali:~/repo$ git init --bare

Set up SSH keys

Create keys for your user and the Jenkins user and add to Git's authorized_keys file:
tim@kali:~$ sudo ssh-keygen
tim@kali:~$ sudo -u jenkins ssh-keygen
tim@kali:~$ cat ~/.ssh/id_rsa.pub | sudo -u git tee -a /home/git/.ssh/authorized_keys
tim@kali:~$ sudo -u jenkins cat /home/jenkins/.ssh/id_rsa.pub | sudo -u git tee -a /home/git/.ssh/authorized_keys

Set up local Git repo

Push your test Jenkinsfile to the remote repo:
tim@kali:~$ mkdir repo && cd repo
tim@kali:~/repo$ git init
tim@kali:~/repo$ vi Jenkinsfile
tim@kali:~/repo$ git add .
tim@kali:~/repo$ git commit
tim@kali:~/repo$ git remote add origin git@localhost:repo
tim@kali:~/repo$ git push --set-upstream origin master

You should now be able to successfully run the Pipeline demos here:
https://jenkins.io/doc/pipeline/tour/hello-world/

You can set the Git server in Jenkins as git@localhost:repo and it will work the same as a remote Git server (BitBucket etc).

As this is for testing purposes, if you reboot you'll have to start SSH and Jenkins again manually.

Tuesday, 1 August 2017

Solution to Error 0x80070714 when attempting to upgrade to Windows 10 version 1703 (Creators Update)

I was attempting to patch a Windows 10 Pro machine from version 1607 to 1703 (Creators Update), however the process kept failing with Error 0x80070714:

Feature update to Windows 10, version 1703 - Error 0x80070714

The solution was to stop the MSSQLSERVER service before kicking off the update:

Right-click the Start button (or press Windows+X) and choose "Command Prompt (Admin)" then type the following:

C:\WINDOWS\system32>net stop MSSQLSERVER
The SQL Server (MSSQLSERVER) service is stopping.
The SQL Server (MSSQLSERVER) service was stopped successfully.


Once the machine reboots after the update the service will be running again, so this shouldn't do any harm.

You may have other MSSQL instances with different service names, the same process applies.

Monday, 10 July 2017

Down the OVA compatibility rabbit hole

I recently volunteered to create a B2R CTF for SecTalks_BNE. It was fairly simple to create the content within the machine, however I came across a few hurdles when trying to make the machine as portable as possible. I wanted it to be easily usable on VirtualBox as well as VMware Fusion, Player and Workstation.

Before embarking on this project I had foolishly assumed I could just create the VM in VirtualBox and then "Export Appliance..." to create a portable OVA. If only it were that simple!

The OVA files that were created by VirtualBox worked fine by other VirtualBox users, but VMware users were getting various levels of success; Fusion wouldn't play nice at all.

I've created this post so that I remember what to do again down the track, and as a side bonus hopefully someone else will benefit or learn from it!

Let me explain some acronyms first

An OVA file is an Open Virtualisation Appliance. It's essentially a tarball containing an OVF, one or more disk images (usually VMDK files) and a manifest (checksum) file.

The OVF (Open Virtualisation Format) specifies the configuration of the virtual machine. The disk images contain data held by the virtual drives.

Gathering test data

To get some VMware test data I dragged my old HP N54L out of the cupboard and installed ESXi 6.5 on it. The disk performance was horrendously slow until I disabled the problematic AHCI driver as per this blog.

After creating a few OVA files from ESXi, my testing concluded that VirtualBox happily accepted a VMware OVA but VMware had a hard time working with a VirtualBox OVA.

One solution would be to do all my development on ESXi, but I quite like using VirtualBox on my laptop!

My VirtualBox solution

I decided to keep things simple and use ESXi to generate the initial OVA. I chose to target VMware 4 to keep it compatible with pretty much everything. After this step ESXi was no longer required.

I then unpacked said OVA, prepared the replacement disk image with VirtualBox and rolled my own OVA using a few commands.

The initial OVA contained the following:
$ tar xvf covfefe.ova
covfefe.ovf
covfefe.mf
disk-0.vmdk

To prepare the replacement disk-0.vmdk file, I ran through the steps in my earlier blog post and converted from VDI to VMDK with clonemedium (also mentioned in the same post).

After replacing the VMDK file, I edited the size entry in the OVF to reflect the new file:
<File ovf:href="disk-0.vmdk" ovf:id="file1" ovf:size="464093696"/>

Once I finished editing the OVF I had to create the correct checksums to use in the manifest file:
$ shasum covfefe.ovf disk-0.vmdk
249eef04df64f45a185e809e18fb285cadfcd6f0  covfefe.ovf
ae1718beb7d5eb7dfb5158718b0eceda812512a2  disk-0.vmdk

After the changes my manifest file looked like this:
$ cat covfefe.mf 
SHA1 (covfefe.ovf)= 249eef04df64f45a185e809e18fb285cadfcd6f0
SHA1 (disk-0.vmdk)= ae1718beb7d5eb7dfb5158718b0eceda812512a2

I then reassembled the OVA file:
$ tar cf covfefe.ova covfefe.ovf covfefe.mf disk-0.vmdk

Just as a test I also did the assembly using OVF Tool as it did some extra checks while assembling:
$ /Applications/VMware\ OVF\ Tool/ovftool covfefe.ovf covfefe.ova

The OVA has worked flawlessly on everything I've tested it on so far which is VirtualBox 5.1.22, VMware ESXi 6.5, Fusion 8.5.8 and Player 6.0.1.

Prepping a Linux VM for OVA export

These are the steps I recommend to prepare a Linux VM for OVA export. It should keep the size down to a minimum and prevent headaches and confusion down the track!

I'm using VirtualBox but the info applies to VMware. You'll just have to read the VMware documentation for the compacting section.

I am running these commands from a Debian Stretch live CD inside the guest, and have mounted the destination filesystem (/dev/sda1) as /mnt:
$ sudo mount /dev/sda1 /mnt

Disable systemd from renaming network interfaces

If you leave this enabled, you'll have different network interface names for VirtualBox and VMware so your interface definitions won't work in both!

I disable this by adding the kernel parameter "net.ifnames=0", you can do this within /mnt/etc/default/grub:
GRUB_CMDLINE_LINUX="net.ifnames=0"

Then run update-grub from within a chroot:
$ sudo mount --bind /dev /mnt/dev
$ sudo mount --bind /proc /mnt/proc
$ sudo mount --bind /sys /mnt/sys
$ sudo chroot /mnt
# update-grub
# exit
$ sudo umount /mnt/dev /mnt/proc /mnt/sys

You'll now want to adjust /etc/network/interfaces (or equivalent) accordingly to reflect eth0 instead of enp0s17 or whatever.

Sanitise the log directory

Nuke the contents but leave files in place:
$ sudo find /mnt/var/log -type f -exec sh -c 'cat /dev/null > {}' \;

Discard unallocated blocks

Unmount the filesystem then discard unallocated blocks:
$ sudo umount /mnt
$ sudo e2fsck -E discard /dev/sda1

Compact the disk image

This is done from the host, not the guest.

If you're using a VDI file, you can use modifymedium --compact:
https://www.virtualbox.org/manual/ch08.html#vboxmanage-modifyvdi

If you're using a VMDK file, you can use clonemedium:
https://www.virtualbox.org/manual/ch08.html#vboxmanage-clonevdi

Wednesday, 26 April 2017

Installing Raspbian on the Raspberry Pi 3 using raspbian-ua-netinst

I really like using the Raspbian unattended netinstaller (raspbian-ua-netinst) for doing headless installs of Raspbian to Raspberry Pi devices. You pretty much write the installer image to SD, create a configuration file, then insert the SD into the Pi and let it do the rest.

I wasn't able to install Raspbian to my Raspberry Pi 3 using the current latest build (1.0.9) of raspbian-ua-netinst as it still lacks support for this newer hardware.

Below is a quick guide on what I did to get it up and running successfully. I ran this from a Raspberry Pi but you could just as easily use any Linux machine:

Pull down the v1.1.x branch from GitHub:
$ git clone -b v1.1.x https://github.com/debian-pi/raspbian-ua-netinst.git

Download and build:
$ cd raspbian-ua-netinst
$ ./build.sh

Create the images you can then write to SD, this requires root for the loopback setup:
$ sudo ./buildroot.sh

If using a Raspberry Pi with limited swap like myself, you may get an error when creating the xz archive due to it being unable to allocate sufficient memory to xz. It's no problem as you can use the uncompressed or bz2 image.

As an example you could run bzcat raspbian-ua-netinst-20170426-gited24416.img.bz2 redirected to the destination SD card (the card itself, not a partition device).

Hopefully this post will be redundant soon when a newer raspbian-ua-netinst is released with Raspberry Pi 3 support, but until then I hope this is useful to someone!

Monday, 19 December 2016

Issue where KVM guest freezes just before installation of CentOS 7

I've been playing around with KVM on CentOS 7 in preparation for the RHCE exam. I was experiencing an issue where the guest virtual machine would freeze just before attempting an install (again, CentOS 7 as the guest).

The testing machine is quite old (has an Intel Core 2 6400 CPU) but it hasn't shown any other symptoms of hardware issues.

The logs didn't appear to show anything of interest other than some debugging information which is apparently normal:
[20389.379023] kvm [19537]: vcpu0 unhandled rdmsr: 0x60d
[20389.379034] kvm [19537]: vcpu0 unhandled rdmsr: 0x3f8
[20389.379039] kvm [19537]: vcpu0 unhandled rdmsr: 0x3f9
[20389.379043] kvm [19537]: vcpu0 unhandled rdmsr: 0x3fa
[20389.379048] kvm [19537]: vcpu0 unhandled rdmsr: 0x630
[20389.379053] kvm [19537]: vcpu0 unhandled rdmsr: 0x631
[20389.379057] kvm [19537]: vcpu0 unhandled rdmsr: 0x632

Anyway, I was able to work around the issue by feeding the "--cpu host" option to virt-install, or by ticking "Copy host CPU configuration" under the CPUs tab of the VM configuration.

Hope this helps save someone else some time!

Monday, 10 October 2016

Installing Debian on the APU2

This is a short post detailing the install of Debian on the PC Engines APU2 using PXE.

First of all you'll need to ensure you are running version 160311 or newer BIOS. You can find the BIOS update details here. If the PXE options are missing then there's a good chance you aren't running a new enough BIOS!

Connect to the system's console via the serial port using a baud rate of 115,200. I typically use screen on Linux/macOS or PuTTY on Windows.

Start the APU2 and press Ctrl+B when prompted to enter iPXE, or choose iPXE from the boot selection menu (F10).

Attept boot from PXE using DHCP:
iPXE> autoboot

If all is well you will get to the "Debian GNU/Linux installer boot menu" heading, press TAB to edit the Install menu entry.

This should bring up something along the lines of:
> debian-installer/amd64/linux vga=788 initrd=debian-installer/amd64/initrd.gz --- quiet

You'll want to define the serial console by adding the console parameter to the end (and preseed parameter if used):
> debian-installer/amd64/linux vga=788 initrd=debian-installer/amd64/initrd.gz --- quiet console=ttyS0,115200

Press enter and you should be on your way!

PXE boot Debian using RouterOS as PXE server

I would typically use a Linux server for the purposes of PXE booting, but this is so straightforward it's a very attractive option. I'm using a MikroTik RB2011 (RouterOS v6.34.6) successfully.

This example assumes your router's LAN IP is 172.16.8.1 and the local subnet is 172.16.8.0/24.

First of all, download the netboot archive to a Linux machine (I'm using a Raspberry Pi here):
tim@raspberrypi /tmp $ wget http://ftp.au.debian.org/debian/dists/jessie/main/installer-amd64/current/images/netboot/netboot.tar.gz
tim@raspberrypi /tmp $ wget http://ftp.au.debian.org/debian/dists/jessie/main/installer-amd64/current/images/SHA256SUMS

Check that your archive matches the checksum file:
tim@raspberrypi /tmp $ grep `sha256sum netboot.tar.gz` SHA256SUMS
SHA256SUMS:460e2ed7db2d98edb09e5413ad72b71e3132a9628af01d793aaca90e7b317d46  ./netboot/netboot.tar.gz

Extract the archive to a tftp directory:
tim@raspberrypi /tmp $ mkdir tftp && tar xf netboot.tar.gz -C tftp

Copy tftp folder to the MikroTik:
tim@raspberrypi /tmp $ scp -r tftp admin-tim@172.16.8.1:

On the MikroTik, configure TFTP on MikroTik with a base directory of /tftp (omitting req-filename matches all):
[admin-tim@MikroTik] /ip tftp add ip-address=172.16.8.0/24 real-filename=tftp

Configure DHCP for PXE booting:
[admin-tim@MikroTik] /ip dhcp-server network set [ find address=172.16.8.0/24 ] boot-file-name=pxelinux.0 next-server=172.16.8.1

Thursday, 4 August 2016

Electric bike build part 5

Continued from Electric bike build part 4.

After about 6 revisions I finally had a workable design for mounting my accessories. I decided to design a mount in two parts that when brought together form a ring around the stem to allow a second "row" of stuff to be mounted.

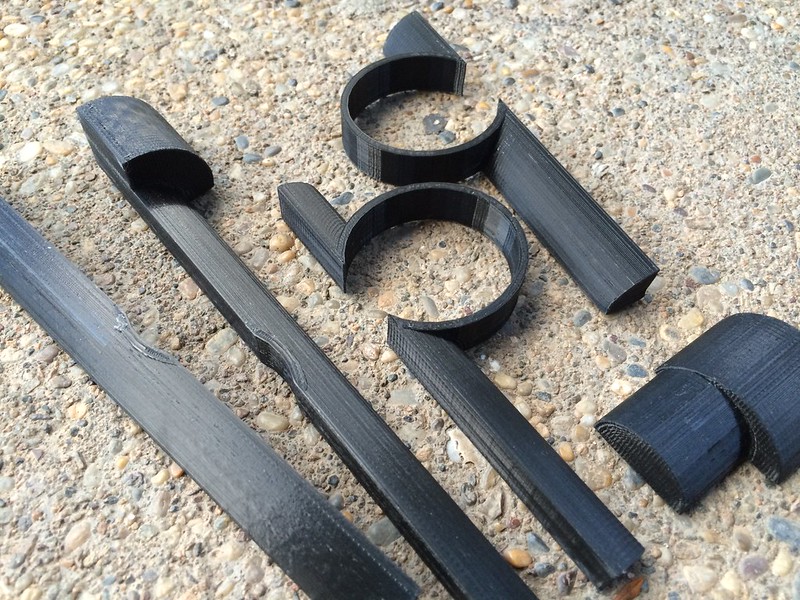
Here's the final design:


It is all held together only by the accessories mounted to it, but it seems quite solid. Originally the top and bottom parts were identical, but I had to change to an offset design to mount the light higher. The larger lobe is to accomodate the headlight's mount which is designed for an oversized bar.

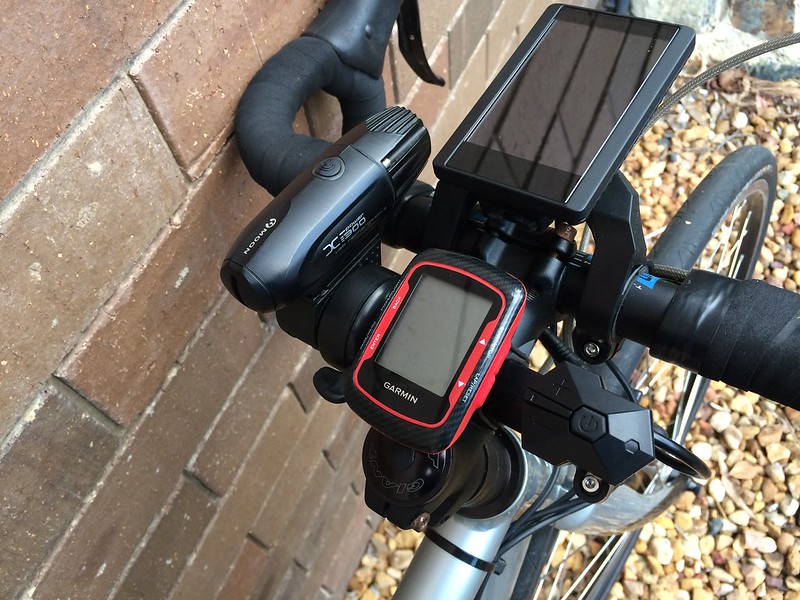
Here's everything bolted up and in place, I'm very happy with the result:


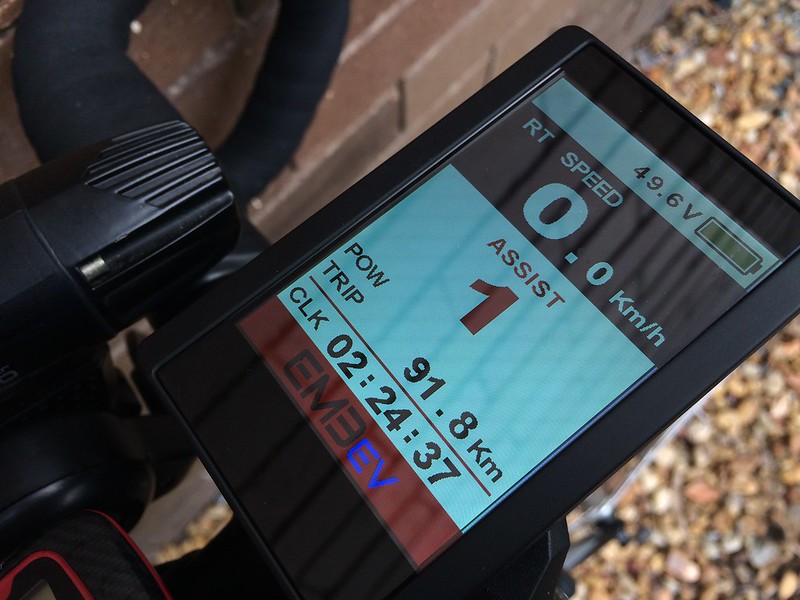
The throttle is easily within reach of my left thumb when not in the drops, and I can safely keep my right hand near the front brake at the same time. I also really like having the Bafang display quite far forward as it makes it always easy to see. The IPS display looks amazing even in direct sunlight:


I took the bike for a test ride and wasn't able to wipe the grin from my face! Talk about making cycling effortless!

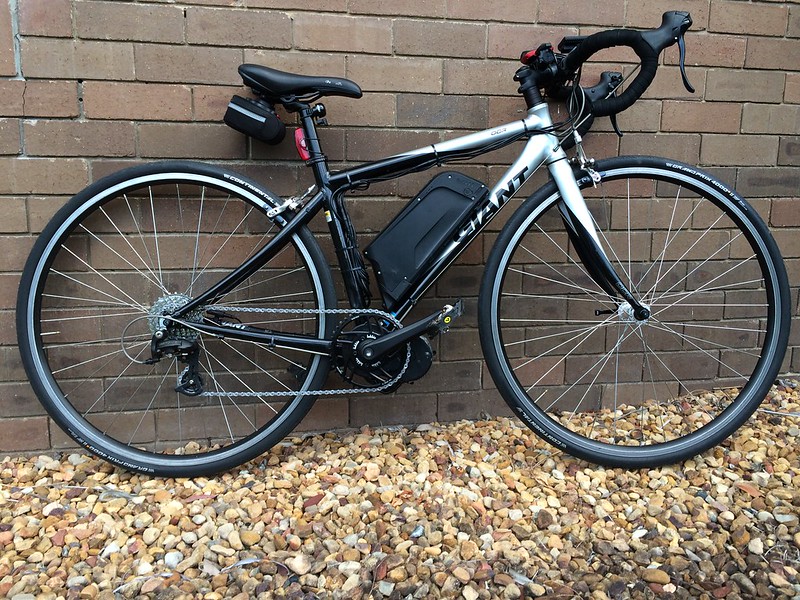
Here's the bike fully completed, although disregard the low seat hight:


The 42/11-30 gearing seems to work quite well for my intended purpose of using this bike as a commuter.

I have a warning though; I have used the bike four times now and have done about 90km. In the last 10km I noticed a bit of a clicking noise when pedalling, it turns out the lock ring had become slightly lose. This surprised me as I used thread locker and applied the correct amount of torque to the lock ring, I assumed the ones having trouble weren't doing the install correctly. Today I re-tightened the lock ring to "epic tight" and will monitor it.

Continued at Electric bike build part 6.

Electric bike build part 4

Continued from Electric bike build part 3.

The next stage of the build was fitting the additional sensors. The kit came with a wheel speed sensor, and as my bike has drop bars I optioned two HWBS (Hidden Wire Brake Sensor) devices.

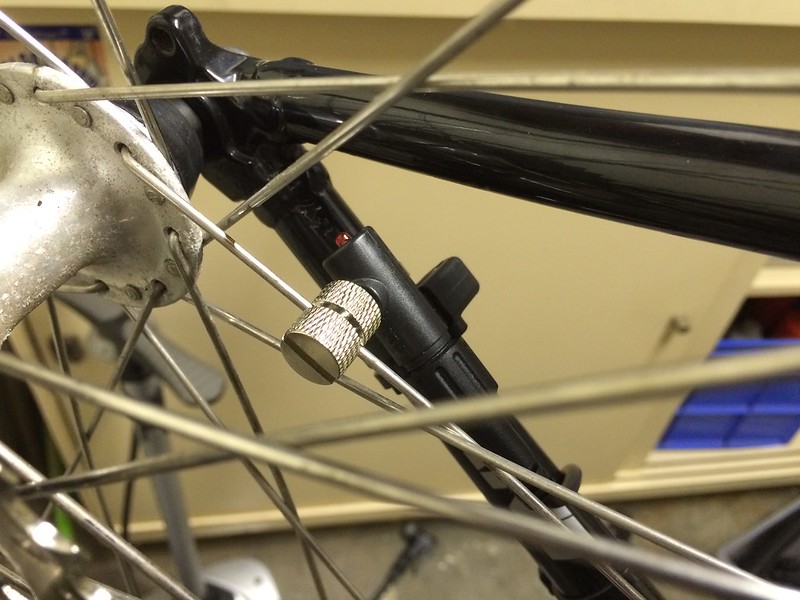
Here's the wheel speed sensor and magnet fitted, talk about a monster magnet:


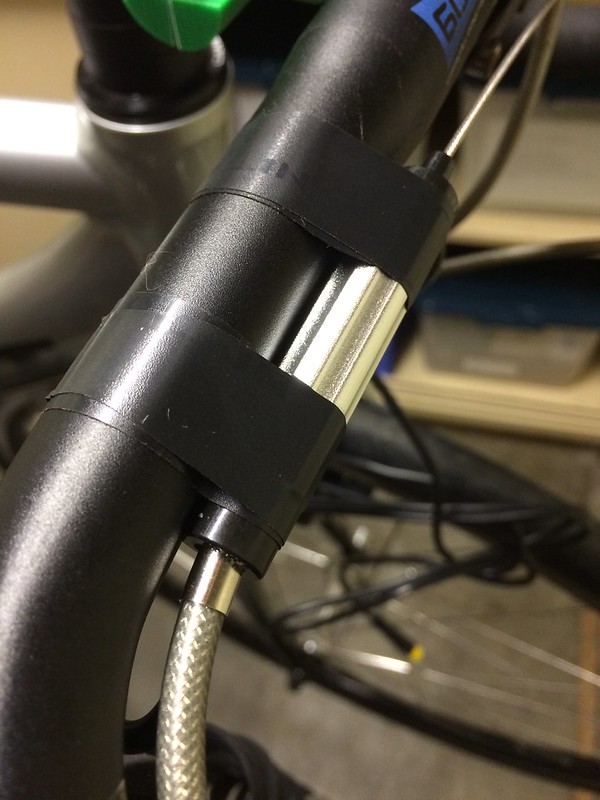
I decided to fit the brake sensors along the bars themselves by peeling back the bar tape a bit:


No where to be seen, and as an added bonus gives the bars quite an ergo feel:


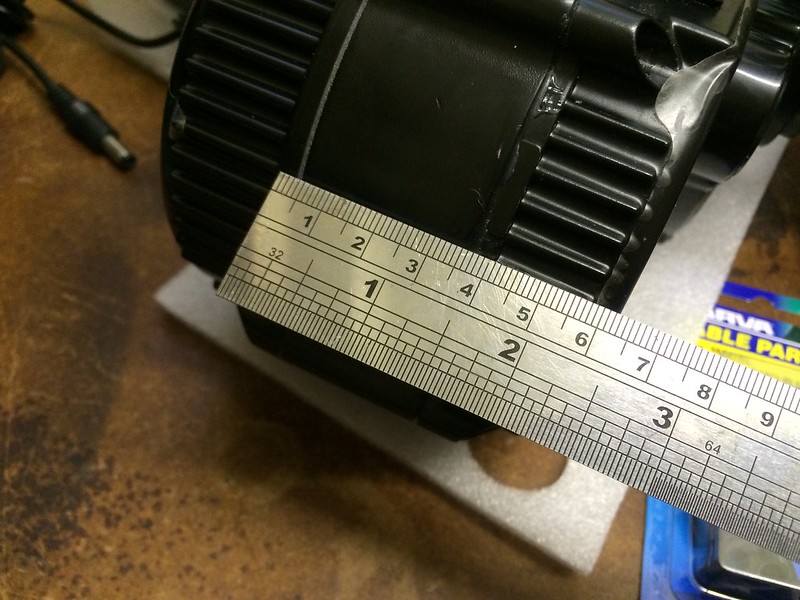
I now had to plan where to mount the screen, throttle and controls. I also had to keep room for a headlight and Garmin bike computer. The biggest problem (which I had known all along) was the internal diameter of the throttle and controls (22.2mm) being too small for my drop bars.

Having access to a 3D printer, I designed some parts to mount these accessories.

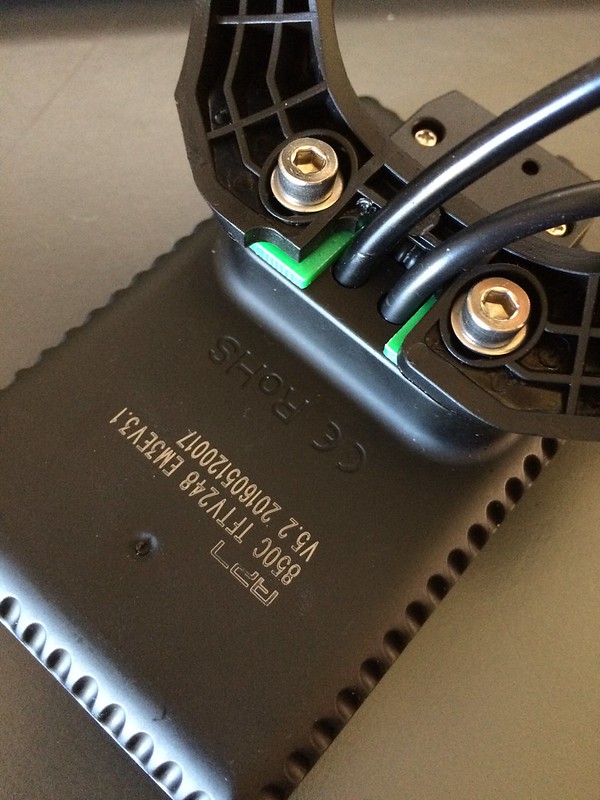
The first part I designed was a spacer for the DPC-14 display so I could orient the screen on the bracket by 180 degrees. Some Bafang documentation suggests this is possible but on my screen with a charge port, the charge port wires get in the way.

Here are some pics of the screen with the spacer fitted, and with the fasteners replaced with longer ones to retain the same thread engagement:


You can download the model file from Thingiverse.

Continued at Electric bike build part 5.

Saturday, 23 July 2016

Electric bike build part 3

Continued from Electric bike build part 2.

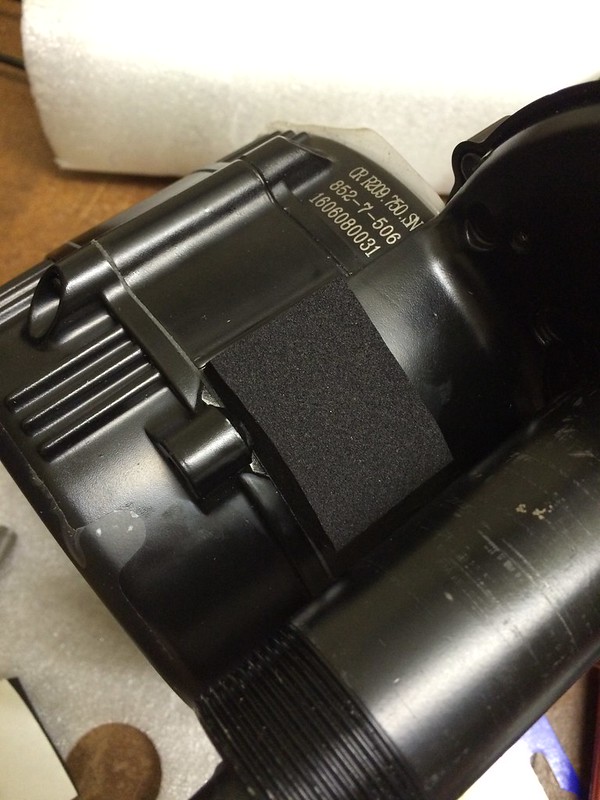
I now had all the parts and tools available to fit the motor to the BB shell. I had read that the high torque from the motor could dent alloy frames so I picked up some Neoprene rubber to try and reduce the chance of this happening:


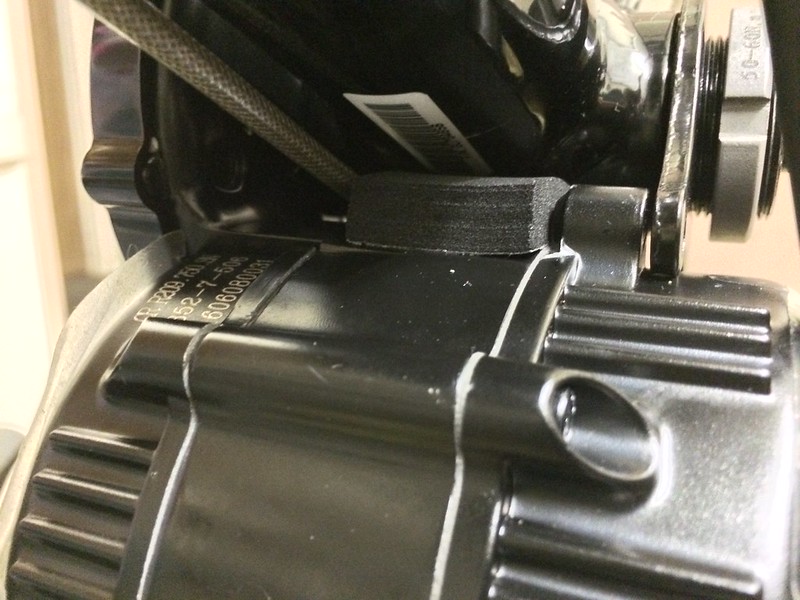
Rubber applied:


Test fit, the final fit will have the rubber fully compressed between the motor and frame:


Looks good!

One slight issue I had was the hole on this steel bracket being drilled slightly offset, meaning the fastener wasn't able to be fitted without binding. I drilled the hole 0.5mm larger then nail polished the exposed metal:


Thanks yet again to my Aldi bike toolkit I had the right tool on hand. I was able to (blue) Loctite then tighten at the same time as holding the motor against the frame fully compressing the rubber:


All done:


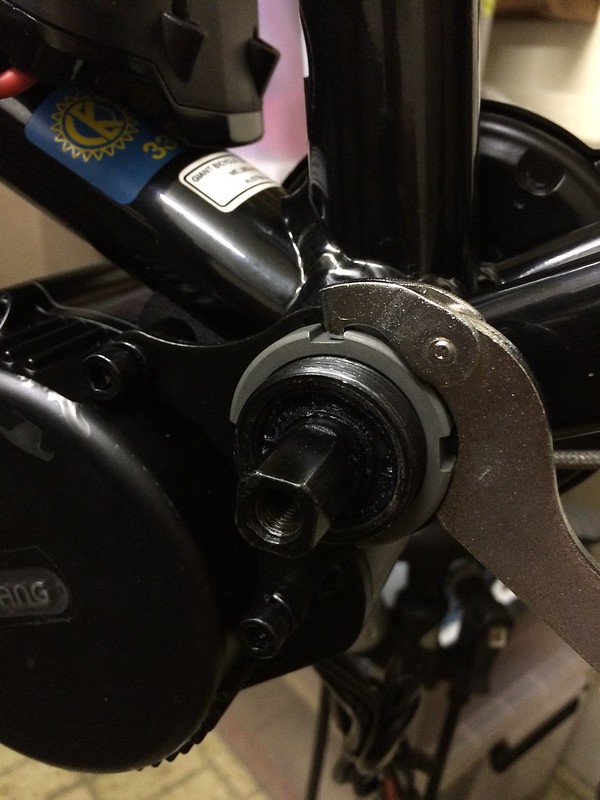
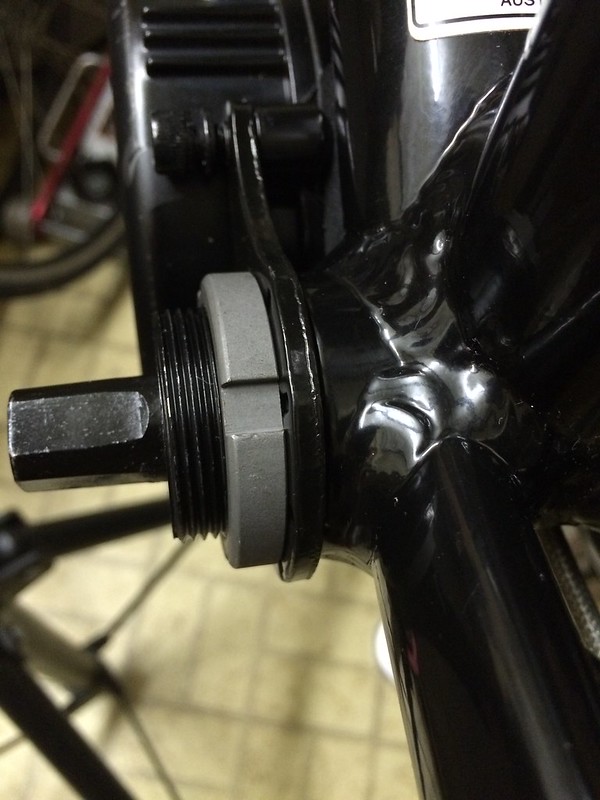
I then applied Loctite to the two additional bolts and the extra lockring (you can use a standard Shimano Hollowtech II tool) then fitted:


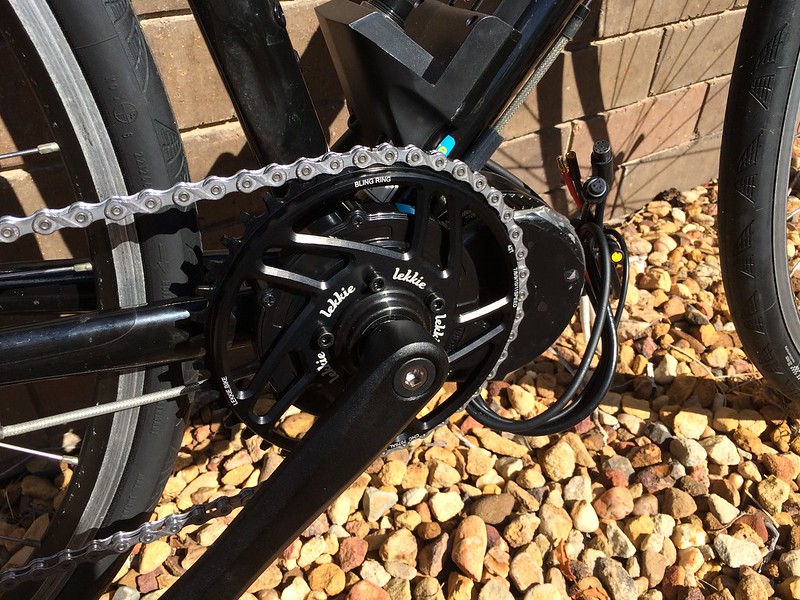
Here's a pic after I fitted both crankarms and chain:


It's starting to come together!


Continued at Electric bike build part 4.

Monday, 18 July 2016

Electric bike build part 2

Continued from Electric bike build part 1.

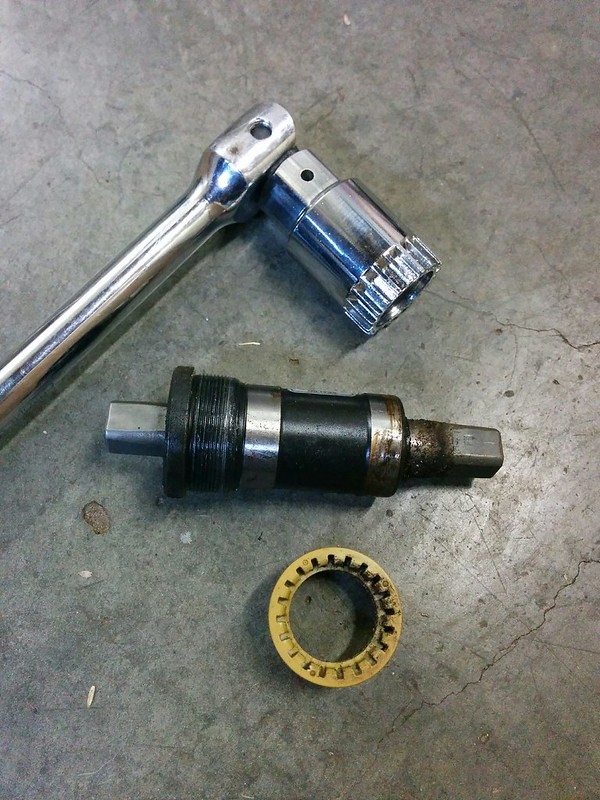
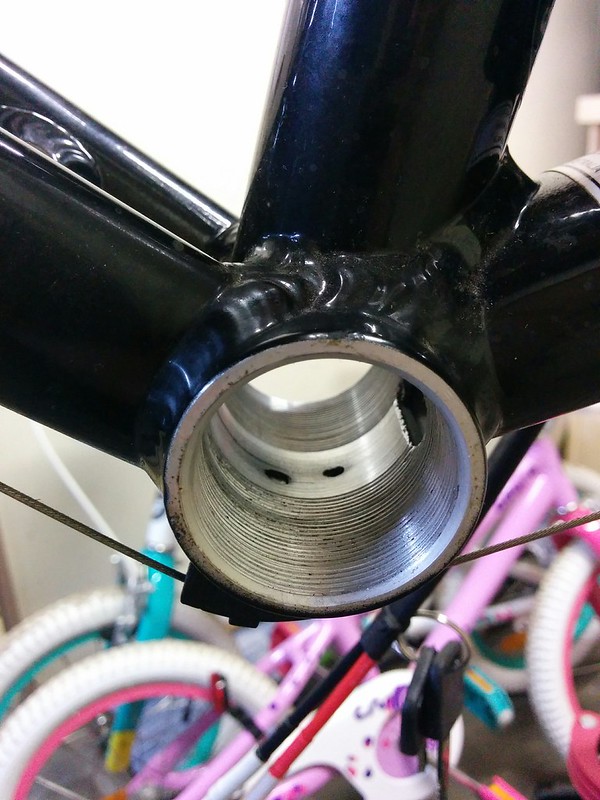
The tool now worked fine to remove the bottom bracket:


The shell looks really clean already:


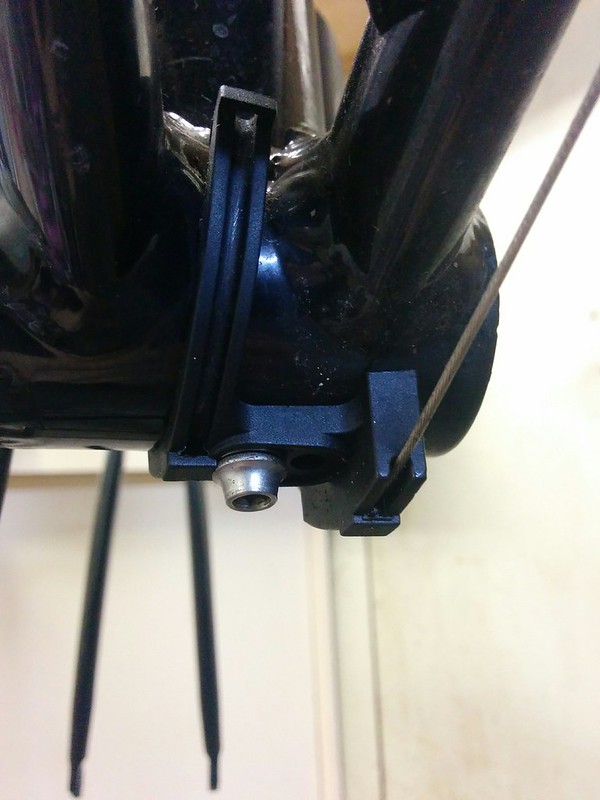
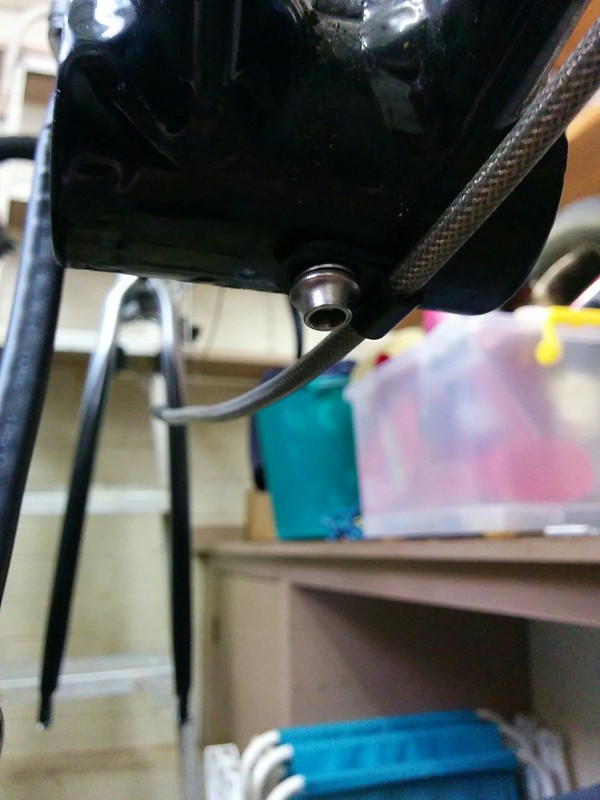
Here's the next snag, the bracket for the shifter cables gets in the way of the BBS02:


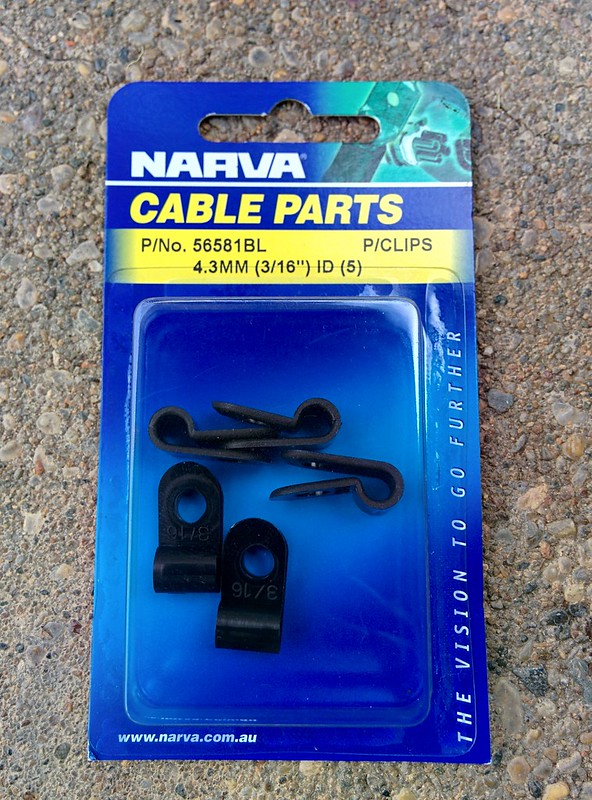
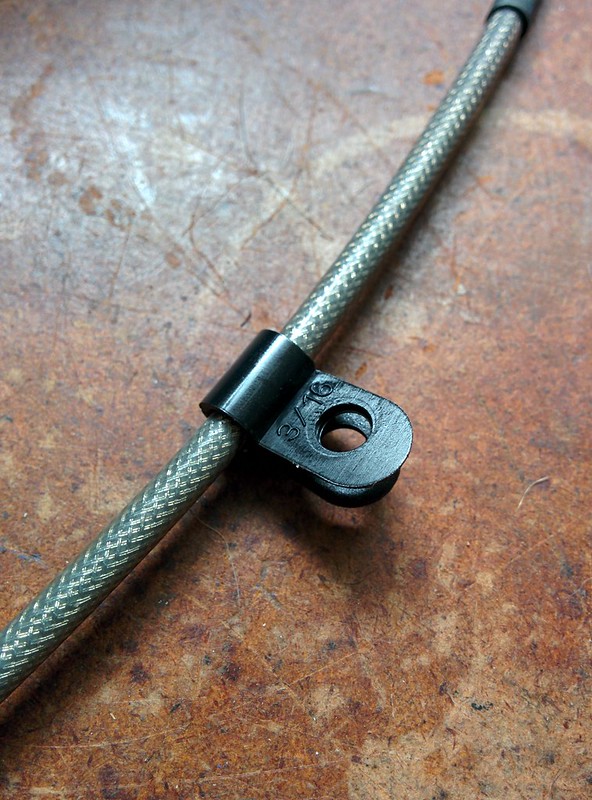
After a bit of thinking, I came up with the idea of using some cable outer tube and a cable clamp. Here are the clamps I bought:


Looks promising:


Bolts up fine:


Yes! It worked:


Time will tell if this is a reliable solution, but it looks pretty good to me. I'll probably zip tie the cable outer to the frame at each side with a gentle radius.

Continued at Electric bike build part 3.

Electric bike build part 1

I have been collecting the bits to put together my first electric bike. It's still a work in progress so this will be my build diary. The objective is a reliable and quick road/bikeway commuter to make biking to work a more attractive option!

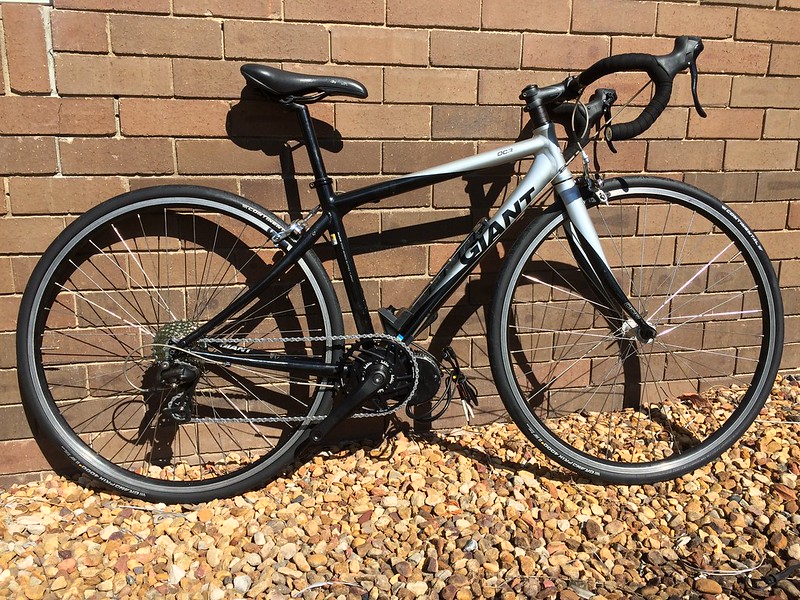
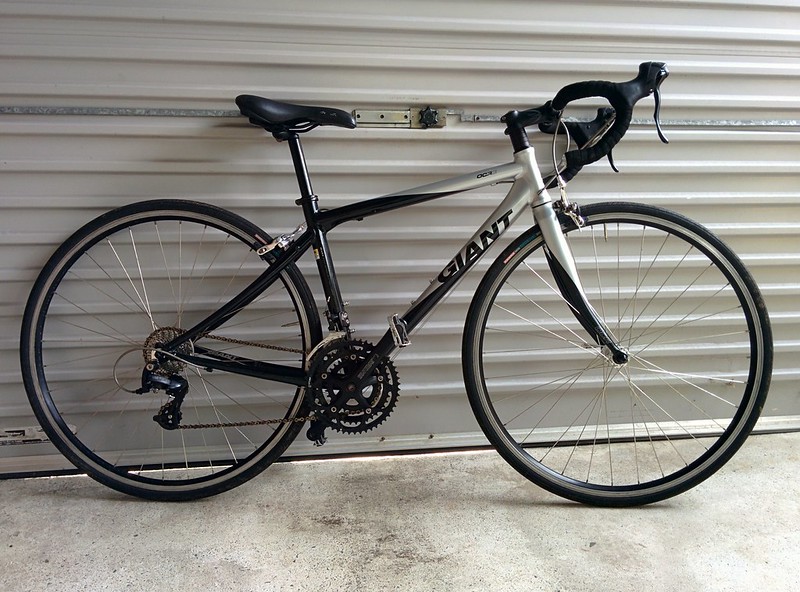
My first purchase was a used 2008 Giant OCR complete with weathered chain and perishing tyres:


At first I thought the rims were worn but it is just some surface corrosion, the bike has barely done any mileage. Importantly the frame, brakes, wheels and RD/shifters are all working well. I pretended the bike was a CX bike and took it on some trails near my house to test everything was working as intended, it all seems quite solid. The standard RD-2200 rear derailleur even worked smoothly with a 11-32 cassette!

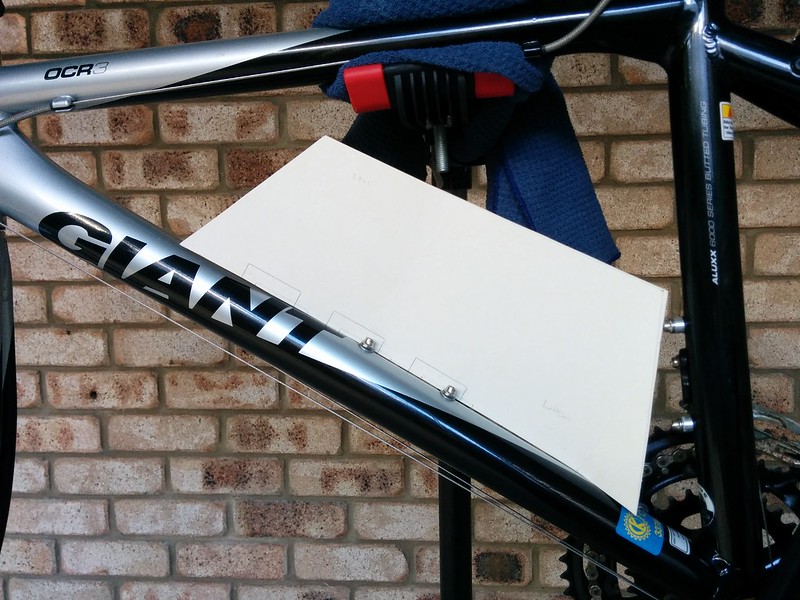
The next step was to make a cardboard template to ensure the battery pack I intended to buy would fit, a shame both drink holders are no longer usable but looks good otherwise:


I also checked the distance between the BB shell and the outside of the frame (quite small, so no problems here), and the type of BB shell (68mm English). Everything checks out, time to pull that trigger on the order!

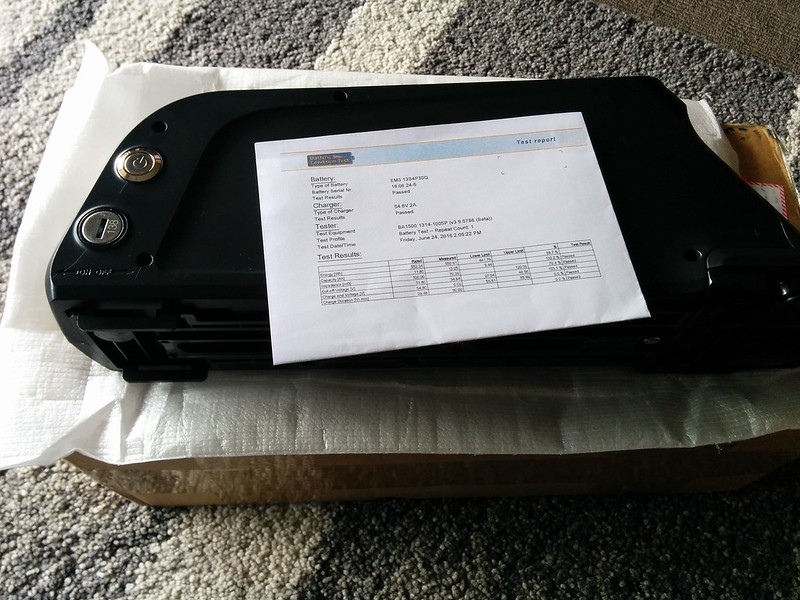
I bought the BBS02 from Paul and his team at EM3EV, my only comment is they had a shipping issue with the battery using TNT but everything was sorted out quickly by them using an alternate carrier at no cost to me. Big thumbs up for service from EM3EV, and their workmanship on the crimping/heatshrink looks great. Here are the fun bits:


Armed with my $20 Aldi bike toolkit, I started stripping down the bike and removing the crank, the tools held up fine for this step:


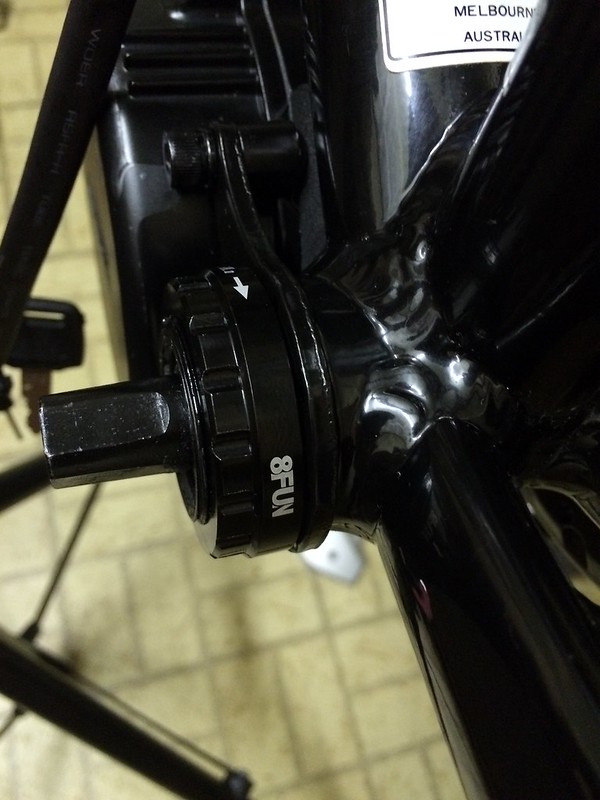
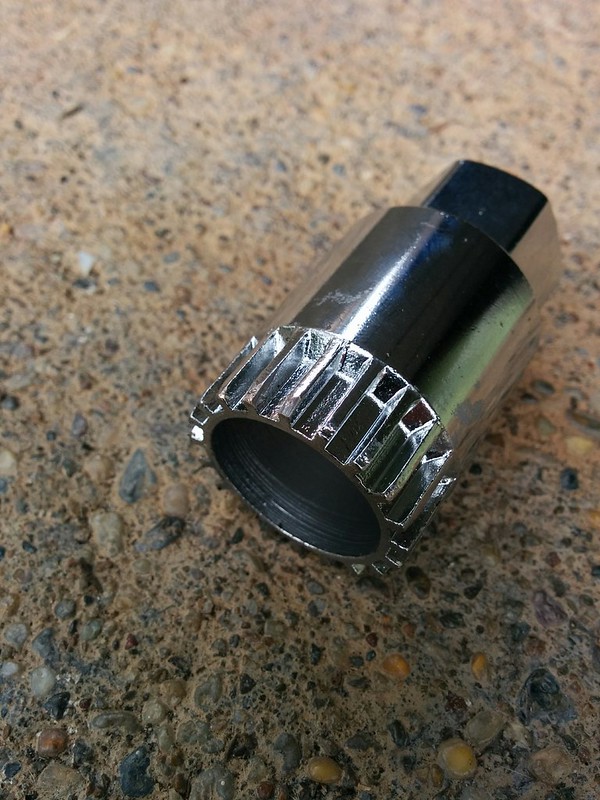
Unfortunately when I went to remove the bottom bracket cup I found the tolerances on the tool weren't good enough and some splines were too fat:


Fortunately I was able to tidy these up with an angle grinder:


I have done a test fit of the tool and it engages fine now, but I haven't gotten any further. I'll try to document the rest of the build as I go. I hope you find this build as interesting as I do!

Continued at Electric bike build part 2.

Wednesday, 17 February 2016

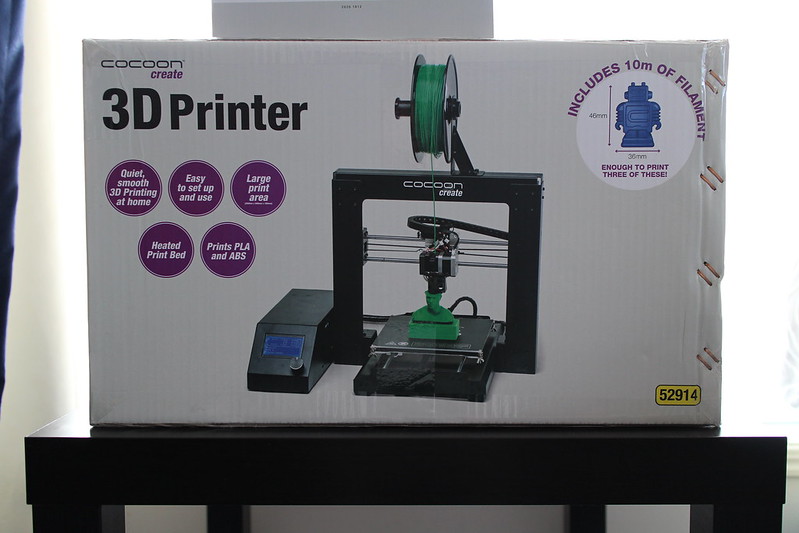
Aldi 3D printer

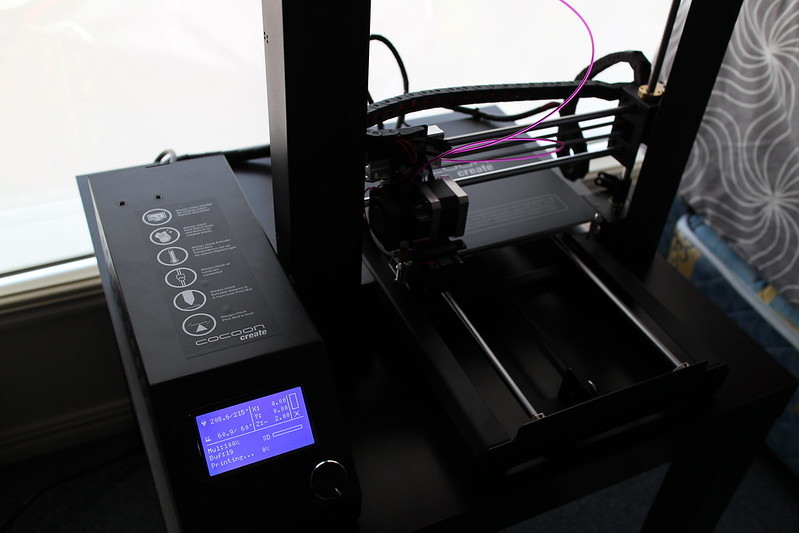
I picked up an Aldi "Cocoon Create" 3D printer this morning and spent a bit of time trying it out. It appears to be a rebranded Wanhao I3:


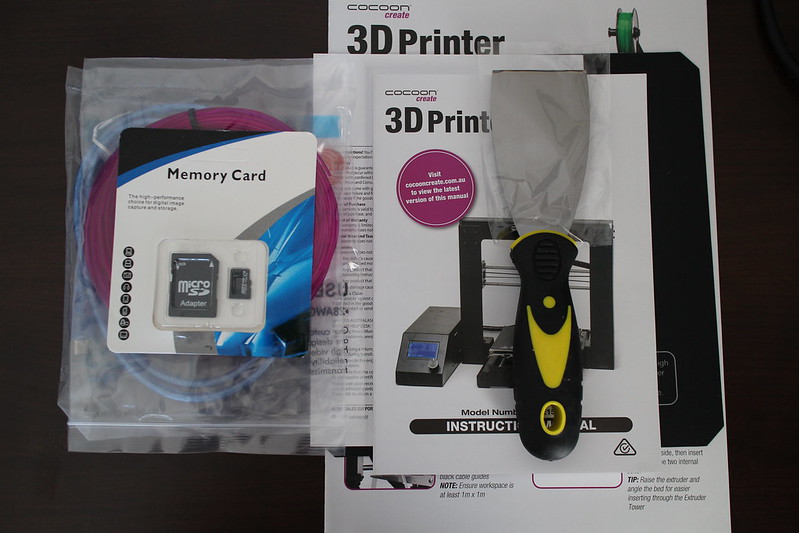
The unit was packed really well and included a few goodies including a really comprehensive printed manual:


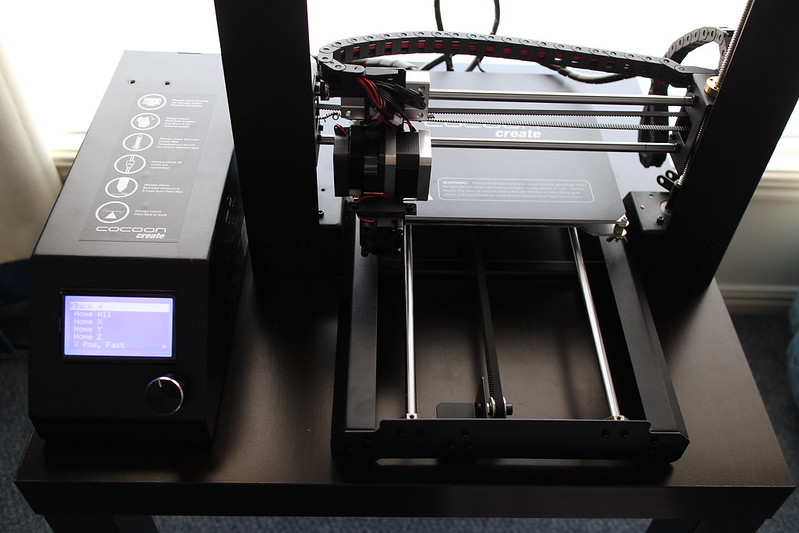
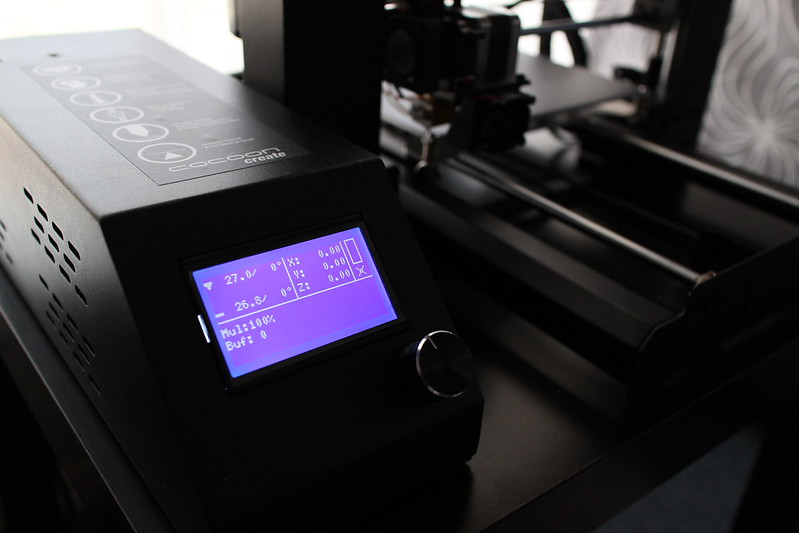
Putting the unit together was really simple, here's the unit after following the quick start guide:


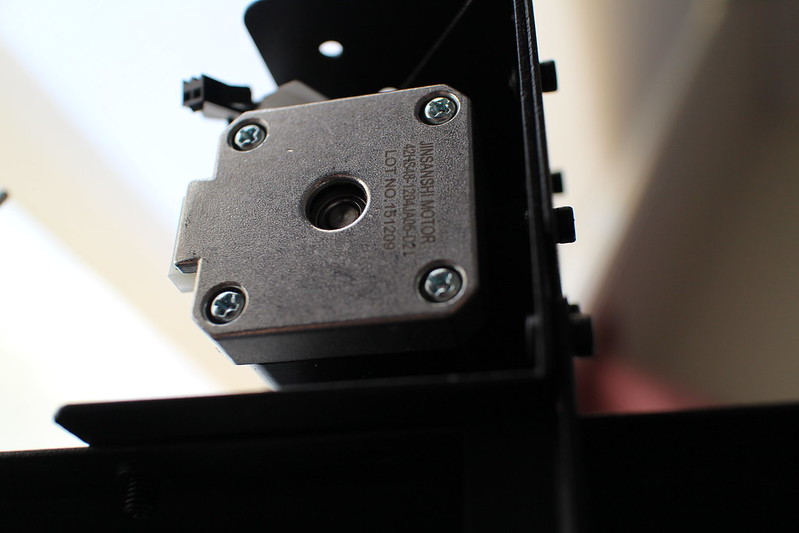
It's using Jinsanshi Motor stepper motors, they seem to be fairly quiet:


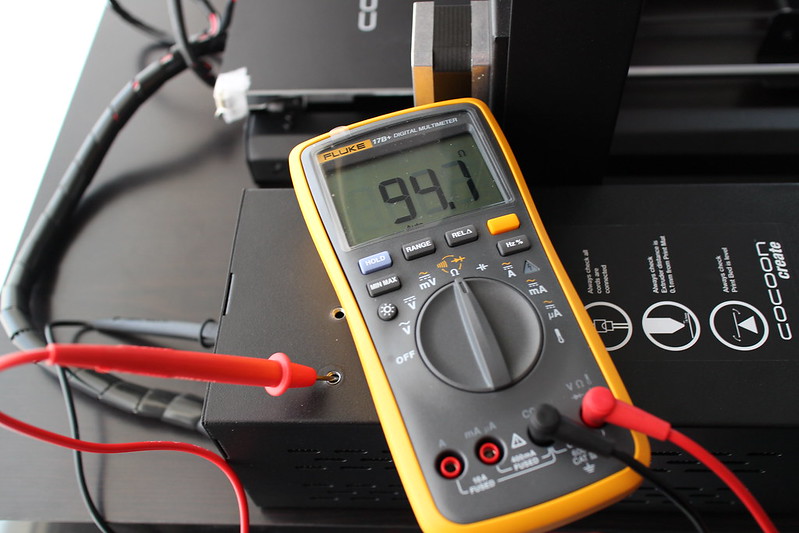
The earth pin is connected:


Here's a photo I took during bed levelling:


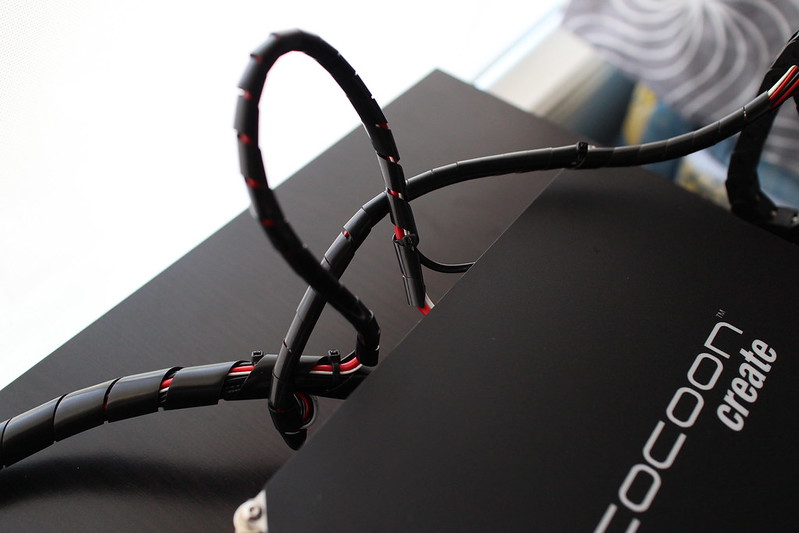
This cord was pinching a bit, so I pulled it upward to resolve the issue:


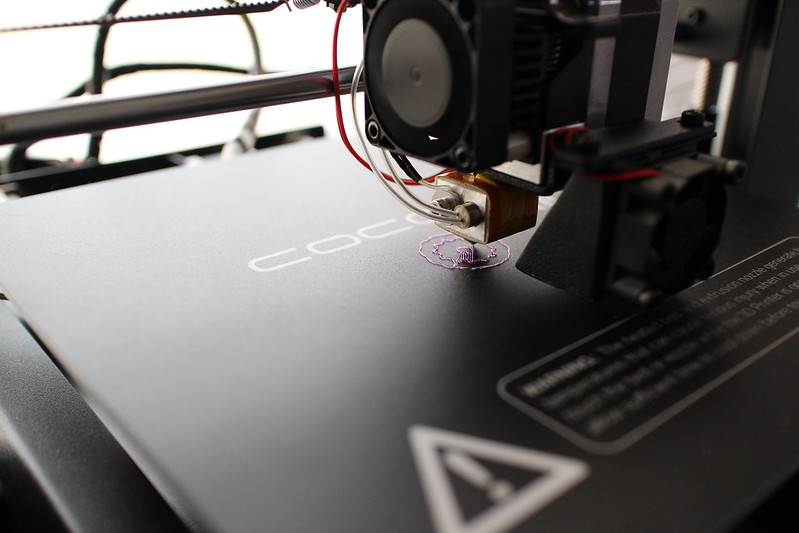
First print:


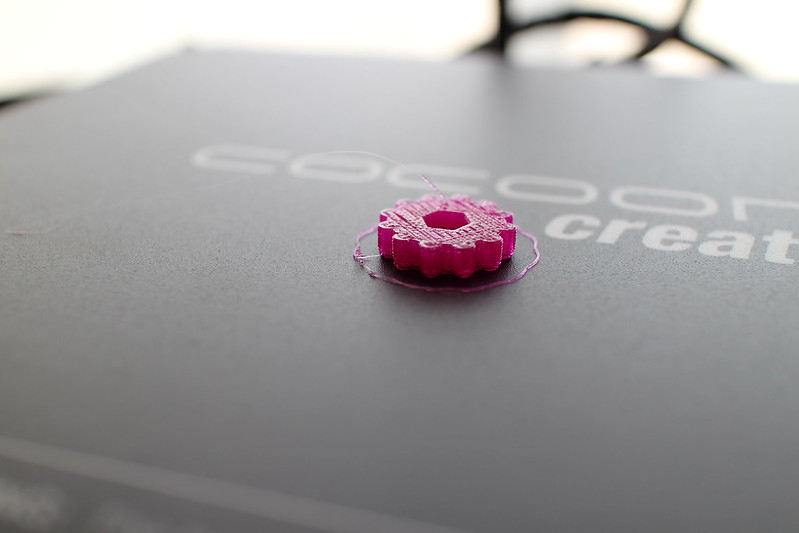
All done:


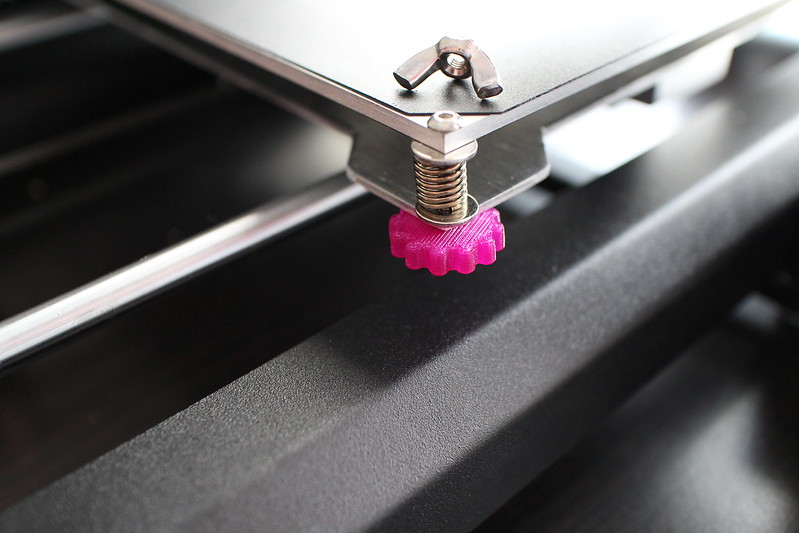
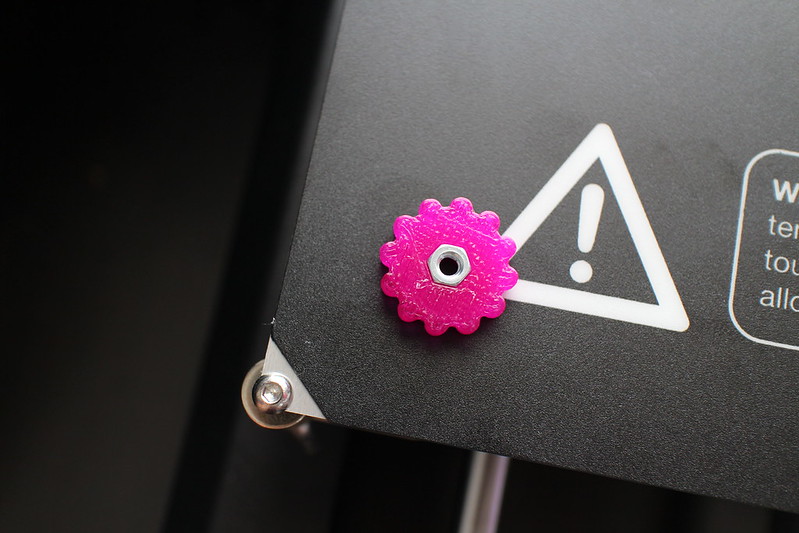
Improving the machine already:


I'm really quite impressed with this machine especially given the price point. I was up and away printing a job within 15 minutes of opening the box.

The only thing I can whine about is the power supply fan which is unnecessarily loud. You certainly wouldn't want to have the thing running all day in the same room in an office environment.