Showing posts with label Bike. Show all posts

Sunday, 25 November 2018

Electric bike build part 6

Continued from Electric bike build part 5.

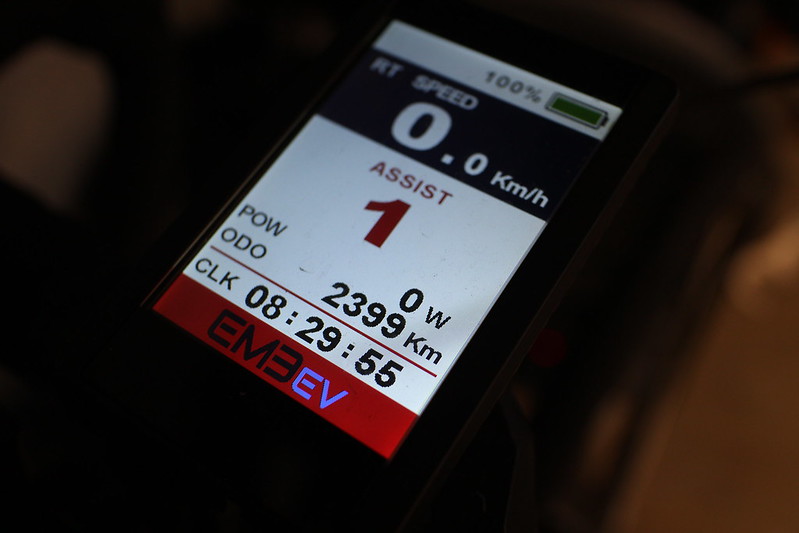
My electric bike has almost hit 2,400km and only just now has required another re-torque of the motor. I haven't had any other issues other than a bit of rubbing from the 28mm tyres - it's really touch and go with this frame and I've been told the GP4000 tyres are fatter than advertised.


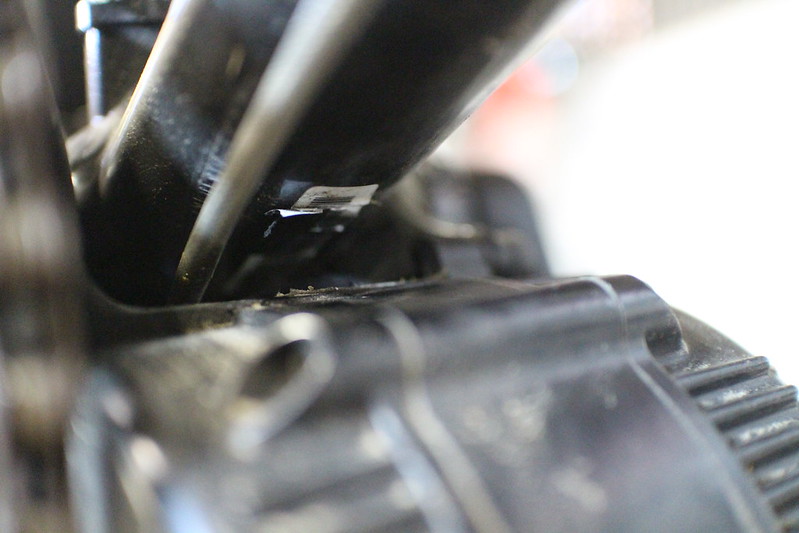
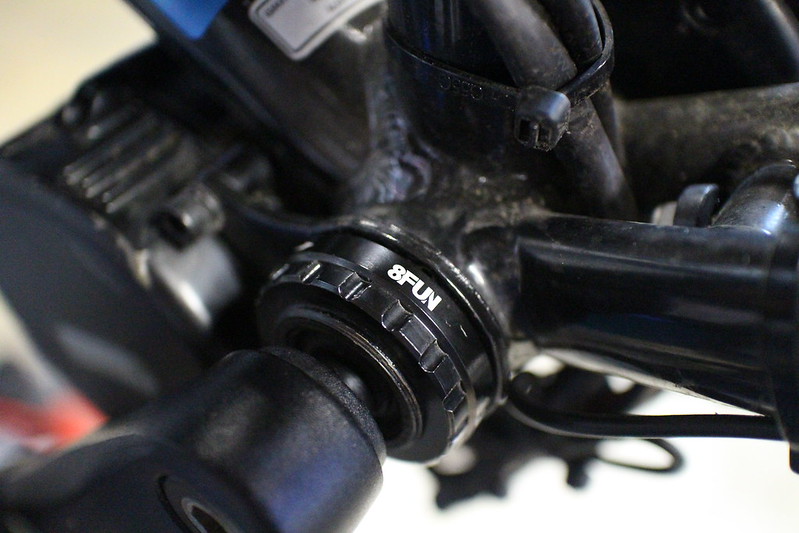
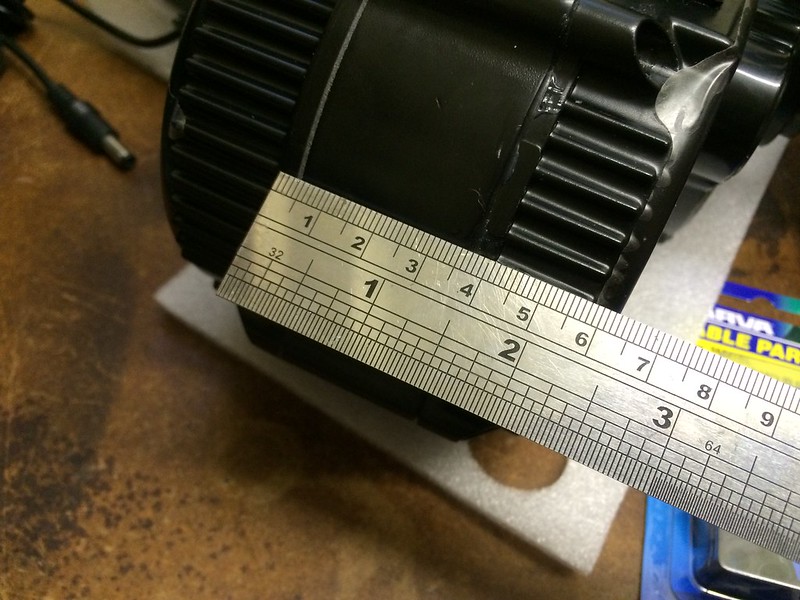
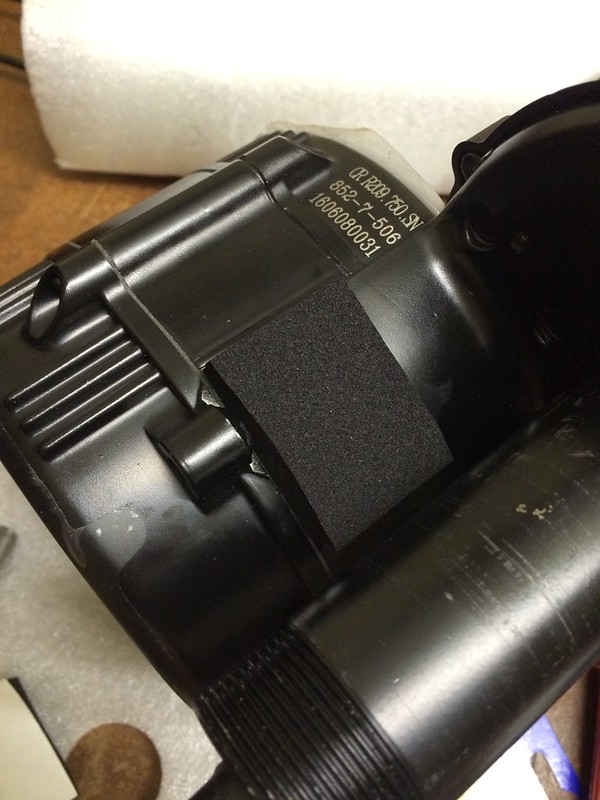
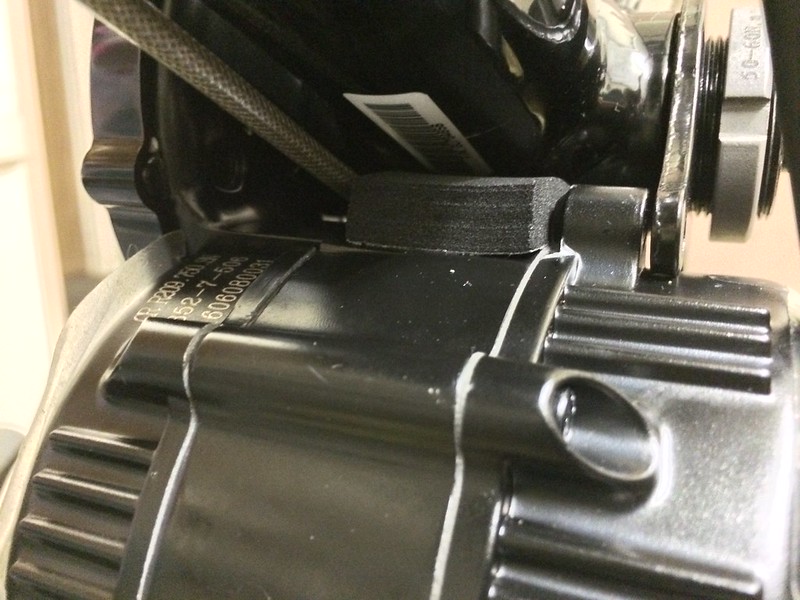
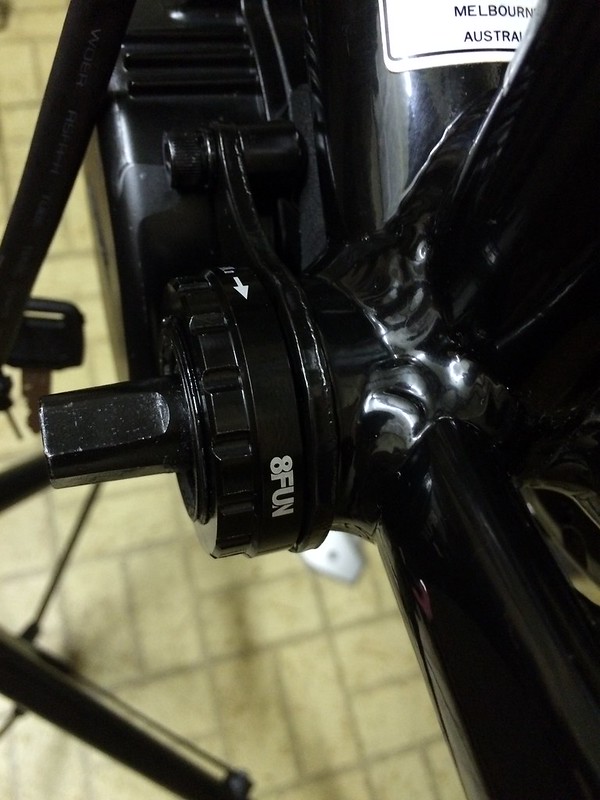
It looks like the rubber has been completely wiped out by motor movement:


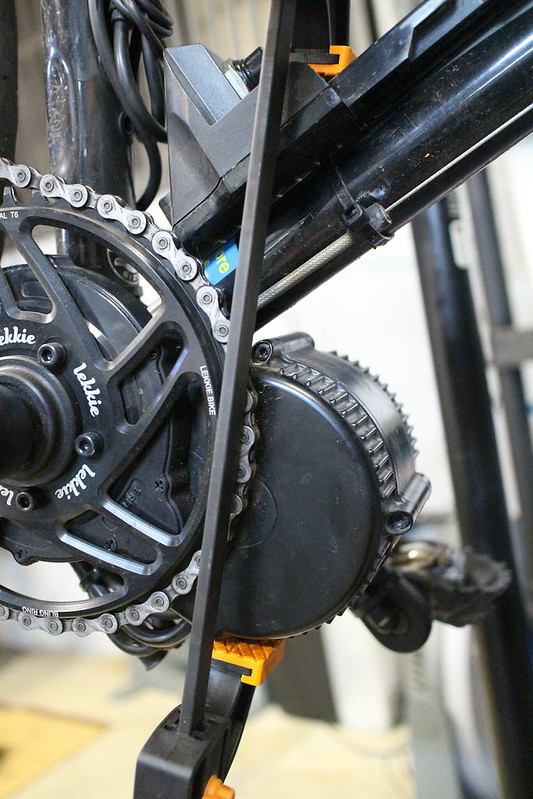
A clamp came in handy to hold the motor in place while doing the re-torque:


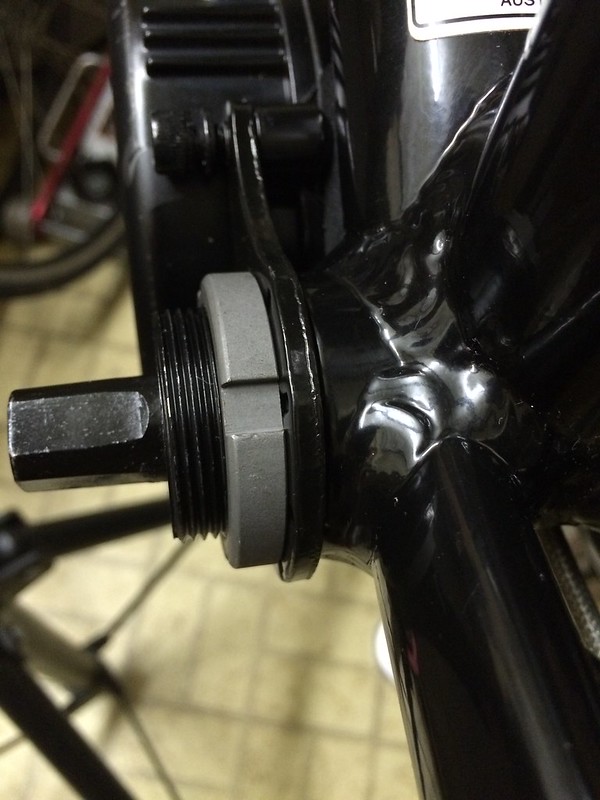
Thread locker applied again to both rings:


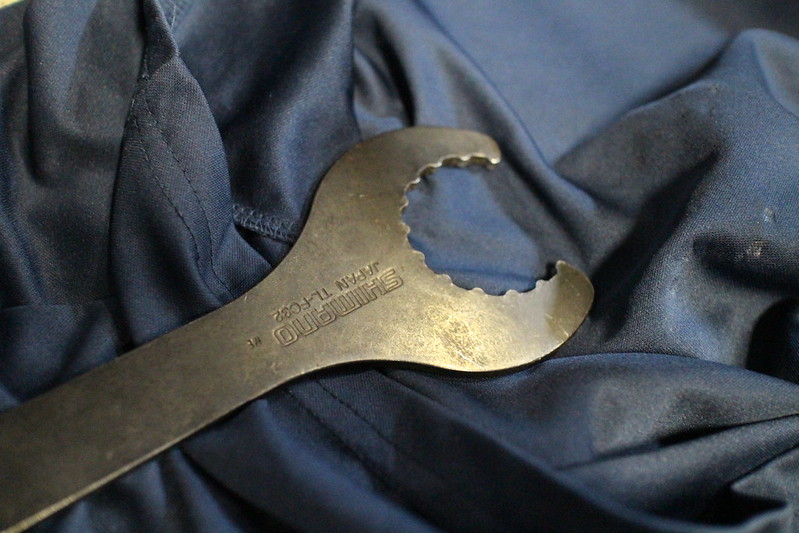
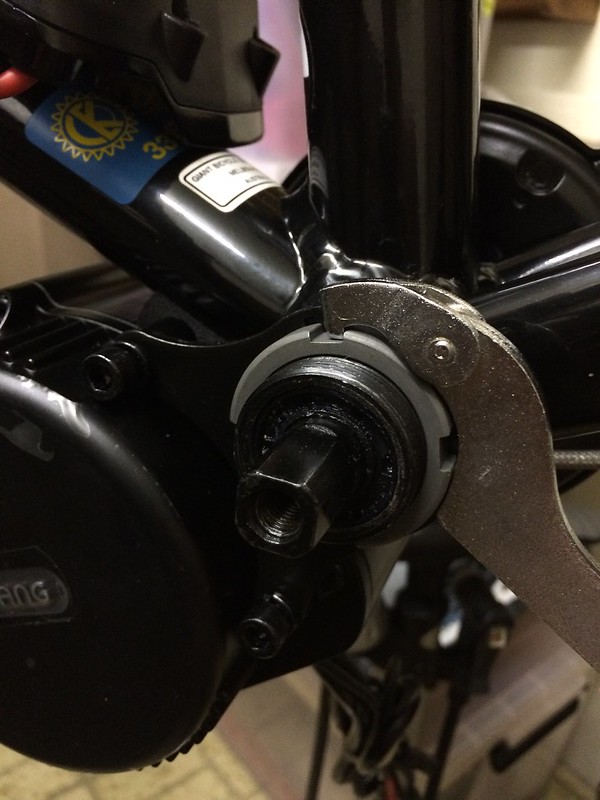
I used the spanner through an old shirt to keep the alloy lock ring looking pretty:


I still think it's an awesome machine and a great way to commute! No regrets!

All I can think of is if I had to do it all over again I'd look at a bike with disc brakes and a bit more clearance for wider tyres so I can run lower pressures, but I'm in no rush to make the change.

Thursday, 4 August 2016

Electric bike build part 5

Continued from Electric bike build part 4.

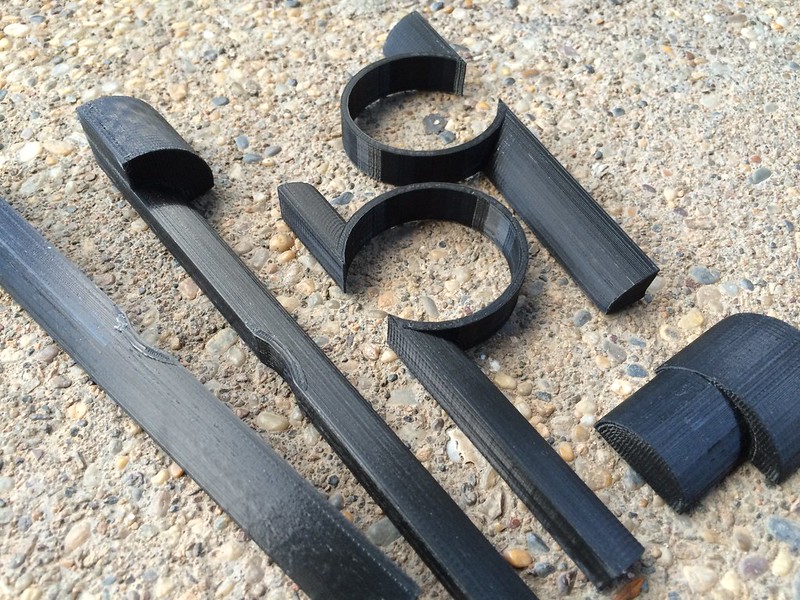
After about 6 revisions I finally had a workable design for mounting my accessories. I decided to design a mount in two parts that when brought together form a ring around the stem to allow a second "row" of stuff to be mounted.

Here's the final design:


It is all held together only by the accessories mounted to it, but it seems quite solid. Originally the top and bottom parts were identical, but I had to change to an offset design to mount the light higher. The larger lobe is to accomodate the headlight's mount which is designed for an oversized bar.

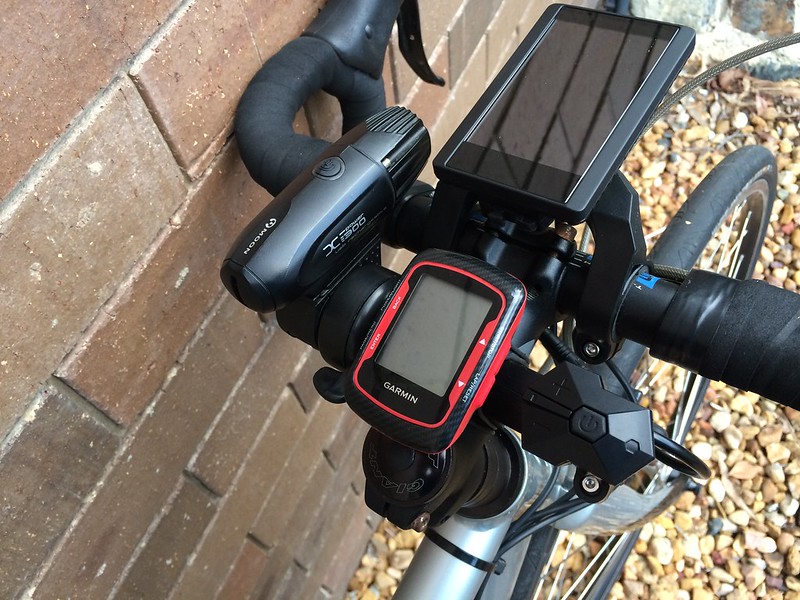
Here's everything bolted up and in place, I'm very happy with the result:


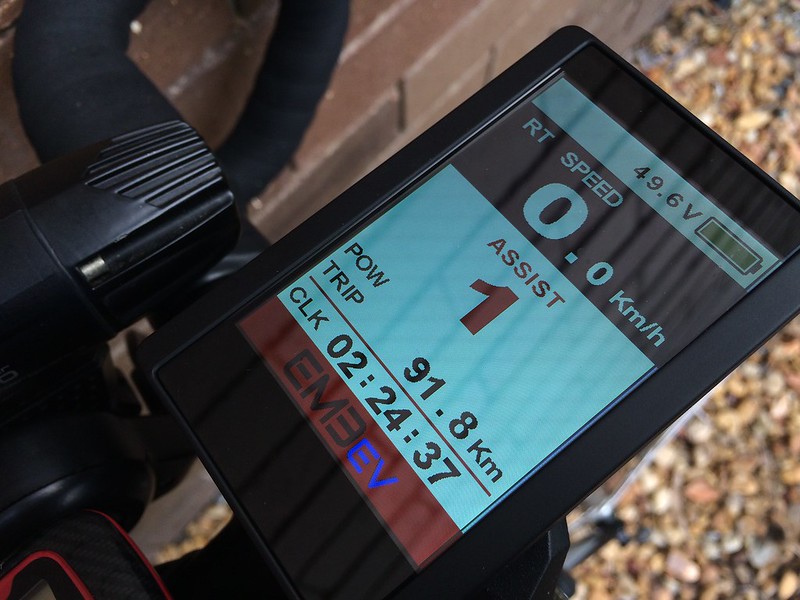
The throttle is easily within reach of my left thumb when not in the drops, and I can safely keep my right hand near the front brake at the same time. I also really like having the Bafang display quite far forward as it makes it always easy to see. The IPS display looks amazing even in direct sunlight:


I took the bike for a test ride and wasn't able to wipe the grin from my face! Talk about making cycling effortless!

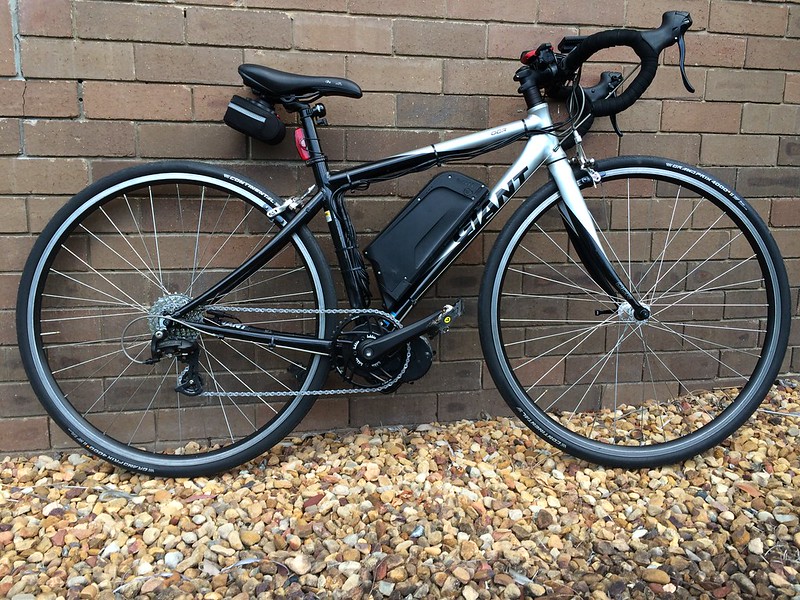
Here's the bike fully completed, although disregard the low seat hight:


The 42/11-30 gearing seems to work quite well for my intended purpose of using this bike as a commuter.

I have a warning though; I have used the bike four times now and have done about 90km. In the last 10km I noticed a bit of a clicking noise when pedalling, it turns out the lock ring had become slightly lose. This surprised me as I used thread locker and applied the correct amount of torque to the lock ring, I assumed the ones having trouble weren't doing the install correctly. Today I re-tightened the lock ring to "epic tight" and will monitor it.

Continued at Electric bike build part 6.

Electric bike build part 4

Continued from Electric bike build part 3.

The next stage of the build was fitting the additional sensors. The kit came with a wheel speed sensor, and as my bike has drop bars I optioned two HWBS (Hidden Wire Brake Sensor) devices.

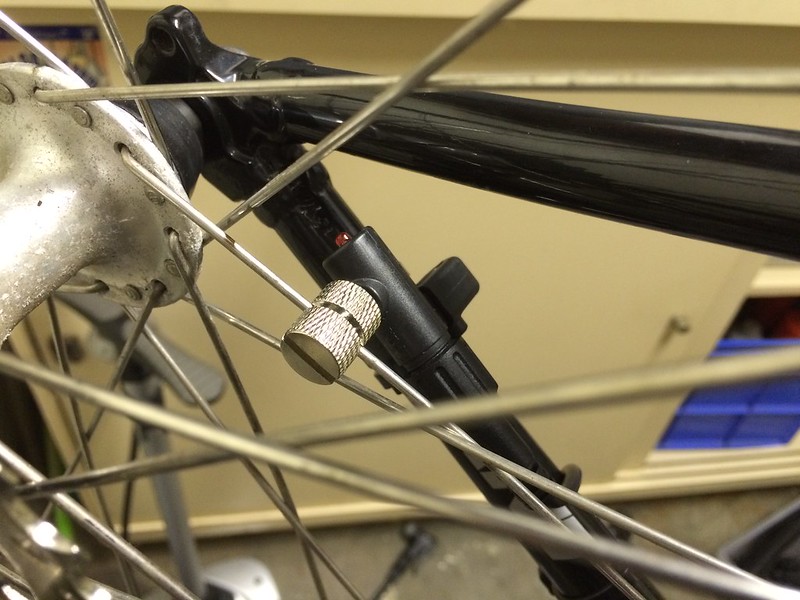
Here's the wheel speed sensor and magnet fitted, talk about a monster magnet:


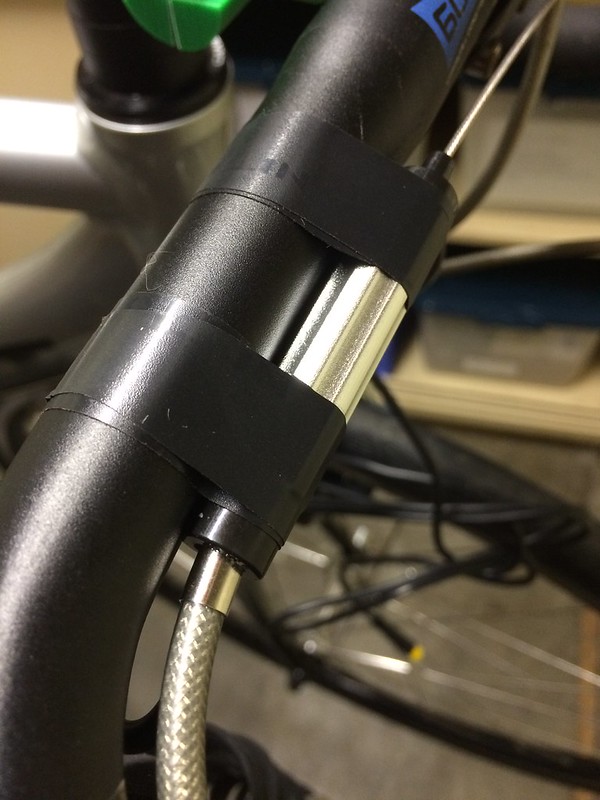
I decided to fit the brake sensors along the bars themselves by peeling back the bar tape a bit:


No where to be seen, and as an added bonus gives the bars quite an ergo feel:


I now had to plan where to mount the screen, throttle and controls. I also had to keep room for a headlight and Garmin bike computer. The biggest problem (which I had known all along) was the internal diameter of the throttle and controls (22.2mm) being too small for my drop bars.

Having access to a 3D printer, I designed some parts to mount these accessories.

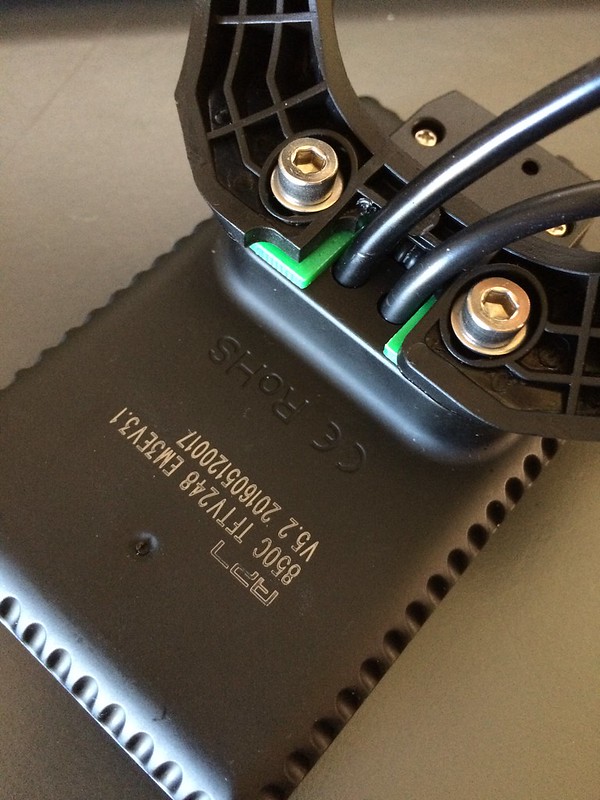
The first part I designed was a spacer for the DPC-14 display so I could orient the screen on the bracket by 180 degrees. Some Bafang documentation suggests this is possible but on my screen with a charge port, the charge port wires get in the way.

Here are some pics of the screen with the spacer fitted, and with the fasteners replaced with longer ones to retain the same thread engagement:


You can download the model file from Thingiverse.

Continued at Electric bike build part 5.

Saturday, 23 July 2016

Electric bike build part 3

Continued from Electric bike build part 2.
I now had all the parts and tools available to fit the motor to the BB shell. I had read that the high torque from the motor could dent alloy frames so I picked up some Neoprene rubber to try and reduce the chance of this happening:


Rubber applied:


Test fit, the final fit will have the rubber fully compressed between the motor and frame:


Looks good!

One slight issue I had was the hole on this steel bracket being drilled slightly offset, meaning the fastener wasn't able to be fitted without binding. I drilled the hole 0.5mm larger then nail polished the exposed metal:


Thanks yet again to my Aldi bike toolkit I had the right tool on hand. I was able to (blue) Loctite then tighten at the same time as holding the motor against the frame fully compressing the rubber:


All done:


I then applied Loctite to the two additional bolts and the extra lockring (you can use a standard Shimano Hollowtech II tool) then fitted:


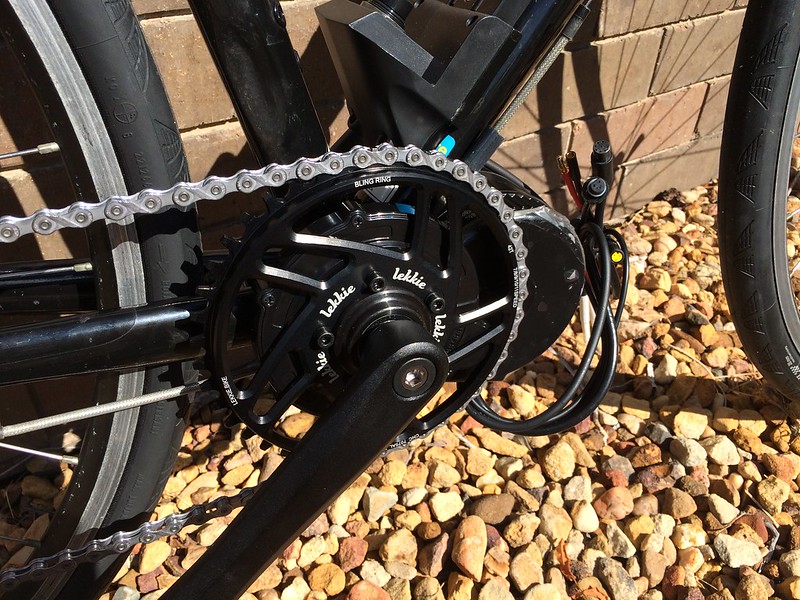
Here's a pic after I fitted both crankarms and chain:


It's starting to come together!


Continued at Electric bike build part 4.

Monday, 18 July 2016

Electric bike build part 2

Continued from Electric bike build part 1.

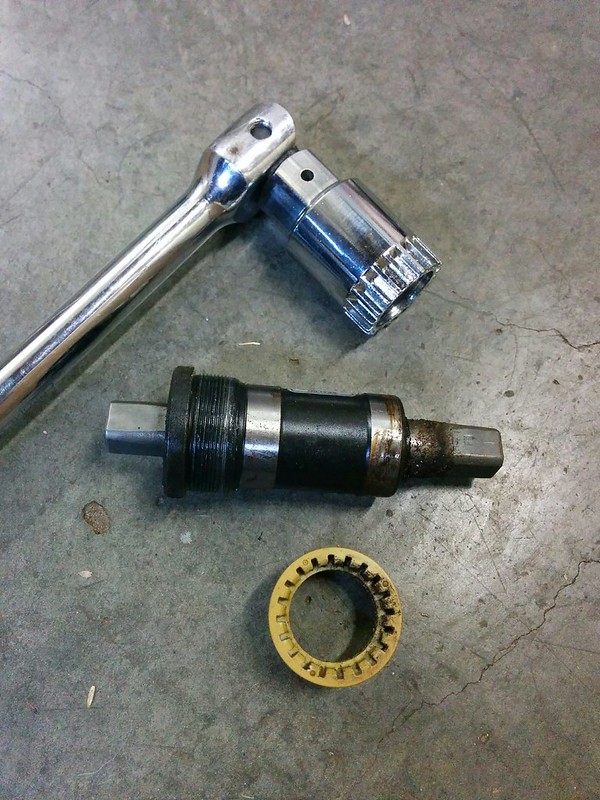
The tool now worked fine to remove the bottom bracket:


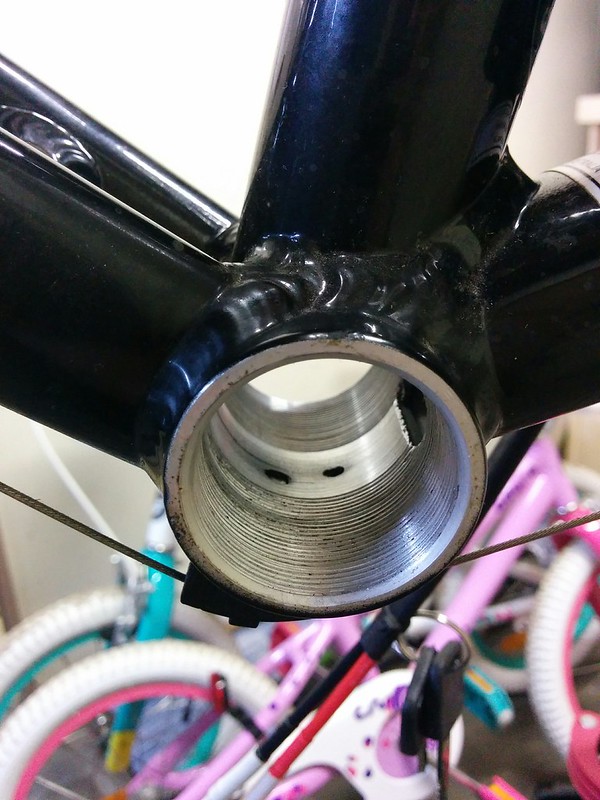
The shell looks really clean already:


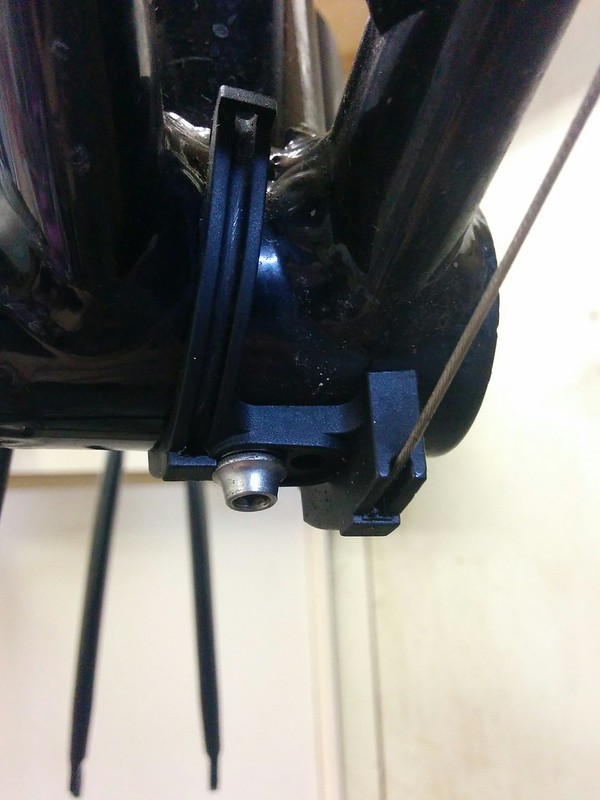
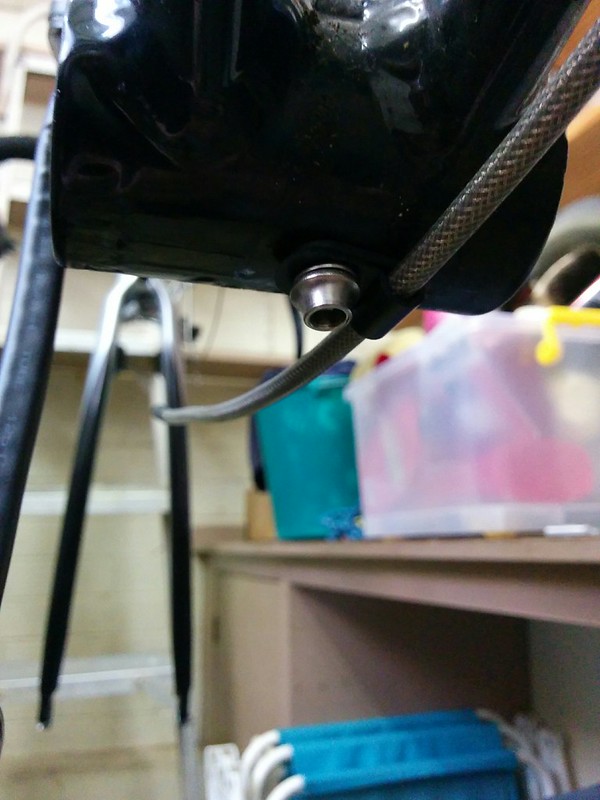
Here's the next snag, the bracket for the shifter cables gets in the way of the BBS02:


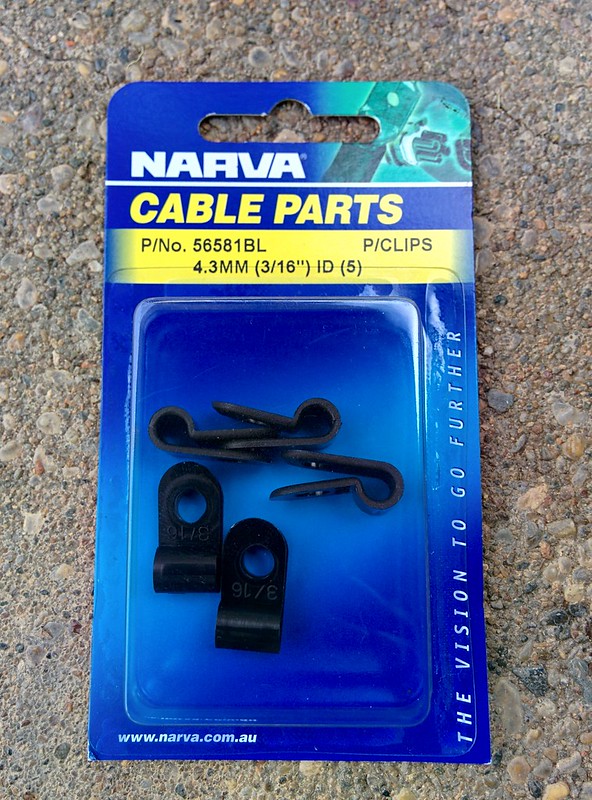
After a bit of thinking, I came up with the idea of using some cable outer tube and a cable clamp. Here are the clamps I bought:


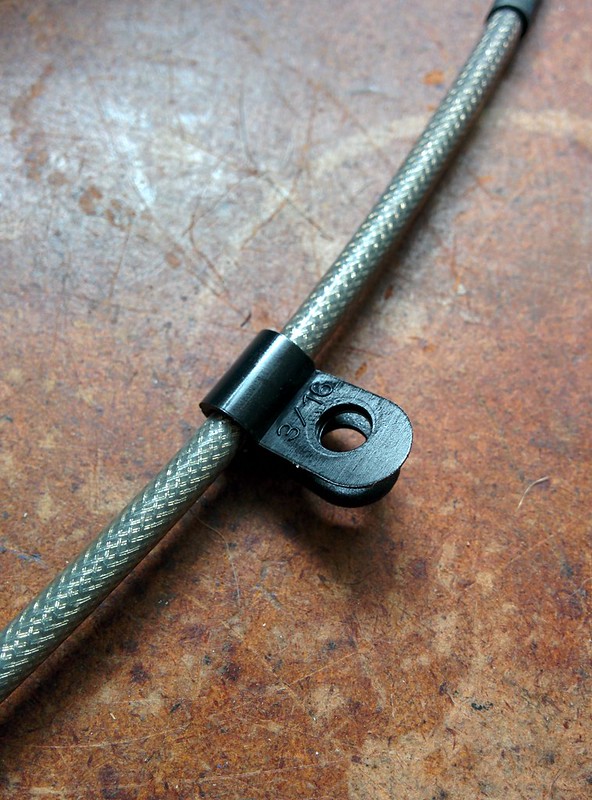
Looks promising:


Bolts up fine:


Yes! It worked:


Time will tell if this is a reliable solution, but it looks pretty good to me. I'll probably zip tie the cable outer to the frame at each side with a gentle radius.

Continued at Electric bike build part 3.

Electric bike build part 1

I have been collecting the bits to put together my first electric bike. It's still a work in progress so this will be my build diary. The objective is a reliable and quick road/bikeway commuter to make biking to work a more attractive option!

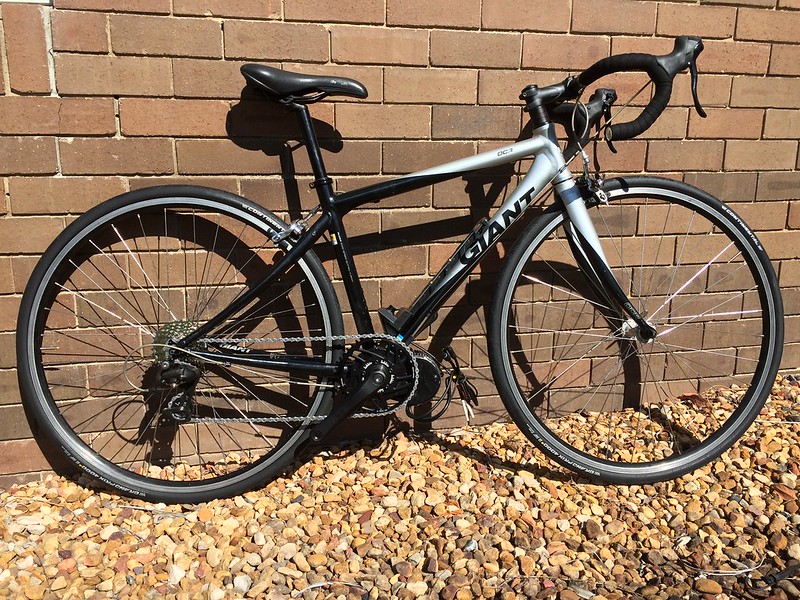
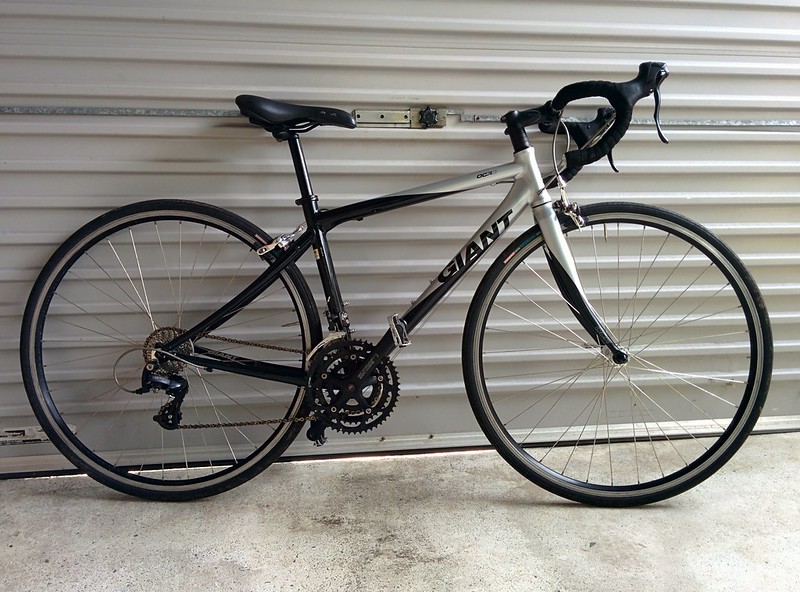
My first purchase was a used 2008 Giant OCR complete with weathered chain and perishing tyres:


At first I thought the rims were worn but it is just some surface corrosion, the bike has barely done any mileage. Importantly the frame, brakes, wheels and RD/shifters are all working well. I pretended the bike was a CX bike and took it on some trails near my house to test everything was working as intended, it all seems quite solid. The standard RD-2200 rear derailleur even worked smoothly with a 11-32 cassette!

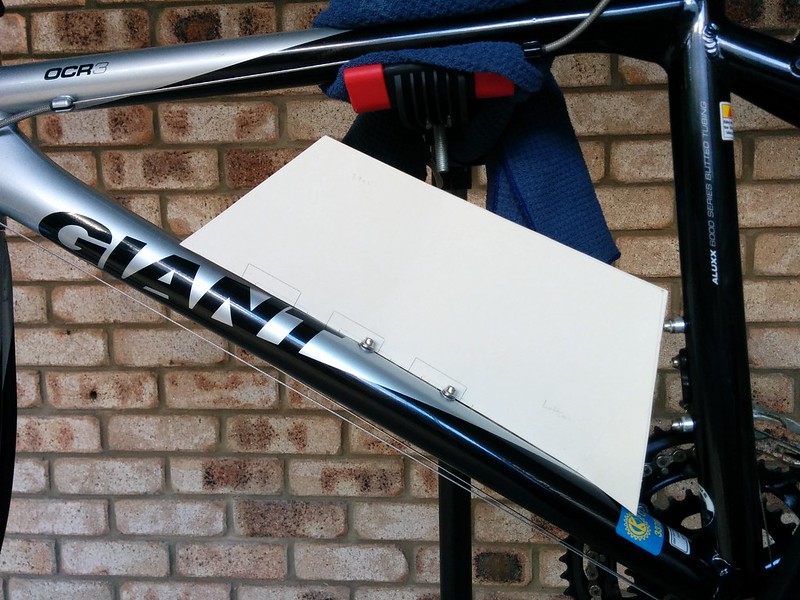
The next step was to make a cardboard template to ensure the battery pack I intended to buy would fit, a shame both drink holders are no longer usable but looks good otherwise:


I also checked the distance between the BB shell and the outside of the frame (quite small, so no problems here), and the type of BB shell (68mm English). Everything checks out, time to pull that trigger on the order!

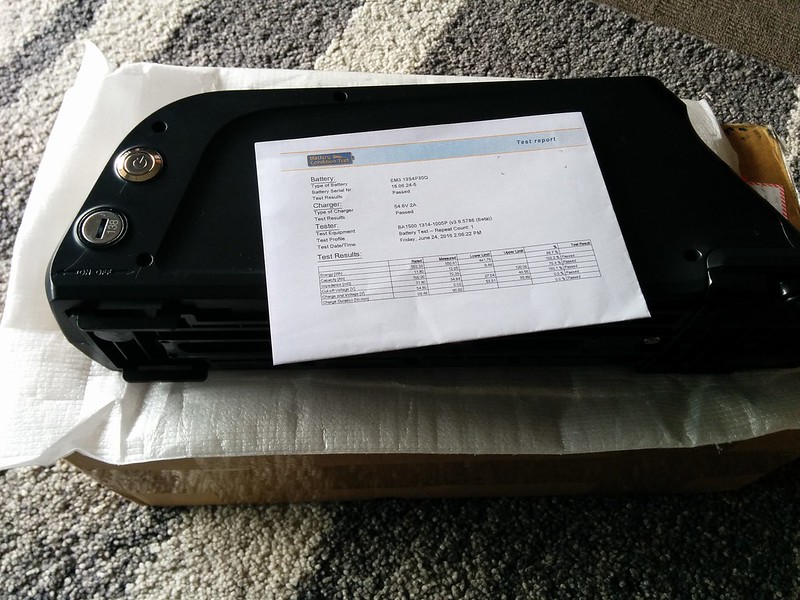
I bought the BBS02 from Paul and his team at EM3EV, my only comment is they had a shipping issue with the battery using TNT but everything was sorted out quickly by them using an alternate carrier at no cost to me. Big thumbs up for service from EM3EV, and their workmanship on the crimping/heatshrink looks great. Here are the fun bits:


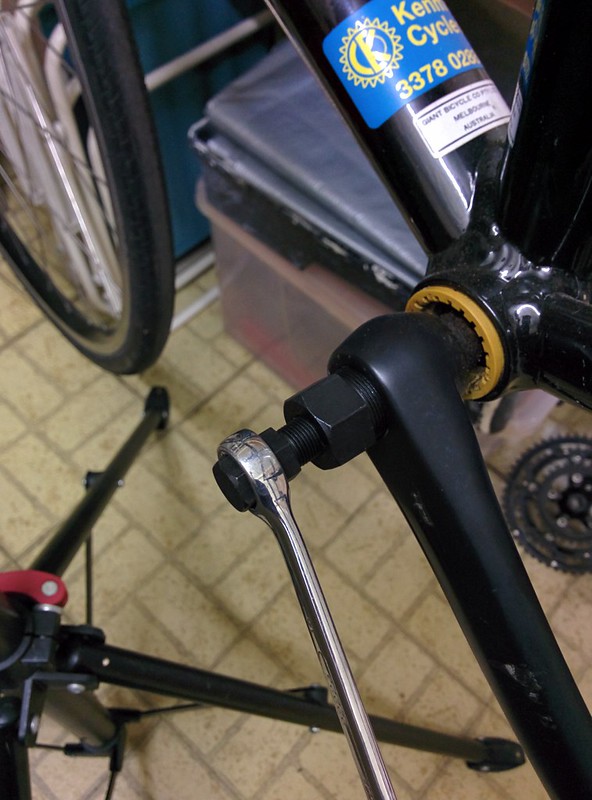
Armed with my $20 Aldi bike toolkit, I started stripping down the bike and removing the crank, the tools held up fine for this step:


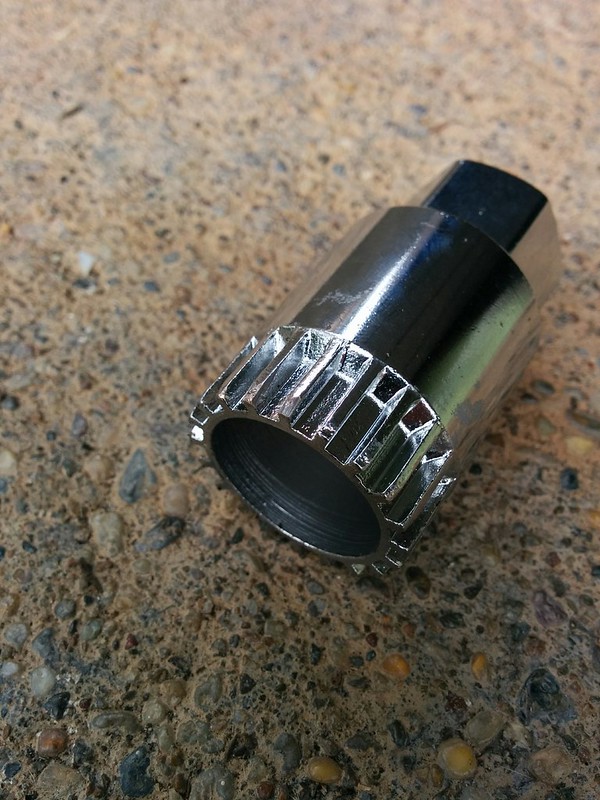
Unfortunately when I went to remove the bottom bracket cup I found the tolerances on the tool weren't good enough and some splines were too fat:


Fortunately I was able to tidy these up with an angle grinder:


I have done a test fit of the tool and it engages fine now, but I haven't gotten any further. I'll try to document the rest of the build as I go. I hope you find this build as interesting as I do!

Continued at Electric bike build part 2.