After about 6 revisions I finally had a workable design for mounting my accessories. I decided to design a mount in two parts that when brought together form a ring around the stem to allow a second "row" of stuff to be mounted.
Here's the final design:
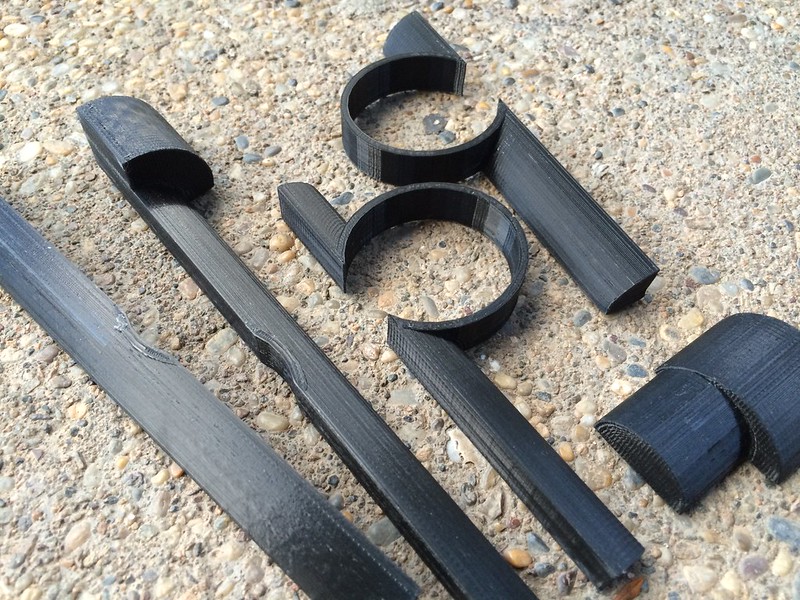
It is all held together only by the accessories mounted to it, but it seems quite solid. Originally the top and bottom parts were identical, but I had to change to an offset design to mount the light higher. The larger lobe is to accomodate the headlight's mount which is designed for an oversized bar.
Here's everything bolted up and in place, I'm very happy with the result:
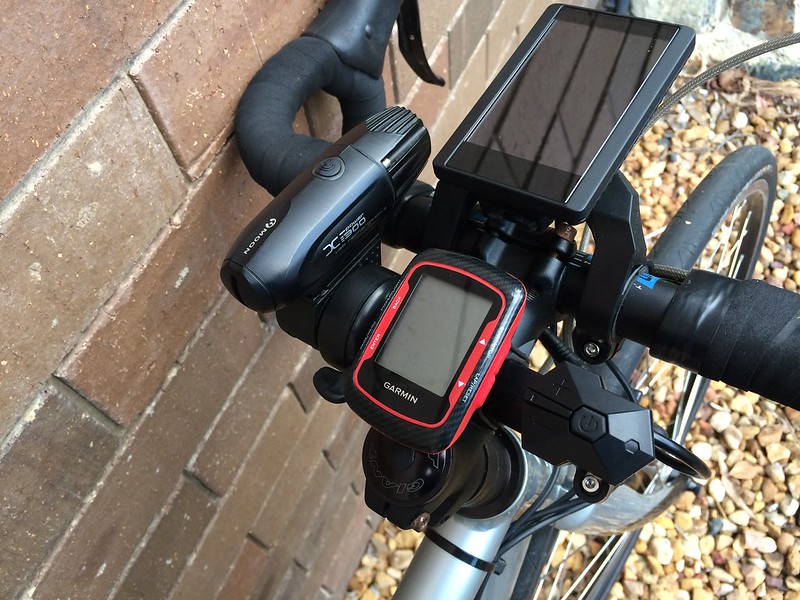
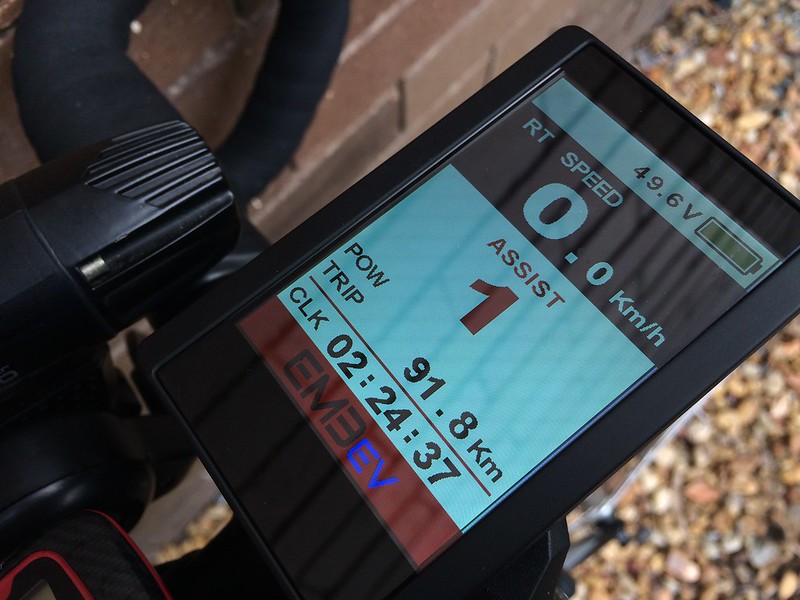
The throttle is easily within reach of my left thumb when not in the drops, and I can safely keep my right hand near the front brake at the same time. I also really like having the Bafang display quite far forward as it makes it always easy to see. The IPS display looks amazing even in direct sunlight:
I took the bike for a test ride and wasn't able to wipe the grin from my face! Talk about making cycling effortless!
Here's the bike fully completed, although disregard the low seat hight:
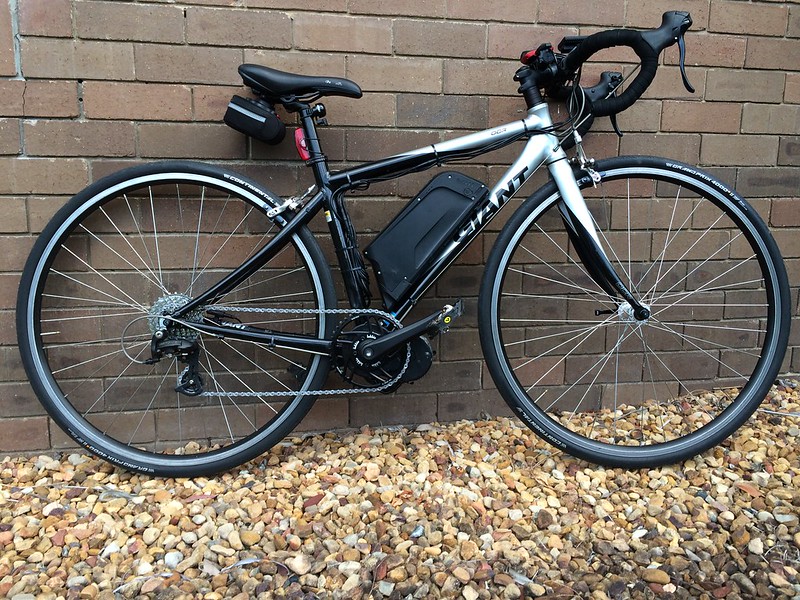
The 42/11-30 gearing seems to work quite well for my intended purpose of using this bike as a commuter.
I have a warning though; I have used the bike four times now and have done about 90km. In the last 10km I noticed a bit of a clicking noise when pedalling, it turns out the lock ring had become slightly lose. This surprised me as I used thread locker and applied the correct amount of torque to the lock ring, I assumed the ones having trouble weren't doing the install correctly. Today I re-tightened the lock ring to "epic tight" and will monitor it.
Continued at Electric bike build part 6.
No comments:
Post a Comment