Monday, 18 July 2016

Electric bike build part 2

Continued from Electric bike build part 1.

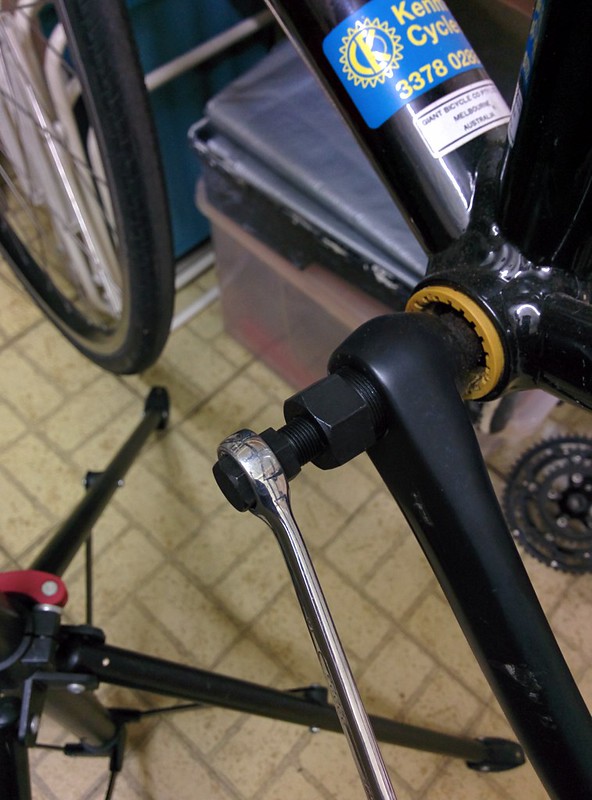
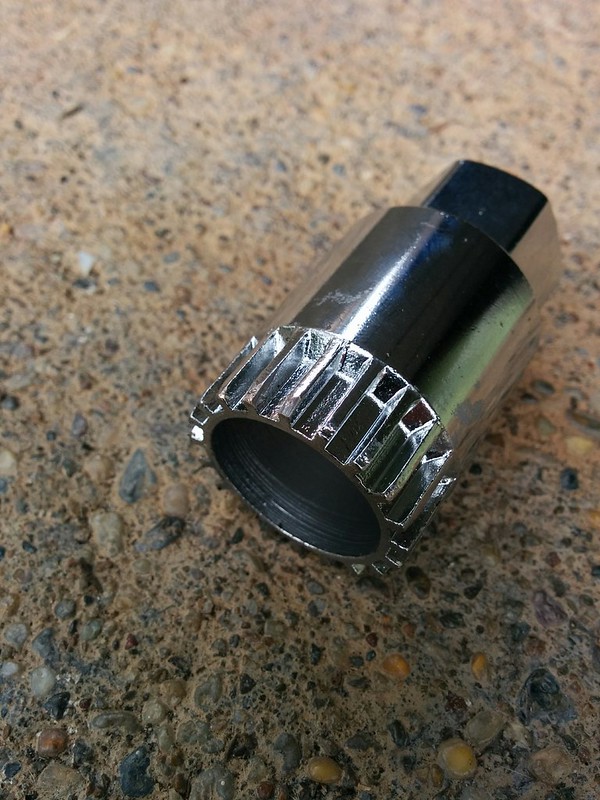
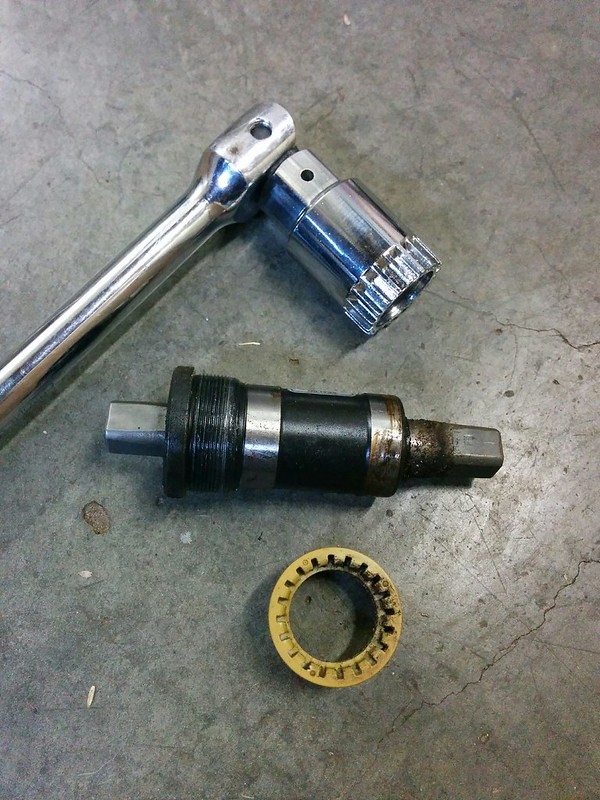
The tool now worked fine to remove the bottom bracket:


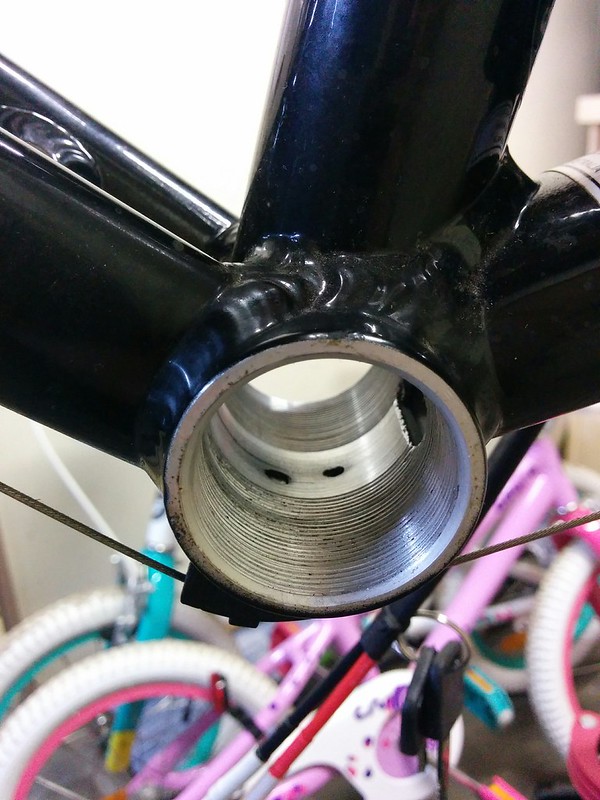
The shell looks really clean already:


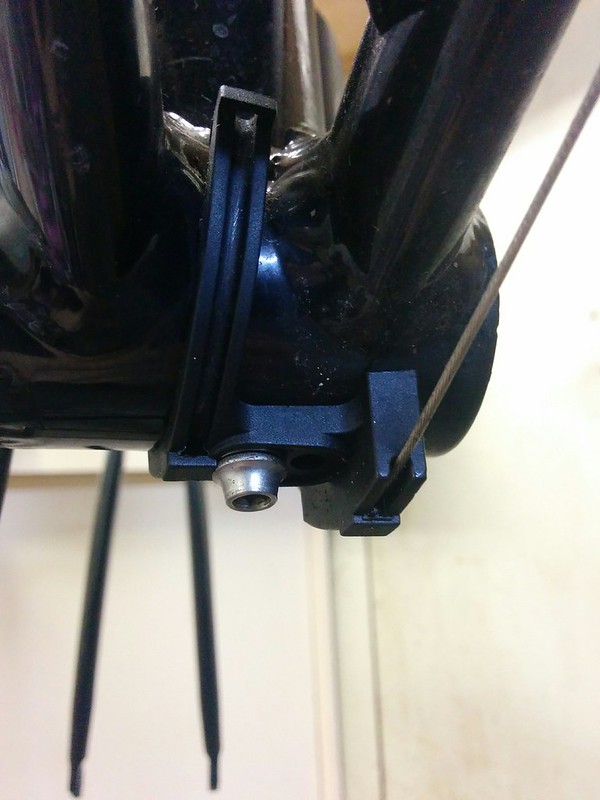
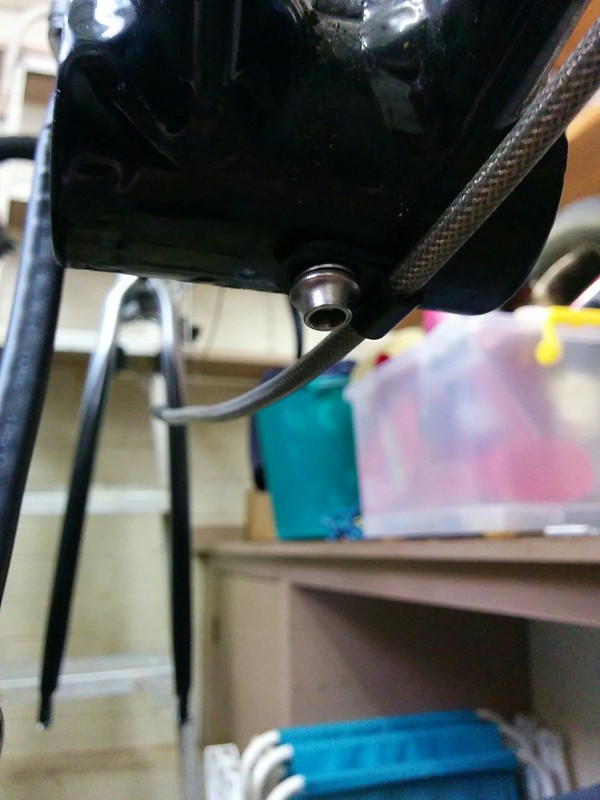
Here's the next snag, the bracket for the shifter cables gets in the way of the BBS02:


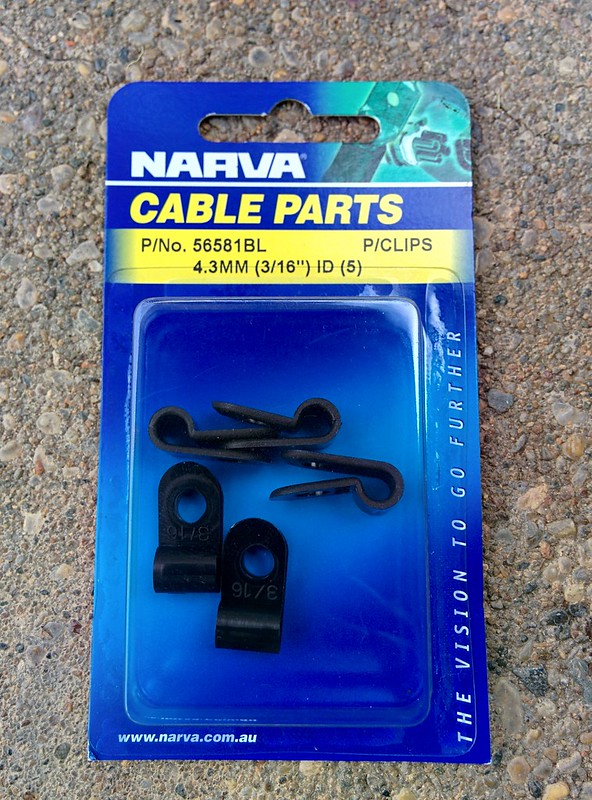
After a bit of thinking, I came up with the idea of using some cable outer tube and a cable clamp. Here are the clamps I bought:


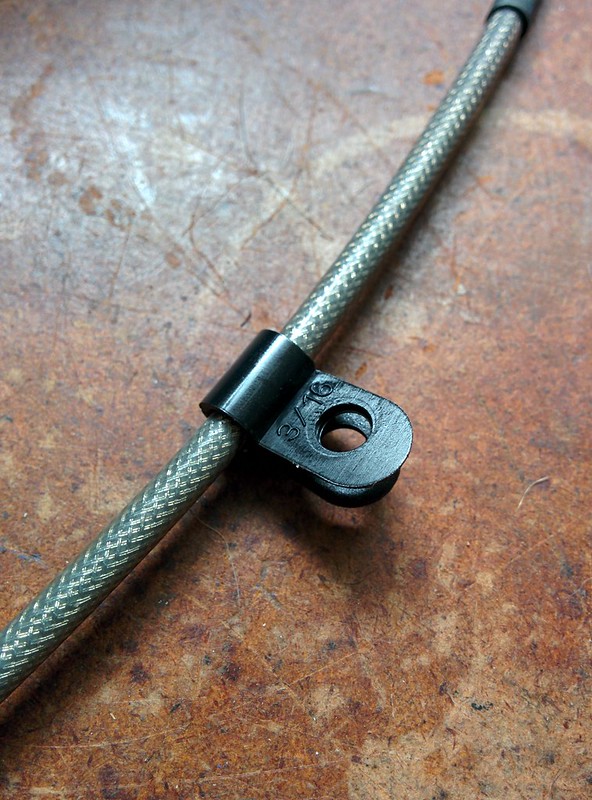
Looks promising:


Bolts up fine:


Yes! It worked:


Time will tell if this is a reliable solution, but it looks pretty good to me. I'll probably zip tie the cable outer to the frame at each side with a gentle radius.

Continued at Electric bike build part 3.

Electric bike build part 1

I have been collecting the bits to put together my first electric bike. It's still a work in progress so this will be my build diary. The objective is a reliable and quick road/bikeway commuter to make biking to work a more attractive option!

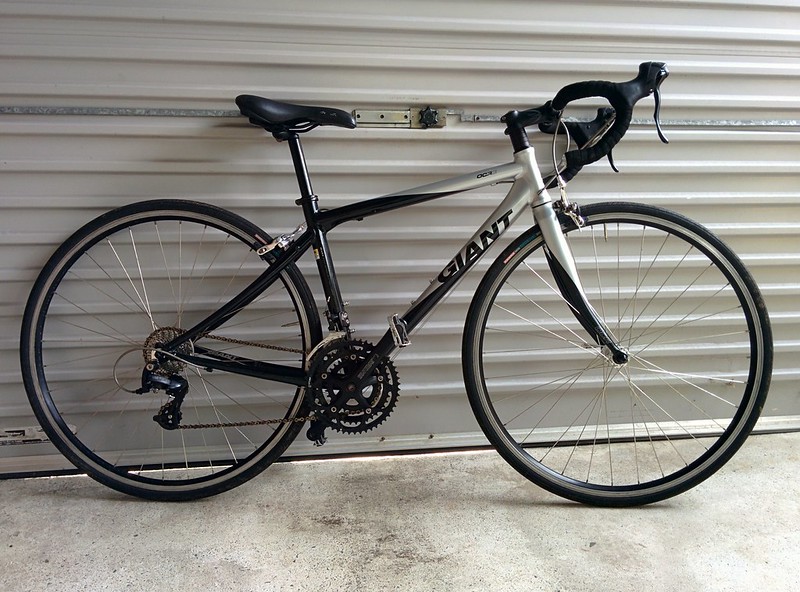
My first purchase was a used 2008 Giant OCR complete with weathered chain and perishing tyres:


At first I thought the rims were worn but it is just some surface corrosion, the bike has barely done any mileage. Importantly the frame, brakes, wheels and RD/shifters are all working well. I pretended the bike was a CX bike and took it on some trails near my house to test everything was working as intended, it all seems quite solid. The standard RD-2200 rear derailleur even worked smoothly with a 11-32 cassette!

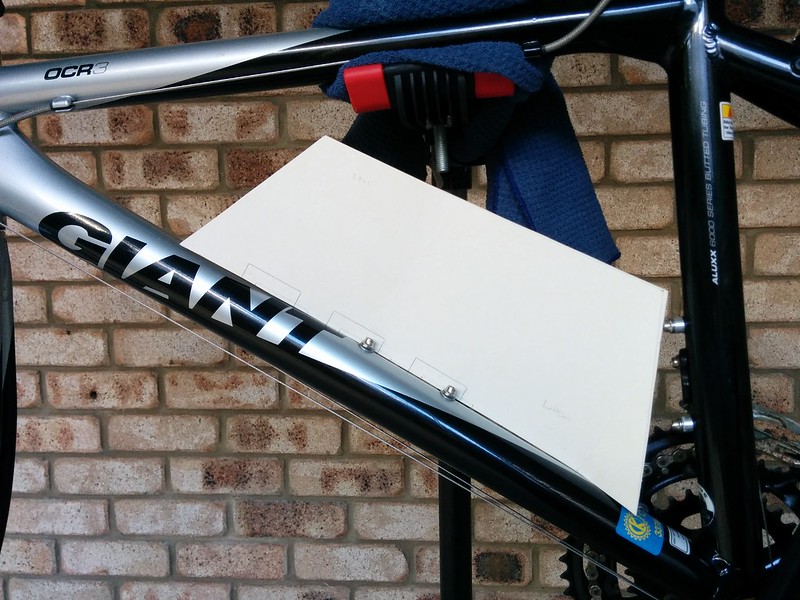
The next step was to make a cardboard template to ensure the battery pack I intended to buy would fit, a shame both drink holders are no longer usable but looks good otherwise:


I also checked the distance between the BB shell and the outside of the frame (quite small, so no problems here), and the type of BB shell (68mm English). Everything checks out, time to pull that trigger on the order!

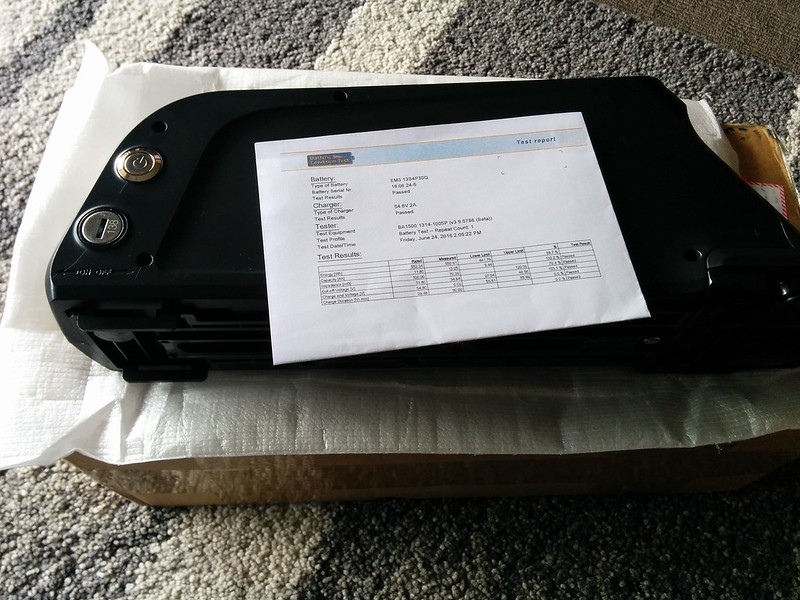
I bought the BBS02 from Paul and his team at EM3EV, my only comment is they had a shipping issue with the battery using TNT but everything was sorted out quickly by them using an alternate carrier at no cost to me. Big thumbs up for service from EM3EV, and their workmanship on the crimping/heatshrink looks great. Here are the fun bits:


Armed with my $20 Aldi bike toolkit, I started stripping down the bike and removing the crank, the tools held up fine for this step:


Unfortunately when I went to remove the bottom bracket cup I found the tolerances on the tool weren't good enough and some splines were too fat:


Fortunately I was able to tidy these up with an angle grinder:


I have done a test fit of the tool and it engages fine now, but I haven't gotten any further. I'll try to document the rest of the build as I go. I hope you find this build as interesting as I do!

Continued at Electric bike build part 2.
Wednesday, 17 February 2016

Aldi 3D printer

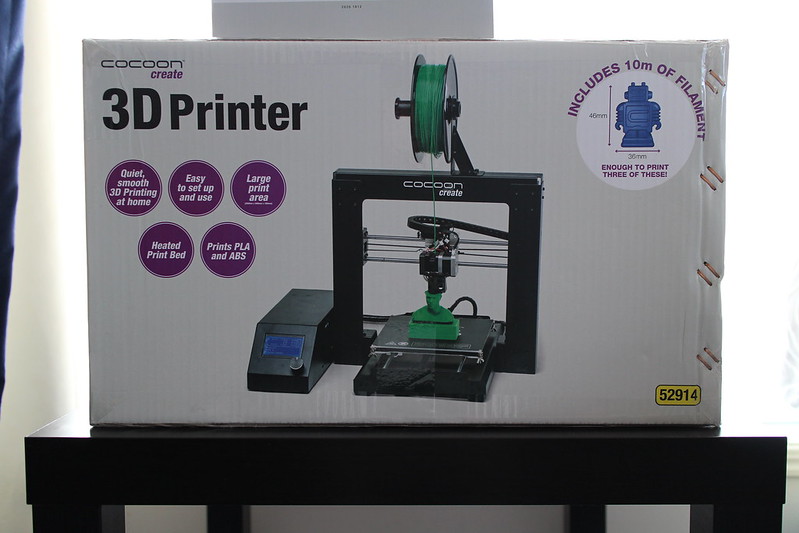
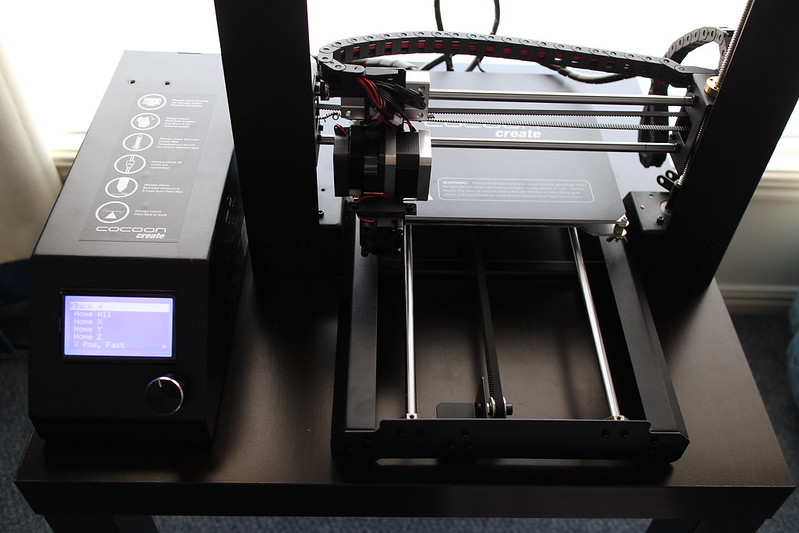
I picked up an Aldi "Cocoon Create" 3D printer this morning and spent a bit of time trying it out. It appears to be a rebranded Wanhao I3:


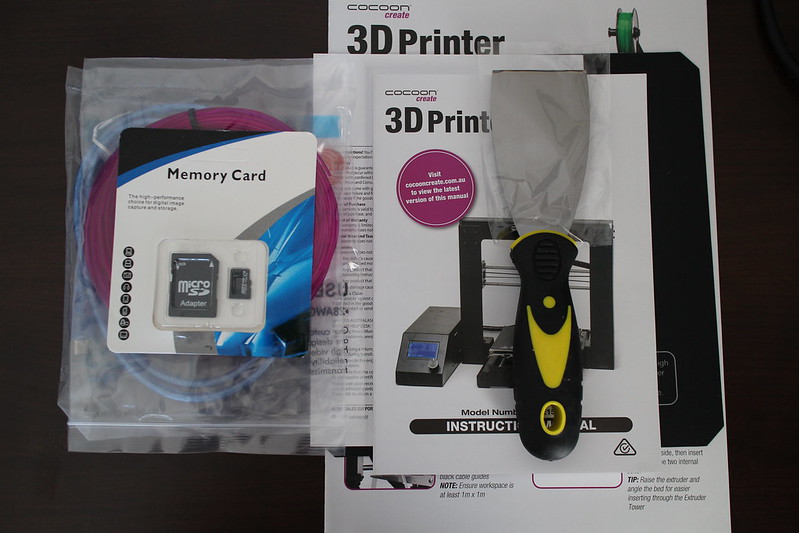
The unit was packed really well and included a few goodies including a really comprehensive printed manual:


Putting the unit together was really simple, here's the unit after following the quick start guide:


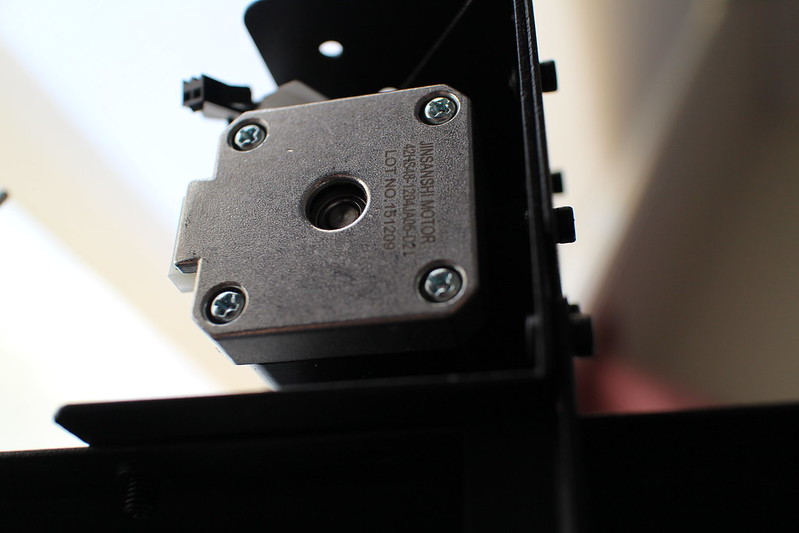
It's using Jinsanshi Motor stepper motors, they seem to be fairly quiet:


The earth pin is connected:


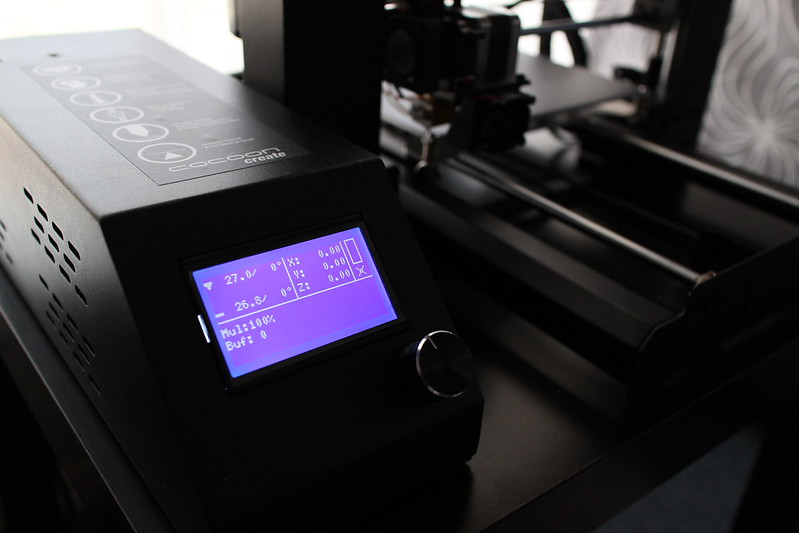
Here's a photo I took during bed levelling:


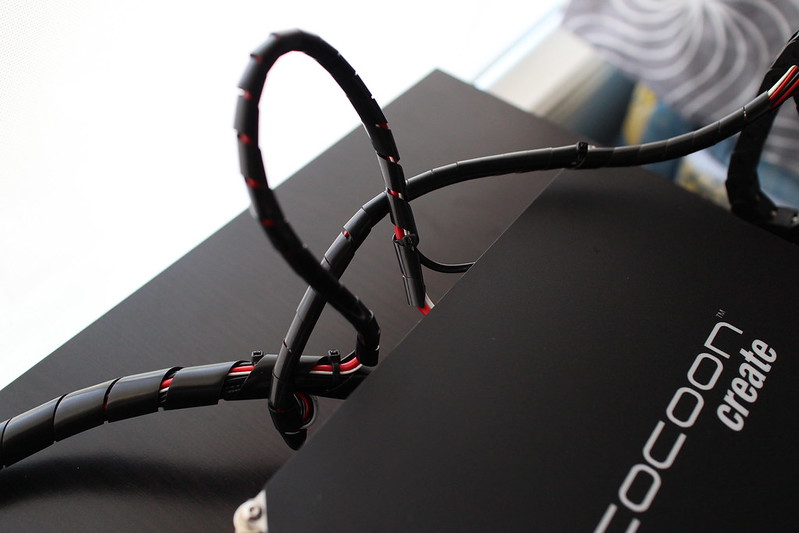
This cord was pinching a bit, so I pulled it upward to resolve the issue:


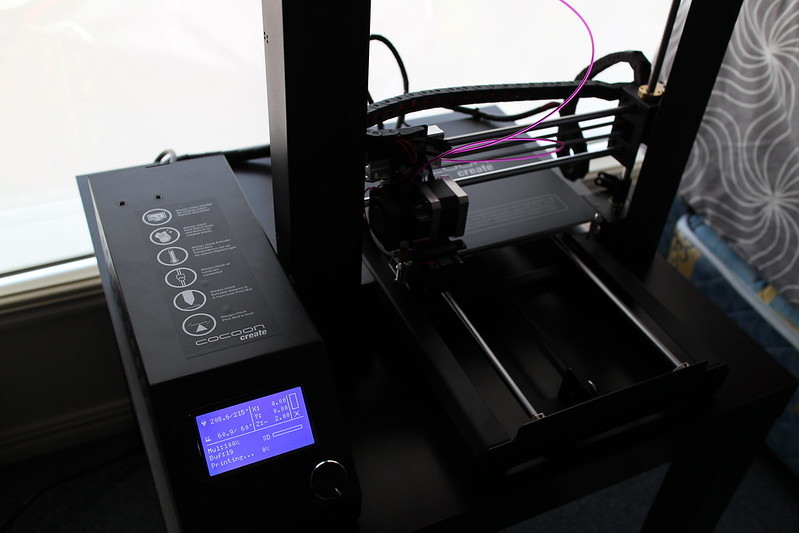
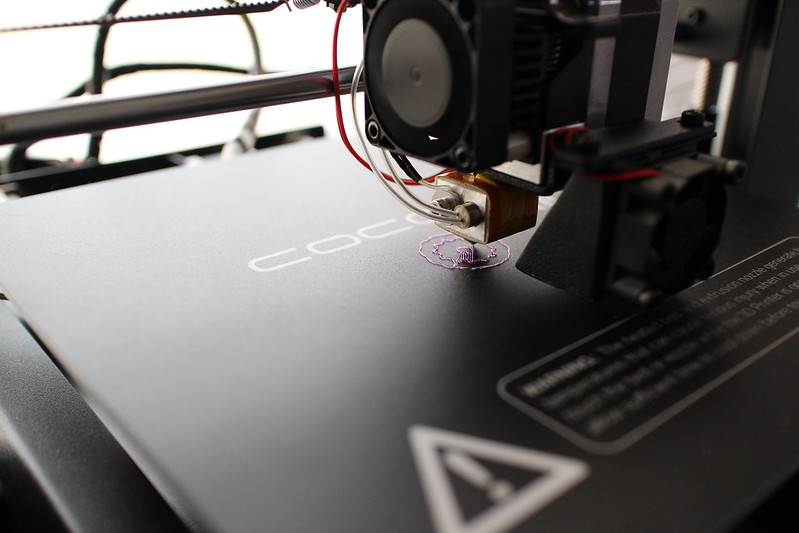
First print:


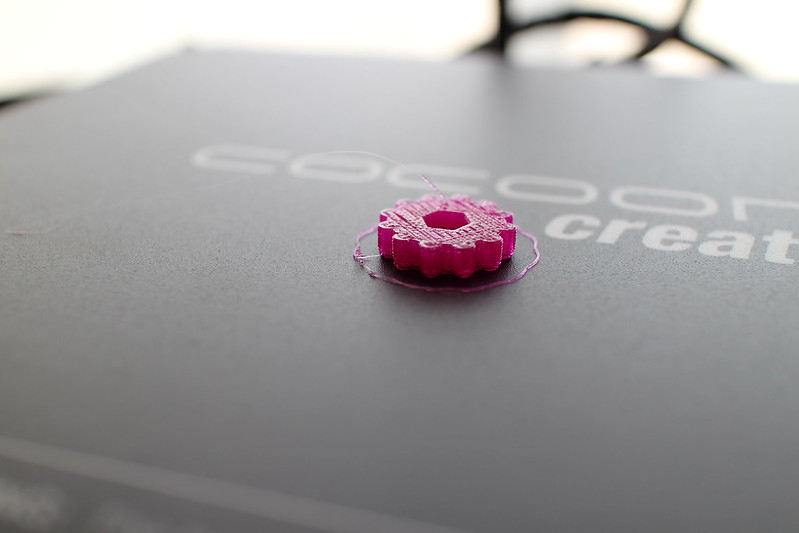
All done:


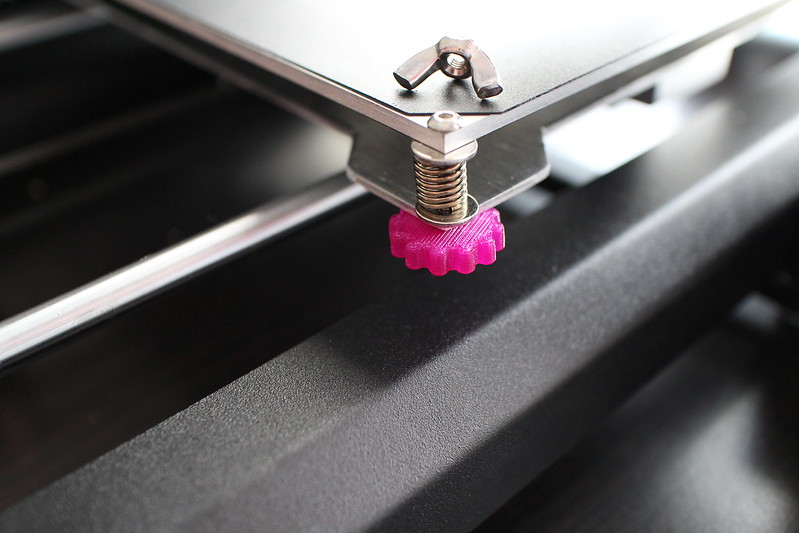
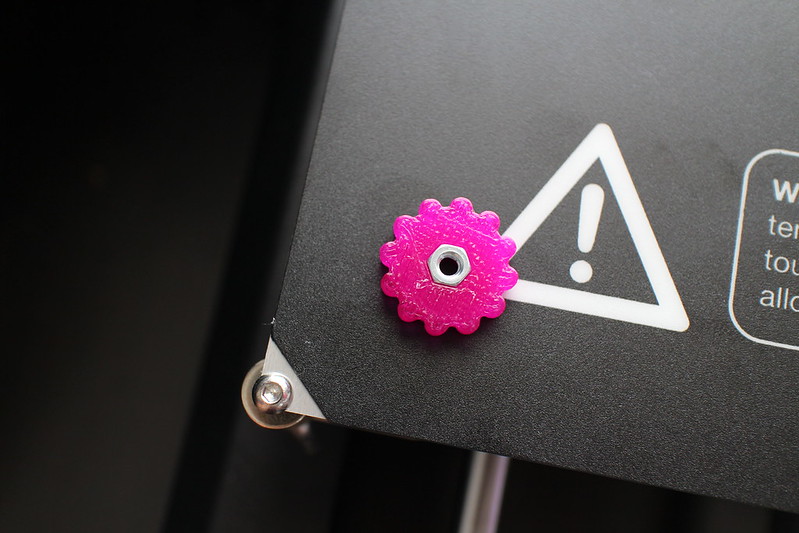
Improving the machine already:


I'm really quite impressed with this machine especially given the price point. I was up and away printing a job within 15 minutes of opening the box.

The only thing I can whine about is the power supply fan which is unnecessarily loud. You certainly wouldn't want to have the thing running all day in the same room in an office environment.

Saturday, 30 January 2016

First play with the BitScope Micro

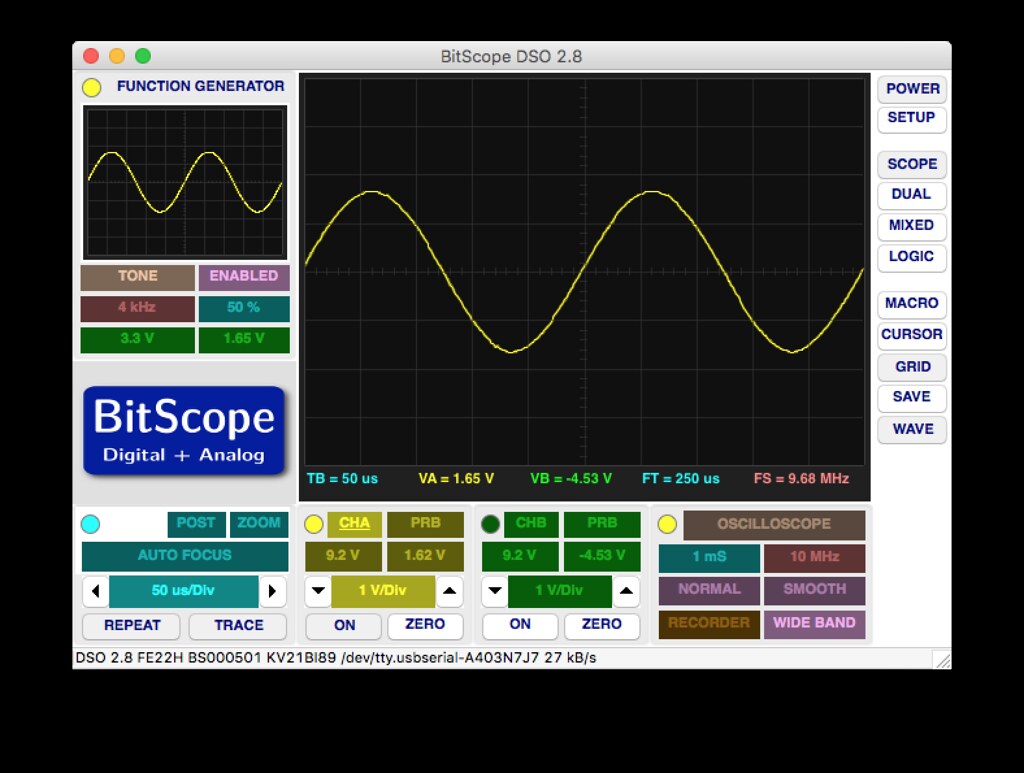
I picked up a BitScope Micro to teach myself a bit about oscilloscopes. So far I've only used the first analog channel to monitor the wave generator, but it seems to do what it says on the box:


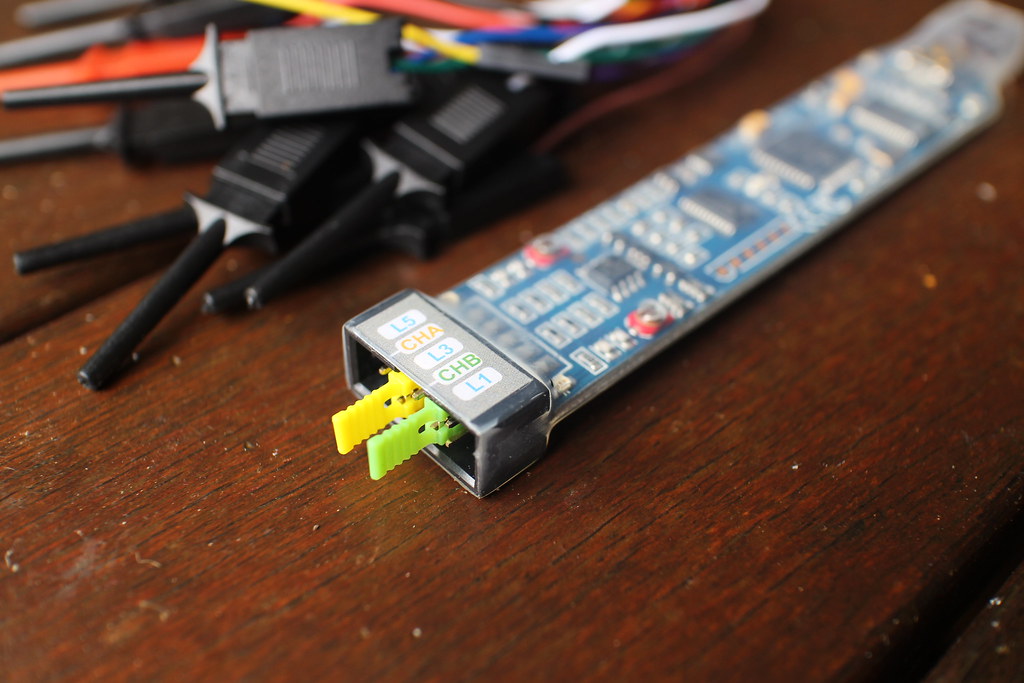
The test leads aren't the best quality, but otherwise this looks like a useful tool. You can't expect it to be in the same league as the professional gear, but for the money it's great for learning.


Saturday, 23 January 2016

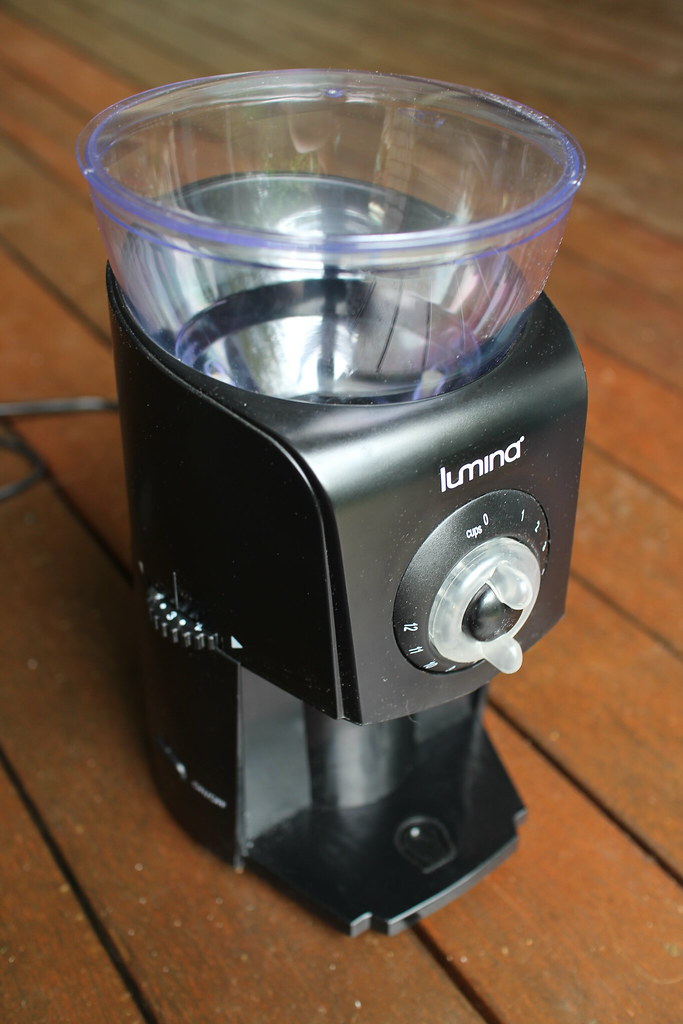
Modifying the (Aldi) Lumina coffee grinder to produce a finer grind

I purchased one of the Lumina coffee grinders from Aldi a few years ago, but only just tried to use it for the first time recently. Even on the finest setting it was producing grinds that were very coarse. The product really should be marketed as a herb grinder in standard form.


As this machine uses burrs to do the grinding I thought I'd try shimming one of the burrs to bring the two closer together, hopefully resulting in a finer grind. This actually ended up working really well, and I've been using it at least three times a week for a few months now for all my coffee grinding duties!

Here's what you will need to do the modification:

  • Useless Lumina coffee grinder.
  • Suitably sized Phillips head driver (you'll want to make sure it is clean).
  • Three 8x1mm washers (again, make sure they are clean).

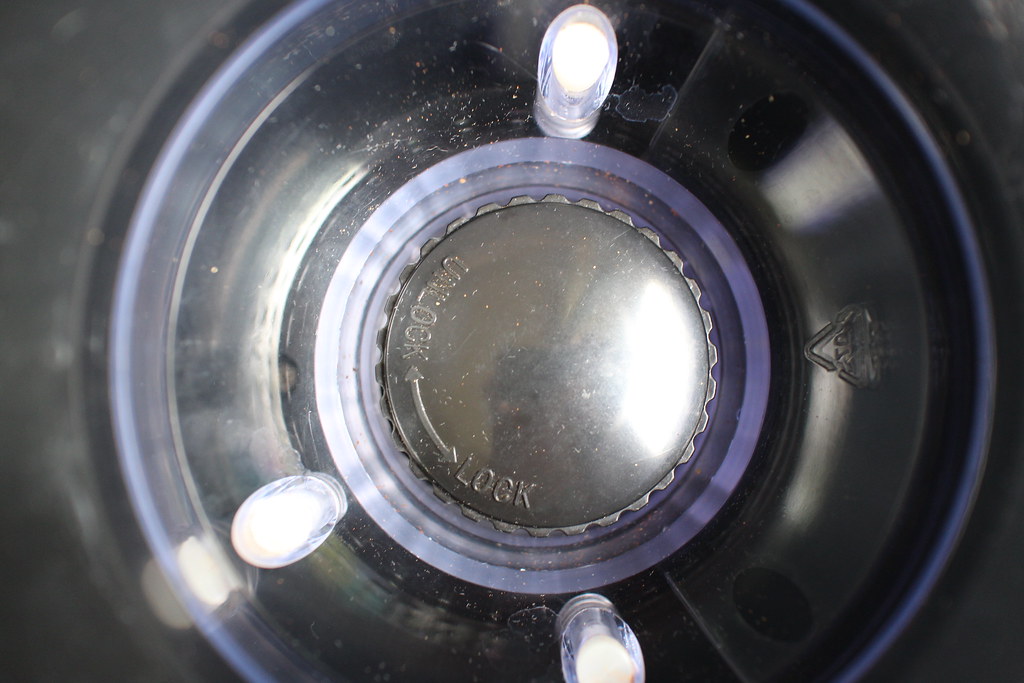
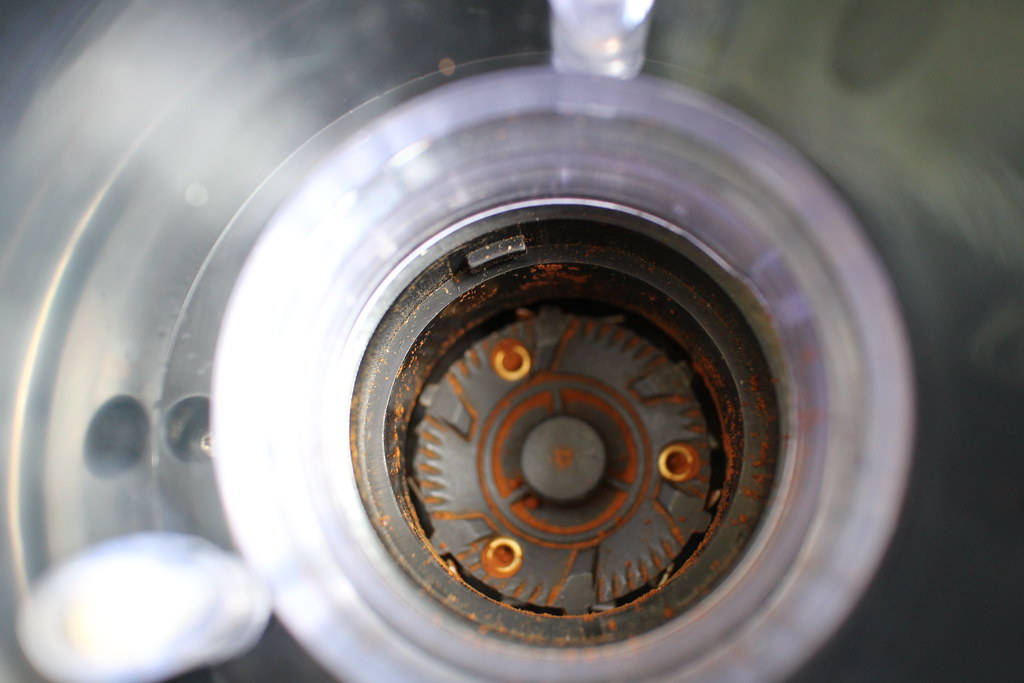
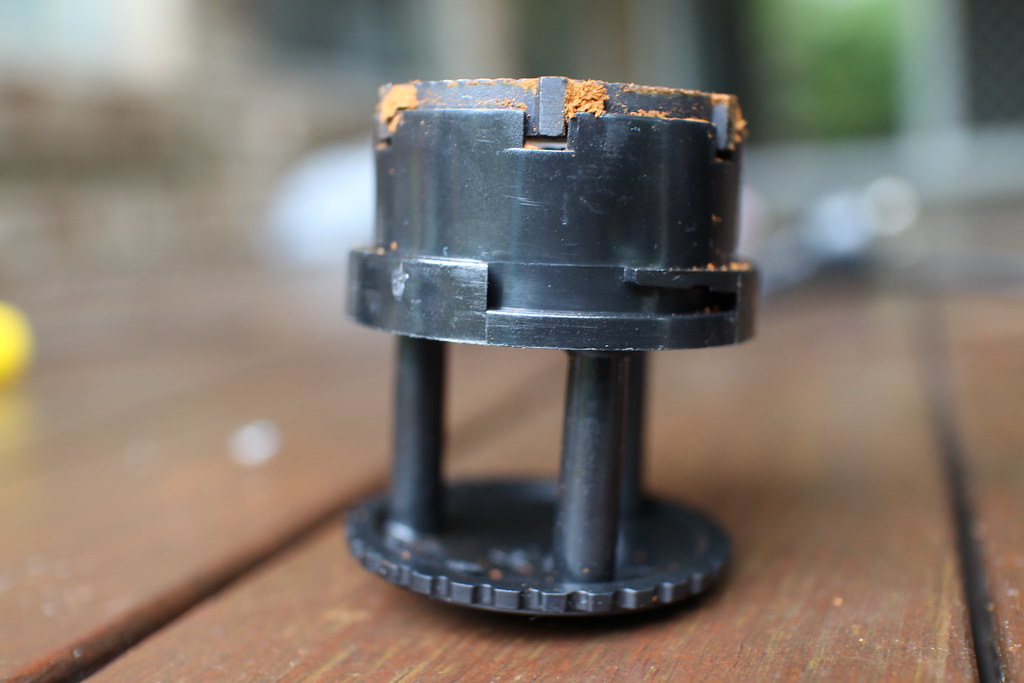
First of all you'll want to remove the top burr assembly, which you can do by turning it clockwise:


You can see the tabs that lock it into place here:


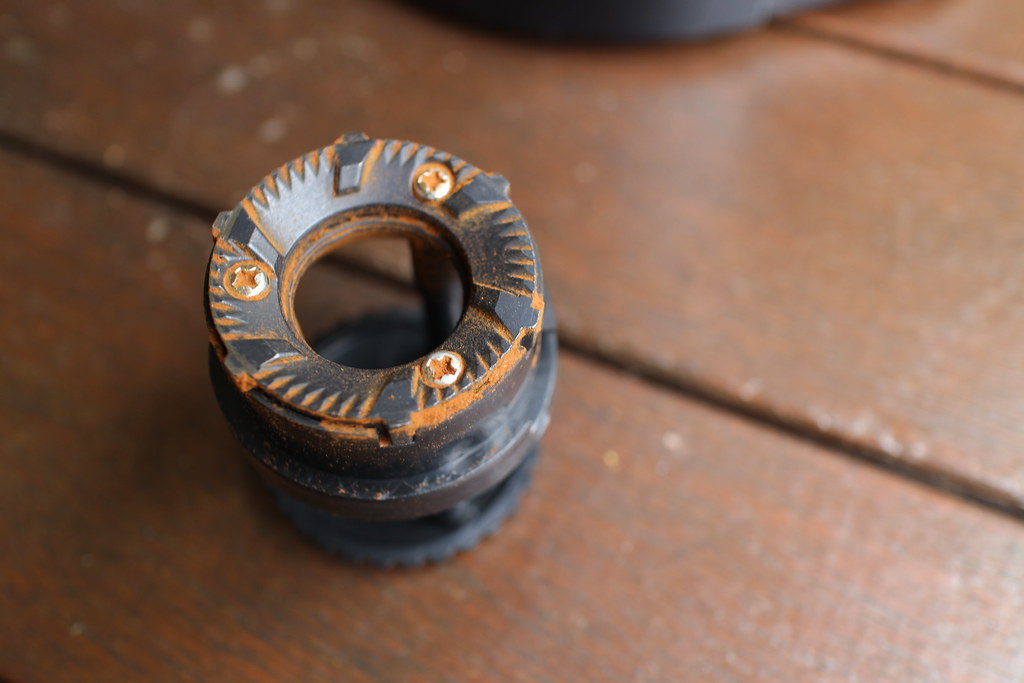
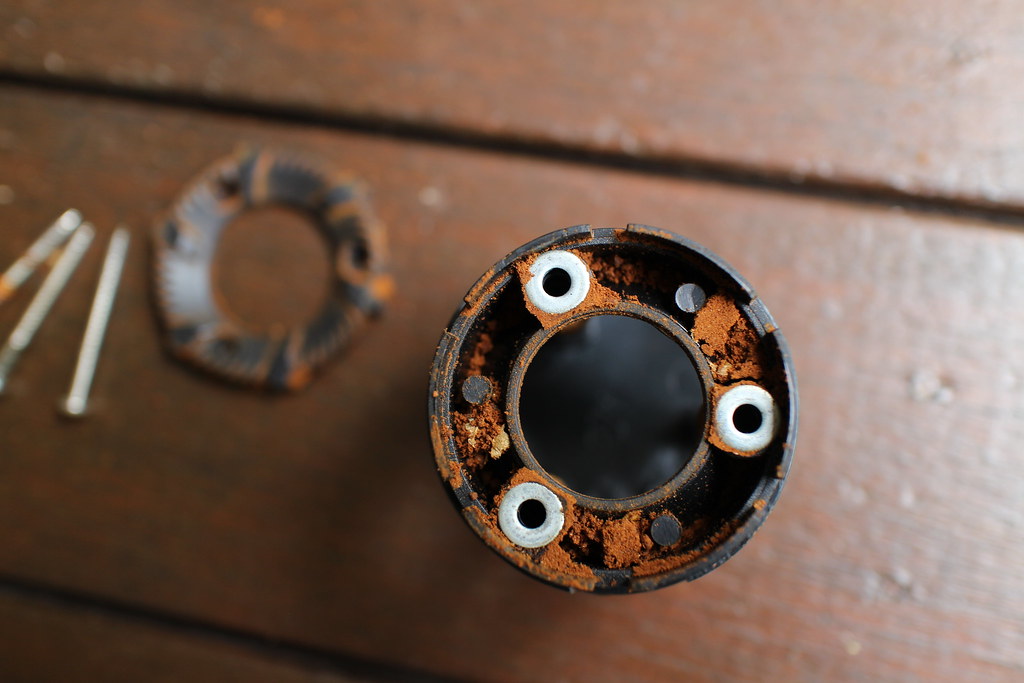
Once you've removed it, flip it upside down and you should be able to see three Phillips head screws, you'll want to remove these:


Lift the metal burr away from the rest of the plastic assembly and you will then be able to fit the three 8x1mm washers as per the picture:


As you can see this has shimmed the burr by 1mm:


Fit the burr back onto the assembly and fasten the screws, don't go overboard with force though as they are just screwing into plastic.

Adjust the machine to the coarse setting and insert the top burr assembly, lock it into place by turning anti-clockwise.

Test out some grinding!

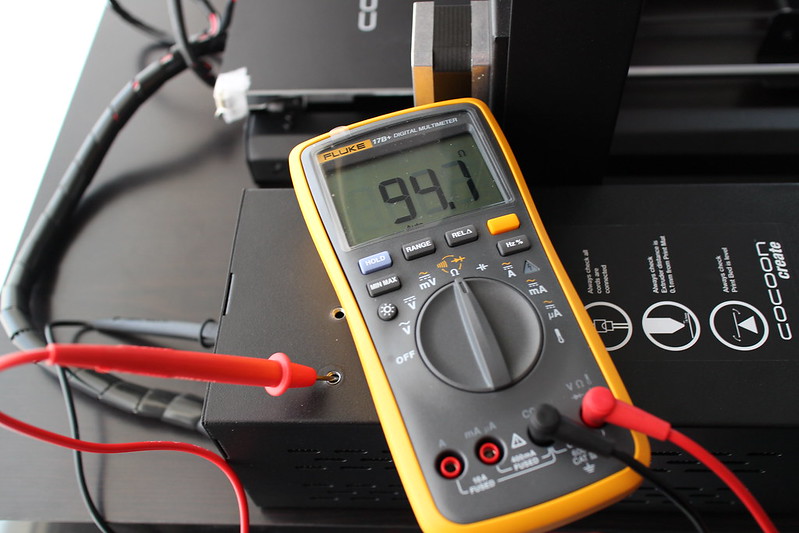
Fluke 17B+ multimeter review

This is just a quick and honest review of my Fluke 17B+ multimeter.

Pros:

  • Excellent build quality and decent/safe input protection.
  • Nice large screen with good backlight.
  • Continuity tester seems fairly fast and the latching works well.
  • Has a diode tester, frequency, thermistor input and can measure in the microamp range.

Cons:

  • Hold function is not Fluke's auto hold (as you would get on the 87V), it simply freezes the current display.
  • Only 4000 count with 0.5% +3 accuracy (DC volts).
  • Not a true RMS meter.

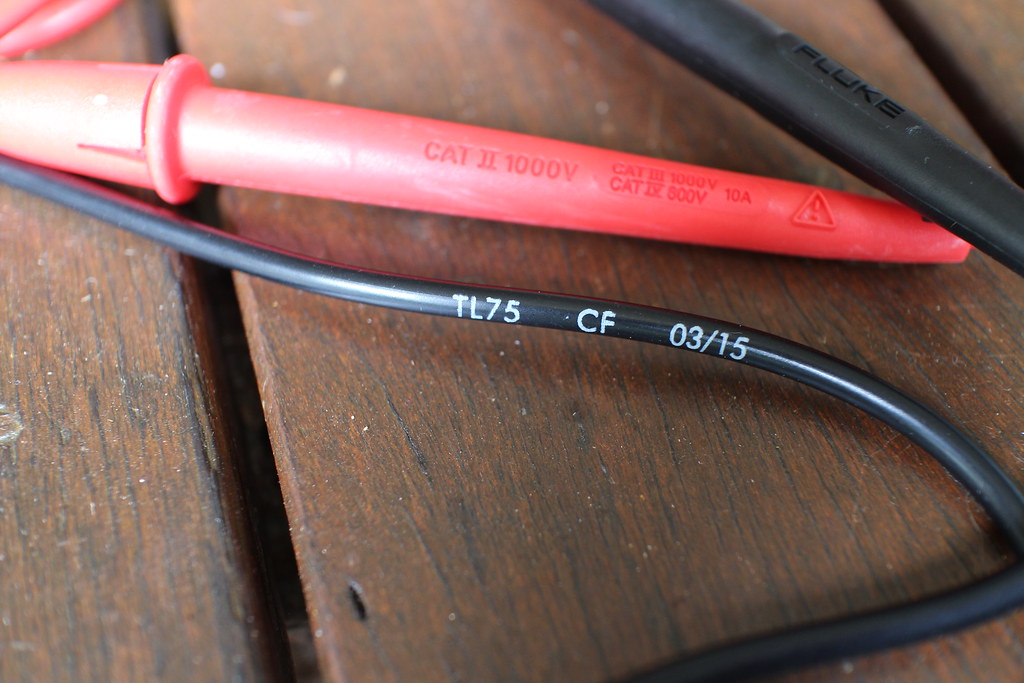
The included TL75 test leads seem sufficient and seem to be of a reasonable quality.


As a hobbyist, this multimeter should serve me well. If you need more precision or you do AC measurements you might want to consider something like the Brymen BM257S.

I had assumed the 17B+ would have featured auto hold, so I was a bit disappointed about that (in fact it probably would have swayed me toward the BM257S) but I'm certainly not disappointed in the overall product.


Friday, 13 April 2012

A potential backup solution for small sites running VMware ESXi

Today, external consumer USB3 and/or eSATA drives can be a great low cost alternative to tape. For most small outfits, they fulfil the speed and capacity requirements for nightly backups. I use the same rotation scheme with these drives as I did tape with great success.

Unfortunately these drives can't easily be utilised by those running virtualised servers on top of ESXi. VMware offers SCSI pass-through as a supported option, however the tape drives and media are quite expensive by comparison.

VMware offered a glimpse of hope with their USB pass-through introduced in ESXi 4.1, but it proved to have extremely poor throughput (~7MB/sec) so can realistically only shift a couple of hundred GB at most per night.

I have trialled some USB over IP devices; the best of these can lift the throughput from ~7MB/sec to ~25MB/sec, but the drivers can be problematic and are often only available for Windows platforms.

This got me thinking about presenting a USB3 controller via ESXi's VMDirectPath I/O feature.

VMDirectPath I/O requires a CPU and motherboard capable of Intel Virtualization Technology for Directed I/O (VT-d) or AMD IP Virtualization Technology (IOMMU). It also requires that your target VM is at a hardware level of 7 or greater. A full list of requirements can be found at http://kb.vmware.com/kb/1010789.

I tested pass-through on a card with the NEC/Renesas uPD720200A chipset (Lindy part # 51122) running firmware 4015. The test VM runs Windows Server 2003R2 with the Renesas 2.1.28.1 driver. I had to configure the VM with pciPassthru0.msiEnabled = "FALSE" as per http://www.vmware.com/pdf/vsp_4_vmdirectpath_host.pdf or the device would show up with a yellow bang in Device Manager and would not function.

The final result - over 80MB/sec throughput (both read and write) from a Seagate 2.5" USB3 drive!