Continued from Electric bike build part 2.
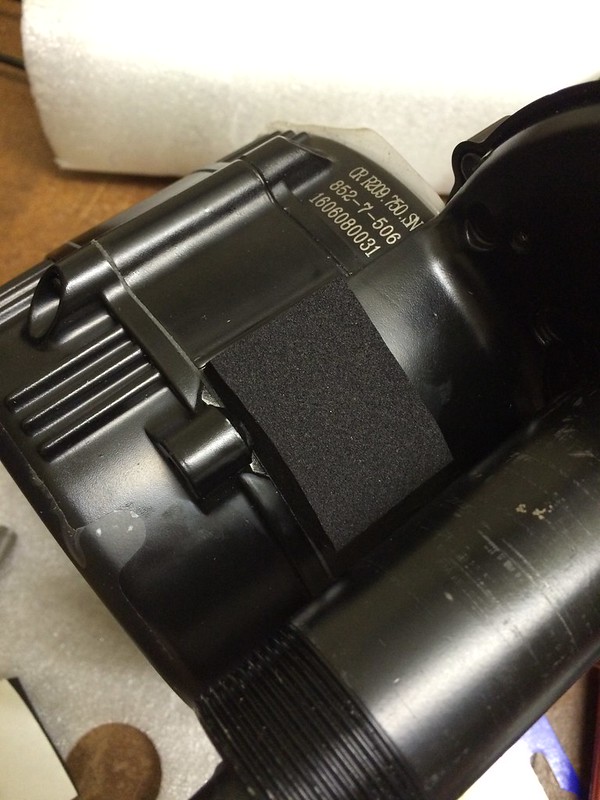
I now had all the parts and tools available to fit the motor to the BB shell. I had read that the high torque from the motor could dent alloy frames so I picked up some Neoprene rubber to try and reduce the chance of this happening:
Rubber applied:
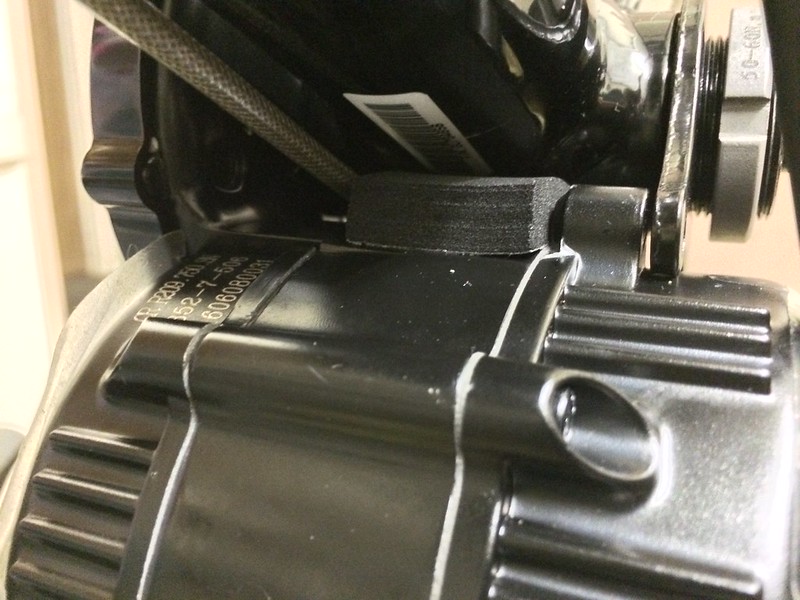
Test fit, the final fit will have the rubber fully compressed between the motor and frame:
Looks good!
One slight issue I had was the hole on this steel bracket being drilled slightly offset, meaning the fastener wasn't able to be fitted without binding. I drilled the hole 0.5mm larger then nail polished the exposed metal:
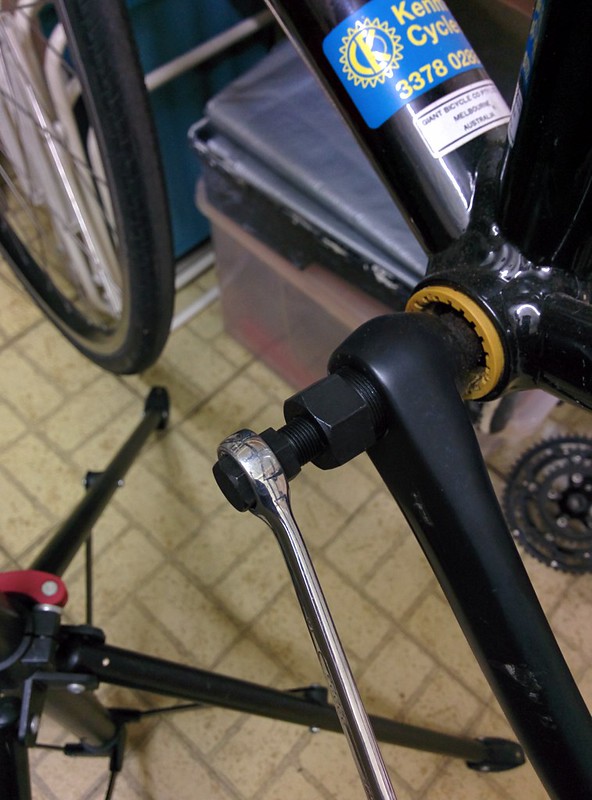
Thanks yet again to my Aldi bike toolkit I had the right tool on hand. I was able to (blue) Loctite then tighten at the same time as holding the motor against the frame fully compressing the rubber:
All done:
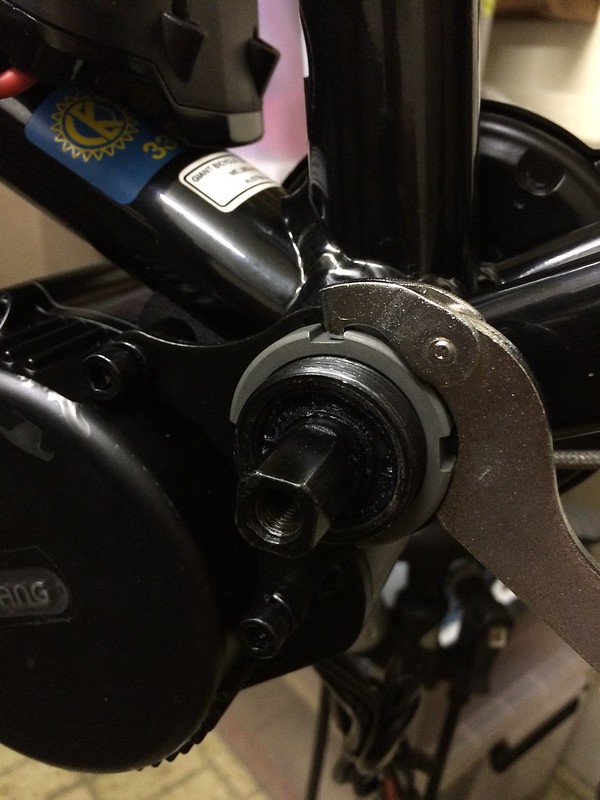
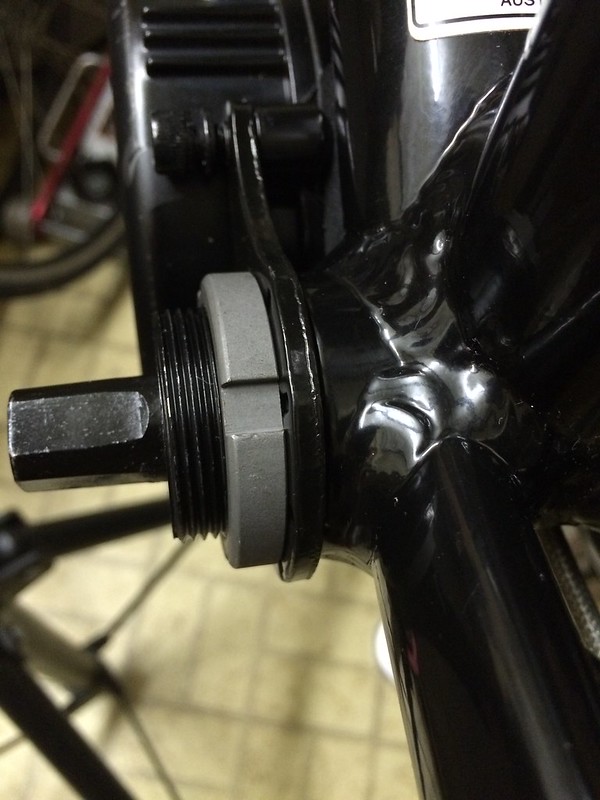
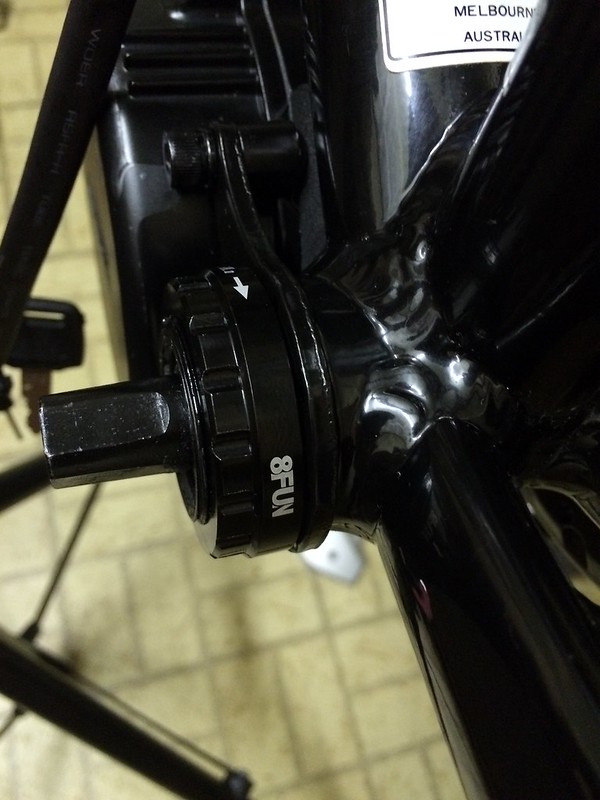
I then applied Loctite to the two additional bolts and the extra lockring (you can use a standard Shimano Hollowtech II tool) then fitted:
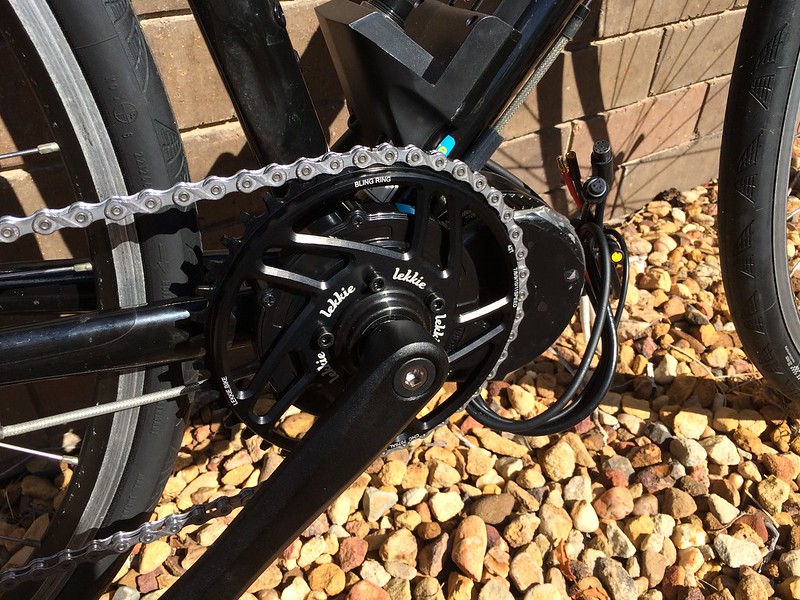
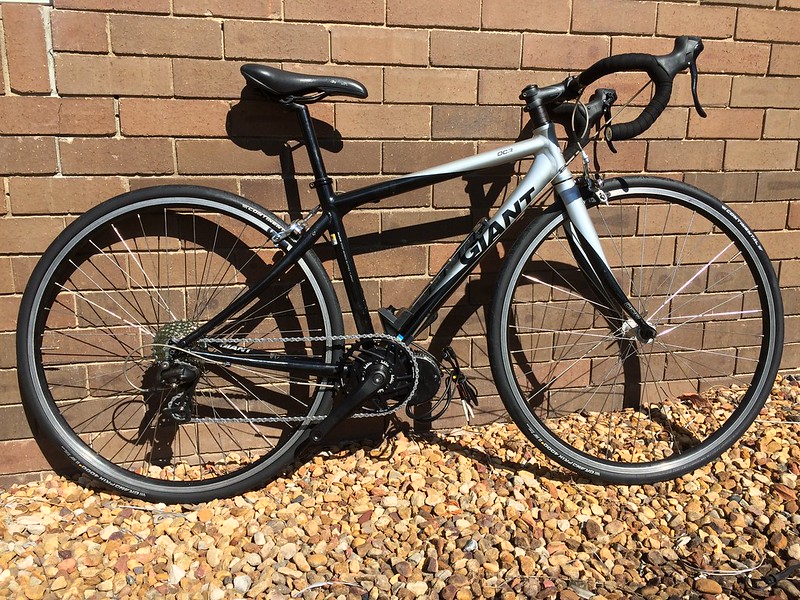
Here's a pic after I fitted both crankarms and chain:
It's starting to come together!
Continued at Electric bike build part 4.
Saturday, 23 July 2016
Monday, 18 July 2016
Electric bike build part 2
Continued from Electric bike build part 1.
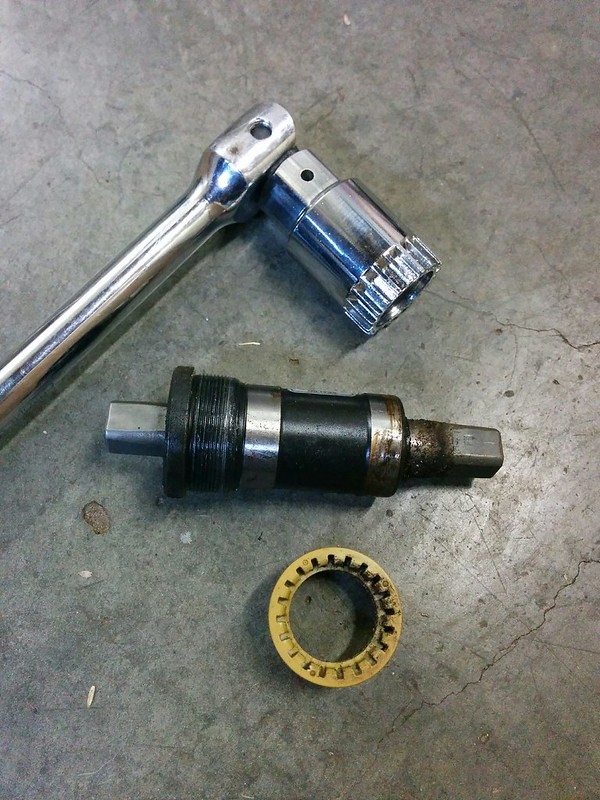
The tool now worked fine to remove the bottom bracket:
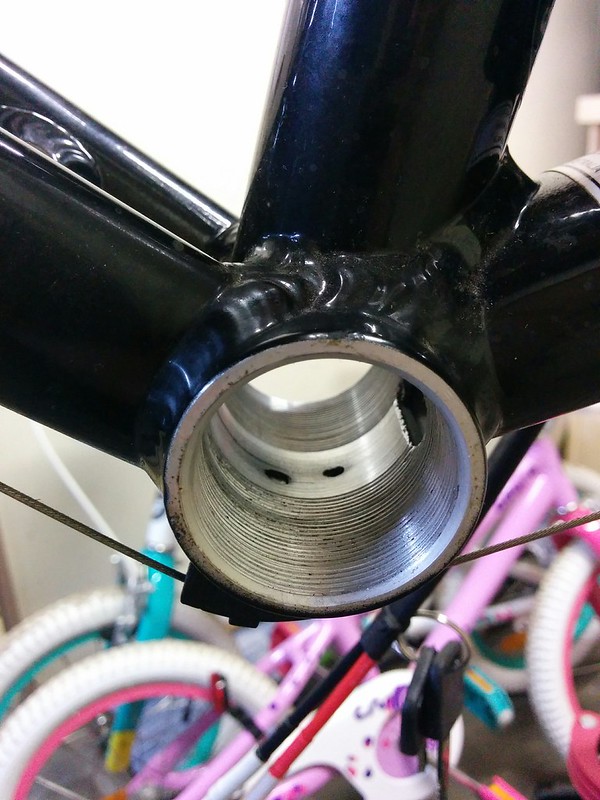
The shell looks really clean already:
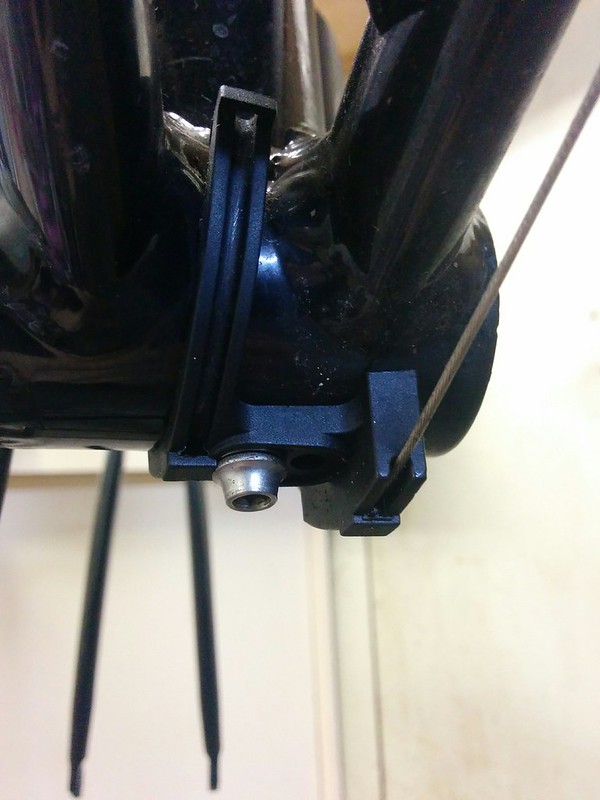
Here's the next snag, the bracket for the shifter cables gets in the way of the BBS02:
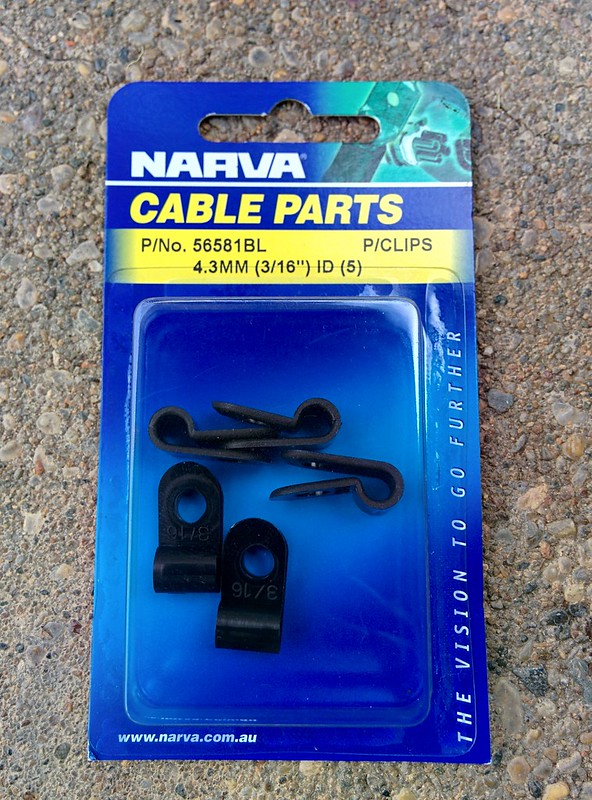
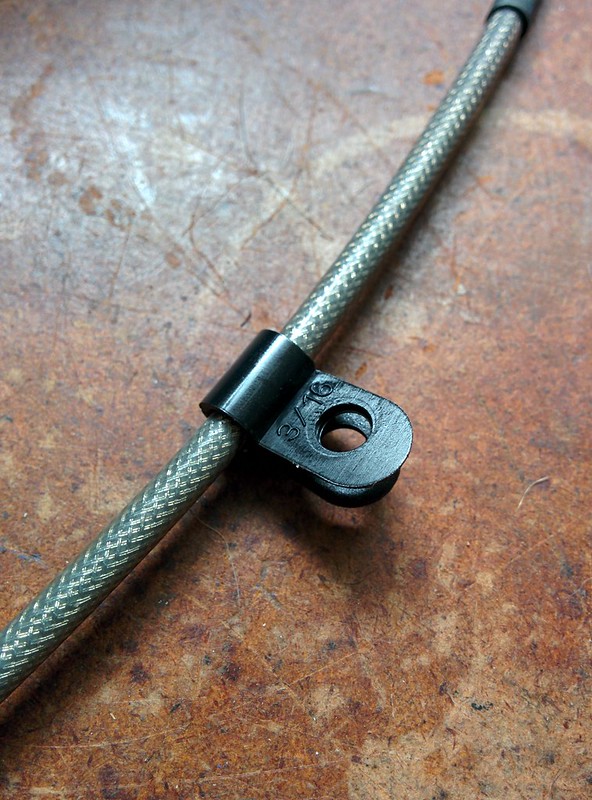
After a bit of thinking, I came up with the idea of using some cable outer tube and a cable clamp. Here are the clamps I bought:
Looks promising:
Bolts up fine:
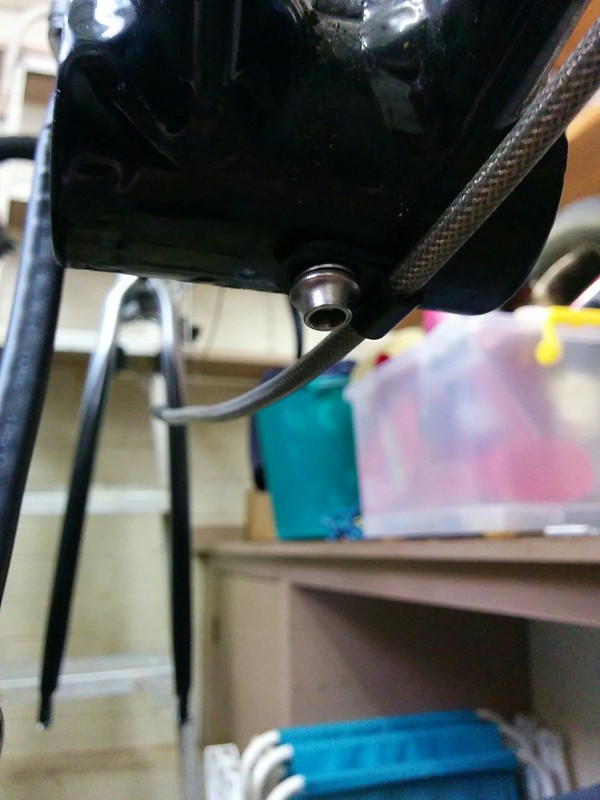
Yes! It worked:
Time will tell if this is a reliable solution, but it looks pretty good to me. I'll probably zip tie the cable outer to the frame at each side with a gentle radius.
Continued at Electric bike build part 3.
Electric bike build part 1
I have been collecting the bits to put together my first electric bike. It's still a work in progress so this will be my build diary. The objective is a reliable and quick road/bikeway commuter to make biking to work a more attractive option!
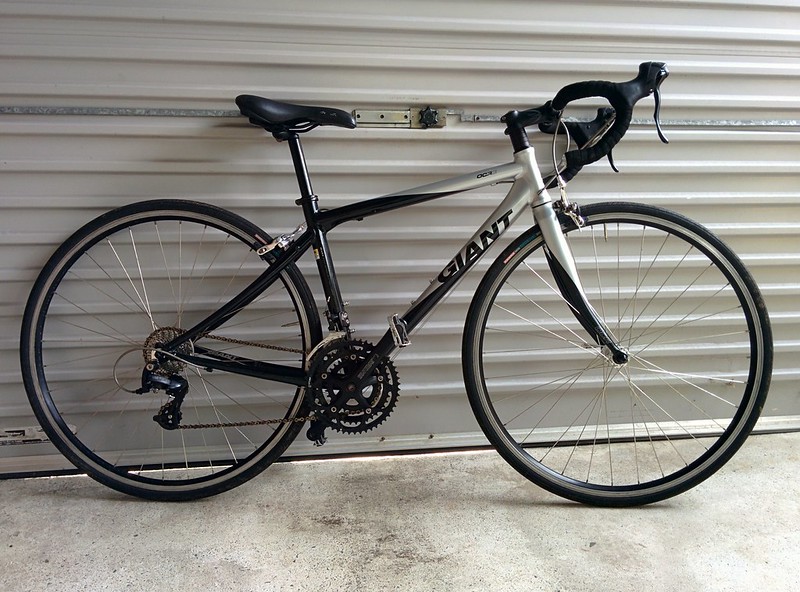
My first purchase was a used 2008 Giant OCR complete with weathered chain and perishing tyres:
At first I thought the rims were worn but it is just some surface corrosion, the bike has barely done any mileage. Importantly the frame, brakes, wheels and RD/shifters are all working well. I pretended the bike was a CX bike and took it on some trails near my house to test everything was working as intended, it all seems quite solid. The standard RD-2200 rear derailleur even worked smoothly with a 11-32 cassette!
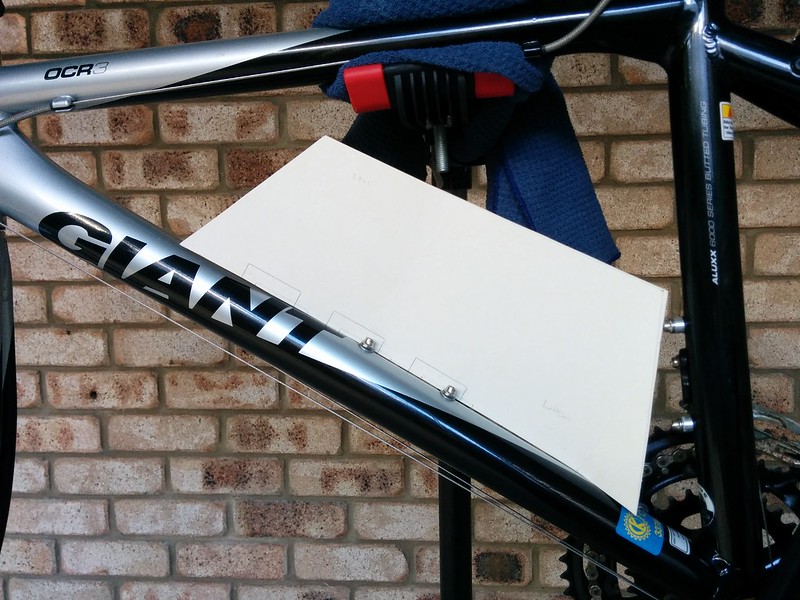
The next step was to make a cardboard template to ensure the battery pack I intended to buy would fit, a shame both drink holders are no longer usable but looks good otherwise:
I also checked the distance between the BB shell and the outside of the frame (quite small, so no problems here), and the type of BB shell (68mm English). Everything checks out, time to pull that trigger on the order!
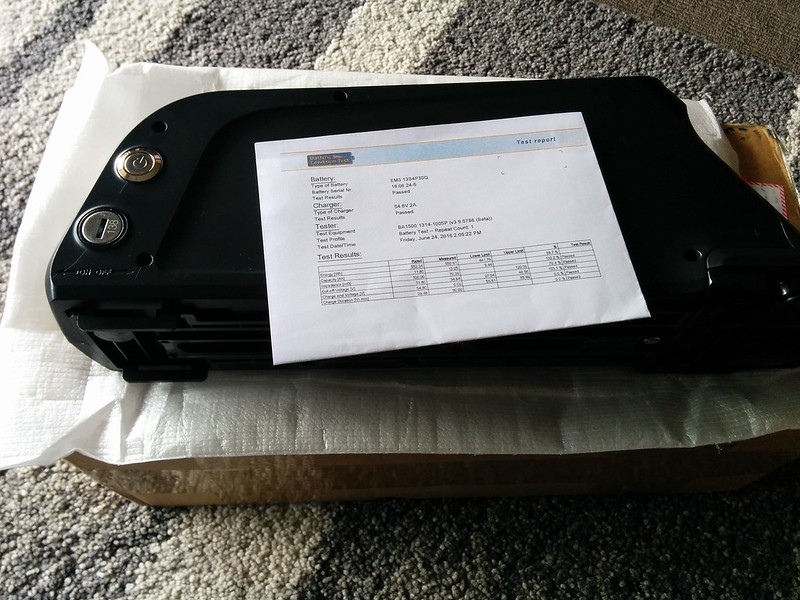
I bought the BBS02 from Paul and his team at EM3EV, my only comment is they had a shipping issue with the battery using TNT but everything was sorted out quickly by them using an alternate carrier at no cost to me. Big thumbs up for service from EM3EV, and their workmanship on the crimping/heatshrink looks great. Here are the fun bits:
Armed with my $20 Aldi bike toolkit, I started stripping down the bike and removing the crank, the tools held up fine for this step:
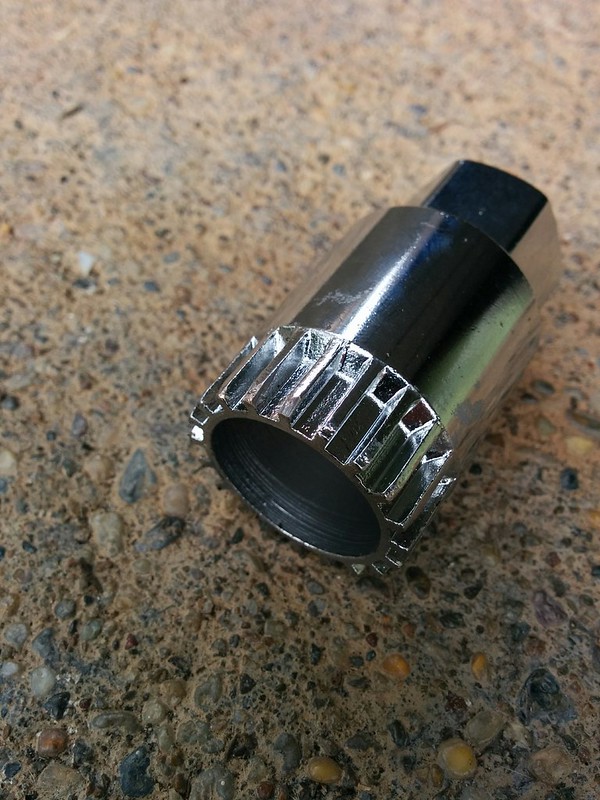
Unfortunately when I went to remove the bottom bracket cup I found the tolerances on the tool weren't good enough and some splines were too fat:
Fortunately I was able to tidy these up with an angle grinder:
I have done a test fit of the tool and it engages fine now, but I haven't gotten any further. I'll try to document the rest of the build as I go. I hope you find this build as interesting as I do!
Continued at Electric bike build part 2.
Subscribe to:
Comments (Atom)
